background image

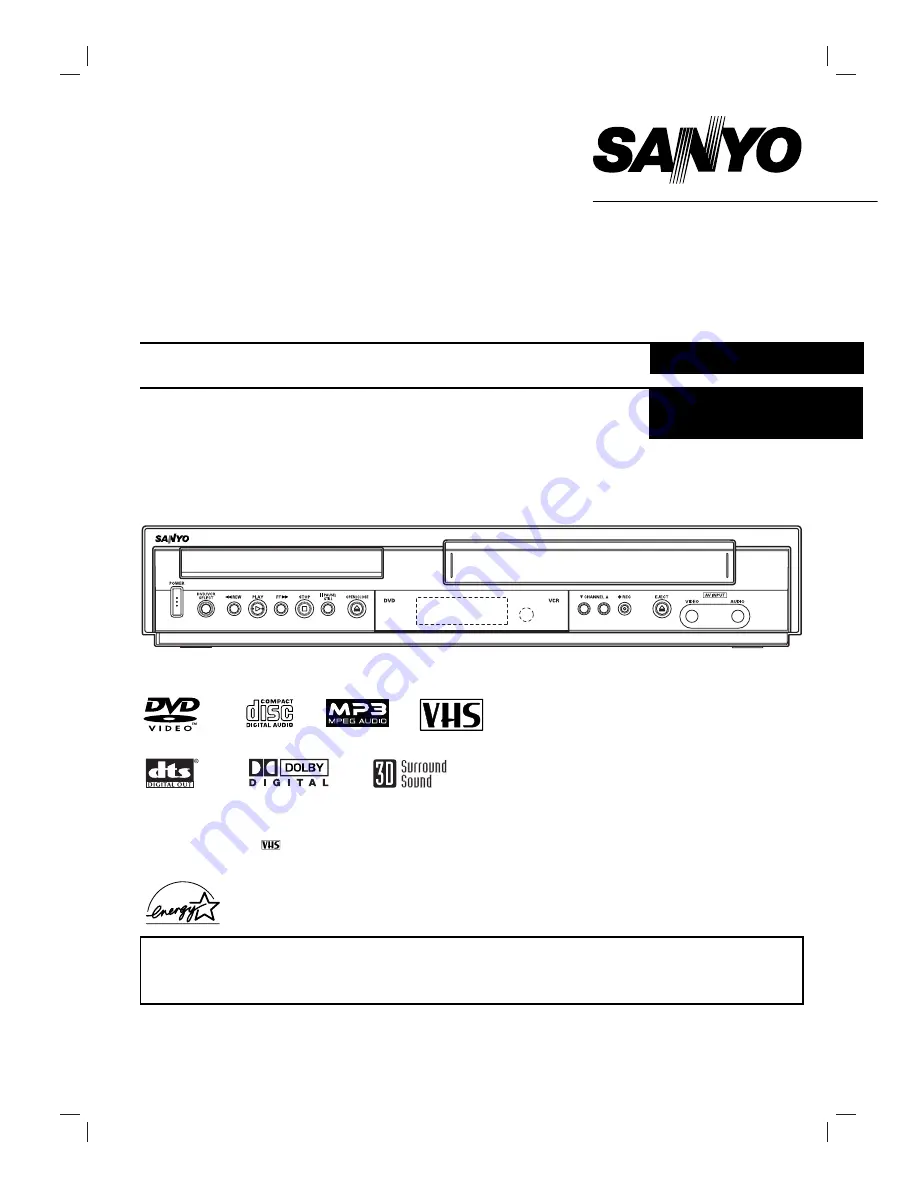
Only cassettes marked 

can be used with this DVD+VCR.

Please read this manual carefully before connecting your DVD+VCR and operating it for the first time.
Keep the manual in a safe place for future reference.

As an E

NERGY

S

TAR

®

Partner,

SANYO has determined that
this product or product model
meets the E

NERGY

S

TAR

®

guidelines for energy efficiency.

INSTRUCTION MANUAL

DVW-7100

DVD VIDEO PLAYER & 4-HEAD VCR

English

REPRODUCTOR DE DVD VIDEO Y VCR DE 
4 CABEZALES

Español

SANYO'S HELP-LINE

Call the toll-free number below if you have any difficulties operating this product.
1-800-813-3435 (Weekdays: 7:30 AM - 4:00 PM Central Time)

P/N: (8)3834RV0003Q

(1E05/04)

Summary of Contents for DVW-7100

Page 1: ...TAR Partner SANYO has determined that this product or product model meets the ENERGY STAR guidelines for energy efficiency INSTRUCTION MANUAL DVW 7100 DVD VIDEO PLAYER 4 HEAD VCR English REPRODUCTOR DE DVD VIDEO Y VCR DE 4 CABEZALES Español SANYO S HELP LINE Call the toll free number below if you have any difficulties operating this product 1 800 813 3435 Weekdays 7 30 AM 4 00 PM Central Time P N ...

Page 2: ...nd can radiate radio frequency energy and if not installed and used in accordance with the instruction manual may cause harmful interference to radio communications However there is no guarantee that interference will not occur in a particular installation If this product does cause harmful interference to radio or television reception which can be determined by turning the product off and on the ...

Page 3: ...ther A grounding type plug has two blades and a third grounding prong The wide blade or the third prong are pro vided for your safety If the provided plug does not fit into your outlet consult an electrician for replacement of the obsolete outlet 10 Protect the power cord from being walked on or pinched particularly at plugs convenience receptacles and the point where they exit from the apparatus ...

Page 4: ...e Counter Memory Feature 25 Additional Information 25 Operation with DVD 26 28 Playing DVD 26 Playback Setup 26 General Features 26 27 Moving to another TITLE 26 Moving to another CHAPTER 26 Slow Motion 26 Still Picture and Frame by Frame Playback 26 Search 26 Repeat 27 Repeat A B 27 3D Surround 27 Time Search 27 Zoom 27 Marker Search 27 Screen Saver 27 Special DVD Features 28 Checking the content...

Page 5: ...le damage to the audio system turn down the volume before playing back such discs adjust the vol ume gradually and keep the volume level low To enjoy DTS Digital SurroundTM playback an external 5 1 chan nel Digital SurroundTM decoder system must be connect ed to the digital output of the unit Disc related terms Title DVD only The main film content or accompanying feature content or music album Eac...

Page 6: ...s case Do not expose the disc to direct sunlight or sources of heat or leave it in a parked car exposed to direct sun light as there may be a considerable heat build up inside the car Cleaning discs Fingerprints and dust on the disc can cause poor pic ture quality and sound distortion Before playing clean the disc with a clean cloth Wipe the disc from the cen ter out Do not use strong solvents suc...

Page 7: ...D deck DVD VCR SELECT output select Select one of your output sources to view on the TV screen between DVD and VCR REC z z To record normally or to acti vate Instant Timer Recording CHANNEL V V v v To scan up or down through mem orized channels PLAY B B Starts playback of a disc or tape STOP x x Stops playback of the disc or tape AV INPUT VIDEO IN AUDIO IN Connect the audio video output of an exte...

Page 8: ...only Indicates PM time AM is not displayed Lights when TV mode is active See page 22 A disc is in the DVD deck Lights when a disc is in the DVD deck and Flashes when no disc Indicates when the Progressive scan is active Indicates when the DVD VCR is locked Indicates total playing time elapsed time remaining time or current deck status Playback Pause etc The DVD deck is selected Indicates repeat mo...

Page 9: ...dom order Fast forwards picture search through 30 seconds of recording A B SP SLP Repeats in sequence Selects recording speed OPEN CLOSE EJECT Z Z Opens and closes the disc tray Ejects the tape in the VCR deck SELECT ENTER Acknowledges menu selection Displays functions on the TV screen This button is not available DISC MENU Shows DVD disc menu INPUT To select the VCR deck s source Tuner LINE 1 or ...

Page 10: ... OUT Connect to a TV amplifier receiver or stereo system AC Power Cord Plug into the power source AC 120V 60 Hz S VIDEO OUT DVD OUT Connect to a S Video Input on TV COMPONENT PROGRESSIVE SCAN VIDEO OUT Y Pb Pr DVD OUT Connect to a TV with Y Pb Pr inputs RF OUT DVD VCR OUT Connect to a TV with RF coaxial inputs DIGITAL AUDIO OUT COAXIAL DVD OUT Connect to digital coaxial audio equipment Do not touc...

Page 11: ...able connect it to a Antenna Adaptor 300 ohm to 75 ohm not supplied and slip the Adaptor onto the ANT IN jack The Adaptor does not screw on to the DVD VCR it just slips over the jack Without Cable Box If your cable wire is connected to your TV without a converter or descrambler box unscrew the wire from your TV and attach it to the ANT IN jack on the DVD VCR Use the supplied round coaxial cable to...

Page 12: ...ten to DVD playback through the connections shown below S Video connection 1 1 Connect the S VIDEO OUT jack on the DVD VCR to the S Video in jack on the TV using the optional S Video cable S 2 2 Connect the Left and Right AUDIO OUT jacks of the DVD VCR to the audio left right in jacks on the TV using the supplied audio cables A2 Component Video Color Stream Progressive Scan ColorStream pro connect...

Page 13: ...on Digital Multi channel sound A digital multi channel connection provides the best sound quality For this you need a multi channel Audio Video receiver that supports one or more of the audio formats supported by your DVD VCR MPEG 2 Dolby Digital and DTS Check the receiver manual and the logos on the front of the receiver Caution Due to the DTS Licensing agreement the digital output will be in DTS...

Page 14: ...r on the TV screen Press SELECT ENTER again and the program details will appear on the TV screen When viewing a tape record ed with Extended Data Service XDS signals press SELECT ENTER twice then the program title and program details will appear on the TV screen PROGRAM DETAILS LENGTH Indicates the run length of a program TIME REMAINING Indicates the remaining time of a program RATING Indicates th...

Page 15: ... Press V V to choose the SOURCE SELECT option then press b b B B to select TUNER Press b B repeatedly to switch among TUNER LINE1 and LINE2 4 4 Press v v V V to choose the AUTO CHANNEL SET option then press b b B B to set the channel The tuner will automatically cycle through all available channels TV CATV in the area and place them in the tuner s memory After the AUTO CHANNEL SET is complete the ...

Page 16: ...UNTAIN PACIFIC ALASKA or HAWAII If AUTO is selected as the time zone the VCR sets the clock using the first Coordinated Universal Time informa tion when it finds in a broadcast signal 6 6 Press MENU when finished 7 7 Turn off the DVD VCR and the auto clock setting works ote There are cases where the TV station does not send or sends wrong date and or time information and the DVD VCR sets the incor...

Page 17: ...ble otes Some discs may not provide all of the features on the on screen display example shown below If no button is pressed for 10 seconds the on screen display disappears You can change the desired status only when b B mark appears on the On screen display menu item Off A B Chapter Title Items Title Number Chapter Number Time search Audio language and Digital Audio Output mode Subtitle language ...

Page 18: ...git number according to the lan guage code list on page 35 If you enter the wrong language code press CLEAR DISPLAY TV Aspect 4 3 Select when a standard 4 3 TV is connected 16 9 Select when a 16 9 wide TV is connected Display Mode The Display Mode setting works only when the TV Aspect mode is set to 4 3 Letterbox Displays theatrical images with masking bars above and below the picture Panscan Sele...

Page 19: ...receiver or amplifier is NOT capable of handling 96 kHz signals select 48 kHz When this choice is made this unit will automatically convert any 96 kHz signals to 48 kHz so your system can decode them If your receiver or amplifier is capable of handling 96 kHz signals select 96 kHz When this choice is made this unit will pass through each type of signal without any further processing Dynamic Range ...

Page 20: ...assword or change the rating level in order to play the disc 5 5 Press SELECT ENTER to confirm your rat ing selection then press SETUP to exit the menu Password Setting your password If you change the rating level to 7 or lower you must enter a 4 digit password to prevent playback of discs with higher ratings 1 1 Select Password on the Setup menu 2 2 While Password is selected press B 3 3 While Ne...

Page 21: ...ed during special effect modes so there is no sound during search During the high speed picture search modes a short period is needed to stabilize tape speed when re entering the PLAY mode Slight interference may be observed during this period Search This function lets you search for a desired tape section in either direction forward or reverse quickly and visual ly 1 Press BACKWARD or FORWARD dur...

Page 22: ... PAUSE STEP X to put the unit in pause mode Then select the desired channel on the DVD VCR and press PAUSE STEP X again to resume recording Timer Recording This DVD VCR can be programmed to record up to 8 programs within a period of 1 year For unattended recording the timer needs to know the channels to be recorded and the starting and ending times Preparation Turn on the power of both the DVD VCR...

Page 23: ...the converter box output channel This is because the converter determines what channel you view through your DVD VCR ip If you have finished programming and you want to set the DVD VCR to record the programs you have entered MAKE SURE YOU HAVE INSERTED A TAPE INTO THE DVD VCR The DVD VCR is now set to record the preset programs ote If the power fails or the DVD VCR is unplugged from the AC outlet ...

Page 24: ...her VCR recordings to this DVD VCR the rear or Front panel mounted Audio and Video A V input jacks make the connections quick and easy These direct A V jacks will also provide better picture results than using the RF jack on the rear panel 1 1 Connect the camcorder s or another VCR s A V outputs to your DVD VCR as illustrated on page 13 2 2 Set the input channel LINE2 Press INPUT to select LINE2 I...

Page 25: ...on the condition of the tape and the kind of the tape T 140 T 160 or T 210 etc Additional Information In manual recording Timer recording Instant Timer Recording playback or fast forward modes the DVD VCR automatically starts rewinding the tape at the end of the tape The cassette will stop at the beginning of the tape and be ejected and the DVD VCR will turn itself off Only when no disc After you ...

Page 26: ...ving to another TITLE When a disc has more than one title you can move to another title as follows Press DISPLAY then press v V to select the title icon Then press the appropriate numbered button 0 9 to select a title number To go directly to any title at STOP mode or RESUME STOP mode press the number button 0 9 Moving to another CHAPTER When a title on a disc has more than one chapter you can mov...

Page 27: ... on the disc If you enter an invalid time playback will continue from the current point Zoom The Zoom function allows you to enlarge the video image and to move through the enlarged image 1 Press ZOOM during playback or still playback to acti vate the Zoom function The square frame will be displayed in the right bottom of the picture If no button is pressed for more than 10 seconds the square fram...

Page 28: ...nd chapters for the title 3 To remove the title menu press TITLE Disc Menu 1 Press DISC MENU The disc menu is displayed 2 To remove the disc menu press DISC MENU again Camera Angle If the disc contains scenes recorded at different camera angles you can change to a different camera angle during playback Press ANGLE repeatedly during playback to select a desired angle The number of the current angle...

Page 29: ... follows 1 Sampling Frequency only at 8 48 kHz 2 Bit rate within 32 320kbps 3 CD R physical format should be ISO 9660 4 If you record MP3 files using the software which cannot create a FILE SYSTEM for example Direct CD etc it is impossible to playback MP3 files We recommend that you use Easy CD Creator which creates an ISO9660 file system 5 A single session disc requires MP3 files in the first tra...

Page 30: ...d hold BACKWARD or FORWARD for about two seconds during playback The player will now go into SEARCH mode 2 Press and hold BACKWARD or FORWARD repeatedly to select the required speed mX2 mX4 mX8 backward or MX2 MX4 MX8 forward Search speed and direction are indicated on the menu screen 3 To exit SEARCH mode press PLAY H ote The DVD VCR mutes sound during search mode of MP3 files Random 1 Press RAND...

Page 31: ...once 8 8 To resume normal playback from programmed playback select a track on the List then press SELECT ENTER Repeat Programmed Tracks To repeat the track currently playing press REPEAT The Repeat icon and TRACK appears on the screen To repeat all tracks on the program list press REPEAT a second time The Repeat icon and ALL appears on the screen To cancel Repeat mode press REPEAT a third time Era...

Page 32: ...ug the power cord into the wall outlet securely Insert a disc or tape Check that the disc or tape indicator in the display window is lit Select the appropriate video input mode on the TV so the picture from the DVD VCR appears on the TV screen Press the TV VCR button on the remote control repeatedly to choose VCR mode TV indicator disappears in the display window Connect the video cable securely T...

Page 33: ... Progressive scan mode This unit can play back videotape recorded in stereo but the playback sound turns to be monaural Correction Use CH ADD DEL to restore channels See Channel Selection on page 15 Tighten connections or replace cable Try all TUNING BAND options See Channel Selection on page 15 for details Turn camcorder on and operate properly Press INPUT to select LINE input chan nel LINE1 or L...

Page 34: ...ng Video head cleaning is needed when the playback picture becomes unclear This signifies that the heads are getting dirty and can occur when playing poor quality or damaged tapes If the heads require cleaning use an equivalent high quality chemical non abrasive wet head cleaning tape or have them cleaned professionally If playing a head cleaning tape in the unit once does not improve the picture ...

Page 35: ... Korean 7579 Kurdish 7585 Laothian 7679 Latin 7665 Latvian Lettish 7686 Language Code Lingala 7678 Lithuanian 7684 Macedonian 7775 Malagasy 7771 Malay 7783 Malayalam 7776 Maltese 7784 Maori 7773 Marathi 7782 Moldavian 7779 Mongolian 7778 Nauru 7865 Nepali 7869 Norwegian 7879 Oriya 7982 Panjabi 8065 Pashto Pushto 8083 Persian 7065 Polish 8076 Portuguese 8084 Quechua 8185 Rhaeto Romance 8277 Romania...

Page 36: ...LI Lithuania LT Luxembourg LU Country Code Macau MO Macedonia MK Madagascar MG Malawi MW Malaysia MY Maldives MV Mali ML Malta MT Marshall Islands MH Martinique French MQ Mauritania MR Mauritius MU Mayotte YT Mexico MX Micronesia FM Moldavia MD Monaco MC Mongolia MN Montserrat MS Morocco MA Mozambique MZ Myanmar MM Namibia NA Nauru NR Nepal NP Netherlands NL Netherlands Antilles AN New Caledonia F...

Page 37: ...s RCA jack L R x 1 RF OUT Channel 3 or 4 Swichable VCR Specifications Head system Four head helical scan azimuth system Timer 12 hour display type with AM PM Tape speed SP 33 35 mm sec LP 16 67 mm sec SLP 11 12 mm sec Tape width 12 7 mm Maximum recording time SP 2 HOURS T 120 SLP 6 HOURS T 120 8 HOURS T 160 Rewind time About 3 minutes T 120 Channel coverage VHF 2 13 UHF 14 69 CATV 1 125 4A A W W 1...

Page 38: ...or cosmetic parts broken or damaged video heads batteries or routine maintenance 3 This warranty does not apply to uncrating setup installation removal of the product for repair or reinstallation of the product after repair 4 This warranty does not apply to repairs or replacements necessitated by any cause beyond the control of SANYO including but not limited to any malfunction defect or failure c...

Reviews: