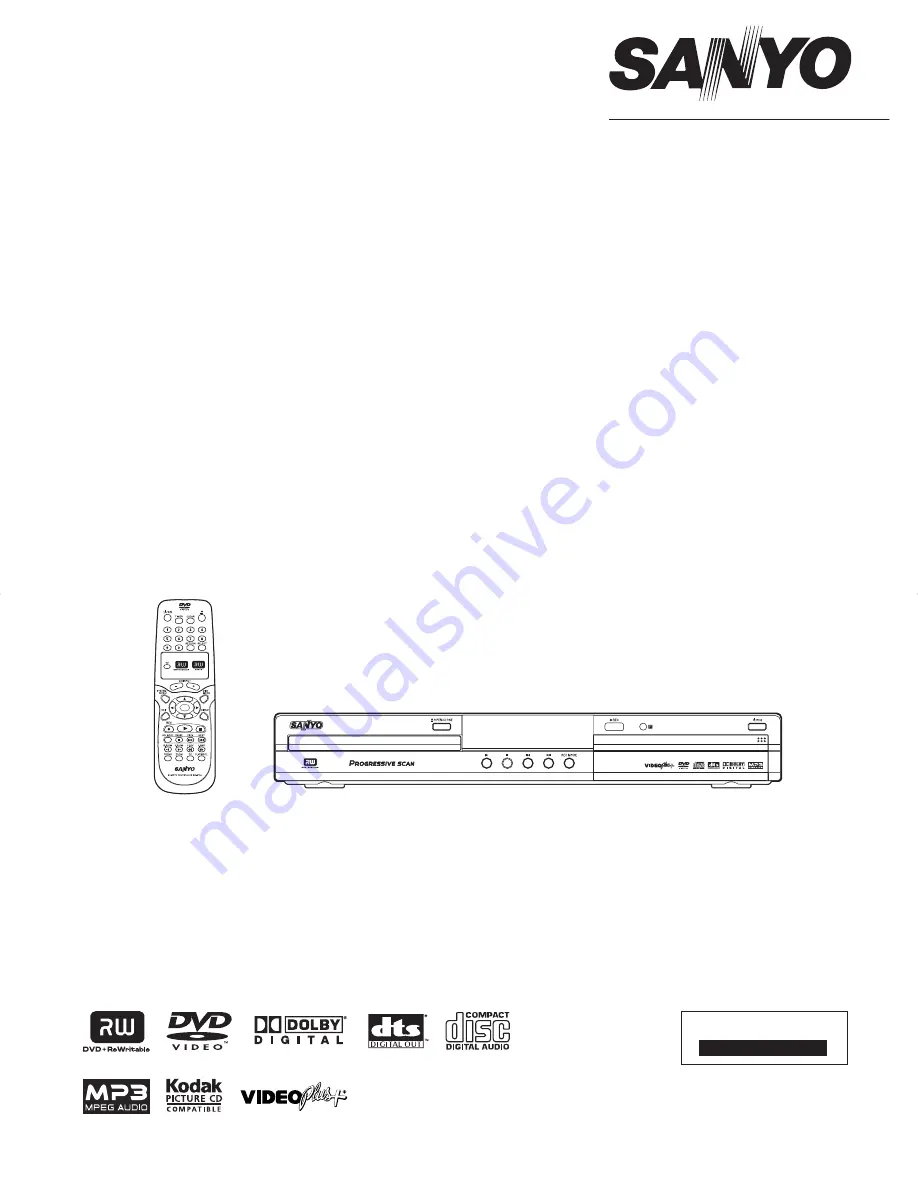
background image

INSTRUCTION MANUAL

DVD Recorder

DVR-S120

Problems with set up?

Call 0870 240 7475

OK

PUSH OPEN

Calls cost a maximum of 8p per 
minute during peak periods, 
based on BT rates of April 2004.

Please read this manual carefully before connecting your DVD Recorder and operating it for the 

fi

 rst time.

Keep the manual in a safe place for future reference.

DVR_S120_INS_MANUAL.indd   1

DVR_S120_INS_MANUAL.indd   1

5/19/2005   11:54:07 AM

5/19/2005   11:54:07 AM

Summary of Contents for DVR-S120

Page 1: ...0 240 7475 OK PUSH OPEN Calls cost a maximum of 8p per minute during peak periods based on BT rates of April 2004 Please read this manual carefully before connecting your DVD Recorder and operating it for the first time Keep the manual in a safe place for future reference ...

Page 2: ...ision Corporation and other rights owners Use of this copyright protection technology must be authorized by Macrovision Corpora tion and is intended for home and other limited viewing uses only unless otherwise authorized by Macrovision Corporation Reverse engineering or disassembly is prohibited Recording copyright material without permission of the copyright owners is usually an infringement If ...

Page 3: ...ting Reservations 21 Problem solving for programmed recordings 21 Recording Video from Other AV Equipment 22 Inserting New Recordings on a DVD RW 22 SAT Record Automatic recording from Satellite Receiver 22 DISC PLAYBACK 23 Basic Operations 23 LISTENING TO MUSIC 24 Playable Discs 24 Basic Playback Operations 24 Repeat Playback Random Playback Intro Playback 25 Playing Back a Specific Track 25 Play...

Page 4: ...or track p 23 7 REC MODE Record type quality To select different qualities of recording HQ SP LP EP or EP p 17 8 qREC Record Record from the preselected input p 17 9 S VIDEO AV3 S IN Connection of SVHS Hi8 camcorders or SVHS Hi8 video recorders p 13 10 VIDEO AV3 IN Connection of camcorders or video recorders p 13 11 L AUDIO R AV3 AV3 S IN Connection of camcorders or video recorders This is common ...

Page 5: ...here Video Composite Video output is connected to Video compatible input devices p 10 5 AUDIO OUT Analogue audio output Socket from where audio output is connected to audio input devices p 10 12 6 S VIDEO OUT Video output Socket from where S Video output is connected to S Video compatible input devices p 13 7 DIGITAL AUDIO OUT Digital audio output Socket into which digital audio input devices can ...

Page 6: ... a disc p 23 19 e Stop playback recording except with programmed recordings TIMER p 17 p 23 20 REC MODE To select different qualities of recording HQ SP LP EP or EP Lower the quality of recording higher than the time of recording p 17 21 PAUSE s Pause If this button is pressed during playback the playback pauses You will see a still picture If this button is pressed during recording the recording ...

Page 7: ... 5 A recording timer has been programmed 6 NICAM The DVD recorder has detected a Nicam audio signal 7 REC Recording in progress 8 D Lights when playing a disc recorded with Dolby Digital Audio 9 dts Lights when playing a disc recorded with DTS 10 P Lights when progressive video is being output 11 DVD RW Displays the type of DVD disc in the recorder DVD DVD R DVD RW 12 ANGLE Displays the angle info...

Page 8: ...Status during recording The channel currently being received or the currently selected input is displayed When you want to change the input source from Preset programme to External input press 00 AV1 will be selected Current channel selected input No signal TV channel is not available additional device is not connected or is switched off Current time Time when the next timer reservation is begun T...

Page 9: ...ndle the disc by its edge Do not touch the playing surface glossy side Fingerprints and dust should be carefully wiped off the playing surface of the disc with a soft cloth Wipe in a straight motion from the centre to the outside of the disc Never use chemicals such as record cleaning sprays antistatic sprays or fluids benzene or thinner to clean discs Cleaning discs for high quality recording Fin...

Page 10: ...d various AV equipment See pages 9 to 13 L Start initial setting by connecting the Mains Lead See page 14 L Set the language and initial settings See page 14 L Automatically set the channel See page 15 L Set the clock See page 15 L Manually set the channel See pages 15 to 16 Connecting to a TV and Various AV Equipment Connecting to a TV Aerial and TV connections Aerial Aerial lead not supplied TV ...

Page 11: ...inal If your TV has Component Video inputs you can enjoy superior picture quality Use component cables not supplied to connect the COMPONENT output on the unit to the COMPONENT input on the television In this configuration the Red and White audio connections are required AUDIO IN TV COMPONENT IN Component video lead not supplied Y L R L R PB PR Y PB PR Audio lead not supplied NOTE The DVD recorder...

Page 12: ...also be played back through a digital or analog amplifier Connecting to a digital audio device Connect an amplifier with Dolby Digital and DTS decoders to enjoy surround sound Use a fiber optic cable not supplied to connect the DIGITAL OUT OPTICAL digital optical output on the unit to the digital optical input on a stereo amplifier or a receiver Optical lead not supplied To digital audio input Dig...

Page 13: ...d video images on the DVD recorder can be recorded on other video equipment Connection for recording video images on the DVD recorder to other video equipment You can use this unit as a source player or as a recording deck Connect a VCR or similar recording equipment to the AV2 SCART S VIDEO OUT or VIDEO OUT sockets NOTE When using the AV2 SCART as a connecter you can only record the contents on a...

Page 14: ...PUT SOCKETS Audio lead not supplied S video lead not supplied Open the lid DV camcorder etc AUDIO R L VIDEO S VIDEO A V OUTPUT SOCKETS Audio video lead Open the lid DV camcorder etc Connecting to a DV camcorder You can use this unit to record from a DV camcorder when connected with a 4 pin DV lead not supplied Connect a DV camcorder or similar recording equipment to this unit as shown DV OUT DV ca...

Page 15: ...subtitle language If subtitle language is not available the DVD recorder picks the first available language When you press the k button the selection items are displayed Select the desired item using 8 or 2 and press the k button Menu Set the menu display language When you press the k button the selection items are displayed Select the desired item using 8 or 2 and press the k button Country Choos...

Page 16: ...ng initial installation In this case you will need to search for and store the missing or coded TV channels manually Displaying the channel setup screen 1 Turn the TV on and select input from the DVD recorder For details on operation methods refer to your TV s manual 2 Press SYSTEM MENU to display the System Menu 3 Select Setup using 8 or 2 and press 6 once The setting items at Setup Options on th...

Page 17: ... Page 1 In this screen you can change the details you are currently setting 7 Press SYSTEM MENU to save the settings and return to the Setup Options screen 8 Repeat steps 1 to 7 of this procedure for all of the channels you want to set Arranging and Deleting Channels After you have performed the automatic channel search you may not agree with the sequence in which the individual TV channels have b...

Page 18: ...tedly press REC MODE to specify the recording mode picture quality HQ High Quality About 60 minutes can be recorded to disc 4 7GB SP Standard Play About 120 minutes can be recorded to disc 4 7GB LP Long Play S VHS quality About 180 minutes can be recorded to disc 4 7GB EP Extended Play better than VHS quality About 240 minutes can be recorded to disc 4 7GB EP Extended Play VHS picture quality Abou...

Page 19: ...and PlusCode are registered trademarks of Gemstar Development Corporation The VIDEO Plus system is manufactured under license from Gemstar Development Corporation NOTE Set the DVD recorder s clock in advance Timer recording by Video Plus code Most TV programmes can be recorded easily in the recording screen by thenine digitVideoPluscodeassignedtothatprogram Astheinformation to be set for timer rec...

Page 20: ...ess TIMER Press OK to Edit Entry CLEAR to Delete Total Recording Time 02 00 Date 07 04 AV2 SP 21 00 23 00 Ch Mode VPS PDC Start End Insert Recordable Disc and Press ON to Start Recording NOTE To change the reserved details select the line to change using 8 or 2 and press the k button When making the 5th reservation onwards the second page of the reserved details list is displayed by repeatedly pre...

Page 21: ...ting when using VPS PDC Each press of k selects or deselects this setting NOTE For details on the VPS Video Programming System and PDC Programme Delivery Control see page 19 5 Move to the Confirm Programming item using 8 or 2 and press the k button The Timer List screen is displayed Check the reserved details Timer List To Exit Press TIMER Press OK to Edit Entry CLEAR to Delete Total Recording Tim...

Page 22: ...on The display returns to the Timer Setup screen In this screen you can reserve a different programme 1 Press TIMER to return to the Timer screen and press TIMER again This ends checking of reservations Problem solving for programmed recordings Thefollowingproblems errormessagesappearsonthescreenwhileoperat ing the DVD recorder Possible solutions are provided in this section Error Message Solution...

Page 23: ... RW discs you can specify a video title already recorded to disc and overwrite that title Note however that if you overwrite with content that is longer than the previously recorded content other following content will also be overwritten 1 Select the title on the disc menu 2 Press the k button to play the title 3 Find where you want to insert the new recording 4 Press e at the position where the ...

Page 24: ...ack press w Playing back in slow motion When you press F SLOW x the disc is slow forwarded Each press of F SLOW x changes the slow forward speed When you press R SLOW z the disc is slow reversed Each press of R SLOW z changes the slow reverse speed To return to normal playback press w Viewing from a desired camera angle Some DVD Video discs may contain scenes which have been shot simultaneously fr...

Page 25: ... while the disc is being played Specify the subtitle language to use at all times at System Menu Sound Press 4 6 to switch audio output from the analogue audio output terminal to Stereo or Surround When set to Surround the sound effect of a multi channel audio can be simulated Switching the sound is enabled while the disc is being played Specify the subtitle language to use at all times at System ...

Page 26: ...ed Playing Back a Specific Album or Track YoucanspecifyanallbumorTracktoplaybackbyperformingthefollowing operation during playback or while playback is puased 1 Press T C to display the T C Tolls menu 2 Select Album or Track using 8 or 2 3 Press the number buttons or 4 6 to specify the number of the desired album or track to play back Stopping playback Press e to stop playback Pausing cancelling a...

Page 27: ...NOTE While viewing the Thumbnail Screen after you have selected an image and then pressed the e button the image will be replaced by Hidden Image The Hidden Image will be skipped during slide show To return to the images select the Hidden Image and press the e button again Searching for Photos in the Thumbnail Screen The following operations are available in the thumbnail screen Select the menu it...

Page 28: ...enu set how the slide show is to be displayed e g image display time NOTE If you do not perform any operation the slide show menu disappears To redisplay the Photo Slide Show menu press T C Photo Slide Show Photo Play Thumbnails Zoom x1 Rotate Timer 3 Repeat Off OK OK 24 Photo Date 24 55 01 01 2005 Menu Item Explanation of Operation Photo Whenyoupressthenumberbuttonstoenterthenumber of an image in...

Page 29: ...ng playback of the corresponding chapter The Edit Chapters menu will appear on the screen 2 When the chapter to return to display is being played back select Hide Chapter using 8 or 2 and press the k button The picture is greyed out 3 To end press EDIT NOTE During playback this chapter will be skipped Unhide Chapter During regular playback hidden chapters cannot be viewed as they are skipped In th...

Page 30: ...screen 4 If you want to erase the title press k 5 The screen will show Please Wait 6 Empty title will now appear in this position in the disc menu A new recording can now be made at this position If the deleted title was very short shorter than several minutes no Empty Title will be displayed Can titles be deleted from a DVD R disc Titles on DVD R discs are only marked as deleted Deleted Title wil...

Page 31: ...ess 6 The Disc Settings menu will appear on the screen 4 Select Make DVD Compatible using 8 or 2 and press the k button 5 Select Make DVD Compatible using 8 or 2 and press the k button 6 The screen will show Please Wait 7 When the operation is executed Please Wait will disappear Protecting Discs and Cancelling Disc Protection To prevent an important recording from being accidentally erased you can...

Page 32: ...t tings Video Options Video Sound Feature Language Recording Setup 4 3 LB TV Shape Black Level Video Shift Interlace YUV Output Video RGB Video Output System Menu Setting Item Explanation TV Shape Set the aspect ratio shape of your TV s screen When you press the k button the selection items are displayed Select the desired item using 8 or 2 and press the k button See Page 14 Black Level To use thi...

Page 33: ...he TV on and select input from the DVD recorder For details on operation methods refer to your TV s manual 2 Press SYSTEM MENU to display the System Menu 3 Select Feature using 8 or 2 and press 6 once The setting items at Feature Options on the right of the screen can now be selected using 8 or 2 4 Select the item to be changed using 8 or 2 and change the set tings System Menu Feature Options Vide...

Page 34: ...d press 6 once The setting items at Language Options on the right of the screen can now be selected using 8 or 2 4 Select the item to be changed using 8 or 2 and change the set tings System Menu Language Options Video Sound Feature Language Recording Setup English Audio Off Subtitle English Menu United Kingdom Country Setting Item Explanation Audio Set the DVD audio language When you press the k b...

Page 35: ...es set which language to record When you press the k button the selection items are displayed Select the desired item using 8 or 2 and press the k button NOTE When recording input from the DV IN DV socket on thefrontpanel stereo1languagefromDVequipment is recorded regardless of the setting of this item NOTE When you press 4 other items in the System Menu can be se lected Set other items as necessa...

Page 36: ...d to a non set state In this state set the passcode again Parental Level Set the level of parental control Press the k button and then press 4 or 6 to adjust the level Press the k button again to apply the level you set Set Parental Controls Press OK Set Code Level 2 Set Country United Kingdom Press SYSTEM to Save and Exit Press OK to Select Set Country The set filter values depend on the respecti...

Page 37: ... Insert a disc Check that the disc indicator on the front panel display is lit An unplayable disc is inserted Insert a playable disc Check the disc type colour system and regional code The disc is placed upside down Place the disc with the playback side down The disc is not placed within the guide Place the disc on the disc tray correctly inside the guide The disc is dirty Clean the disc The Paren...

Page 38: ...emote control is too far from the DVD Recorder Operate the remote control within 6m There is an obstacle in the path of the remote control and the DVD Recorder Remove the obstacle The batteries in the remote control are exhausted Replace the batteries with new ones Playback starts midway after a DVD video is inserted and the 6 button is pressed If the Resume function is on playback starts from the...

Page 39: ... minutes EP mode Approx 360 minutes TV system PAL standard system Tuner System PAL I I Time indication 24 hour system Timer 8 event programmable Connections Front panel Video In Pin jack yellow X1 S Video In S terminal X1 Audio L R In Pin jack white red X1 DV In DV 4 pin terminal X1 Rear panel Scart 1 AV connector RGB S Video Video Audio out Video Audio in Scart 2 AV connector RGB S Video Video Au...

Page 40: ...s the statutory rights available to the purchaser of this equipment NOTE This guarantee supersedes any other form of guarantee that may inadvertently have been enclosed with or attached to the product August 1978 Thank you for buying Sanyo This equipment should give you many years of pleasure and faithful service but in the event that a fault occurs the following notes for your guidance may be hel...

Reviews: