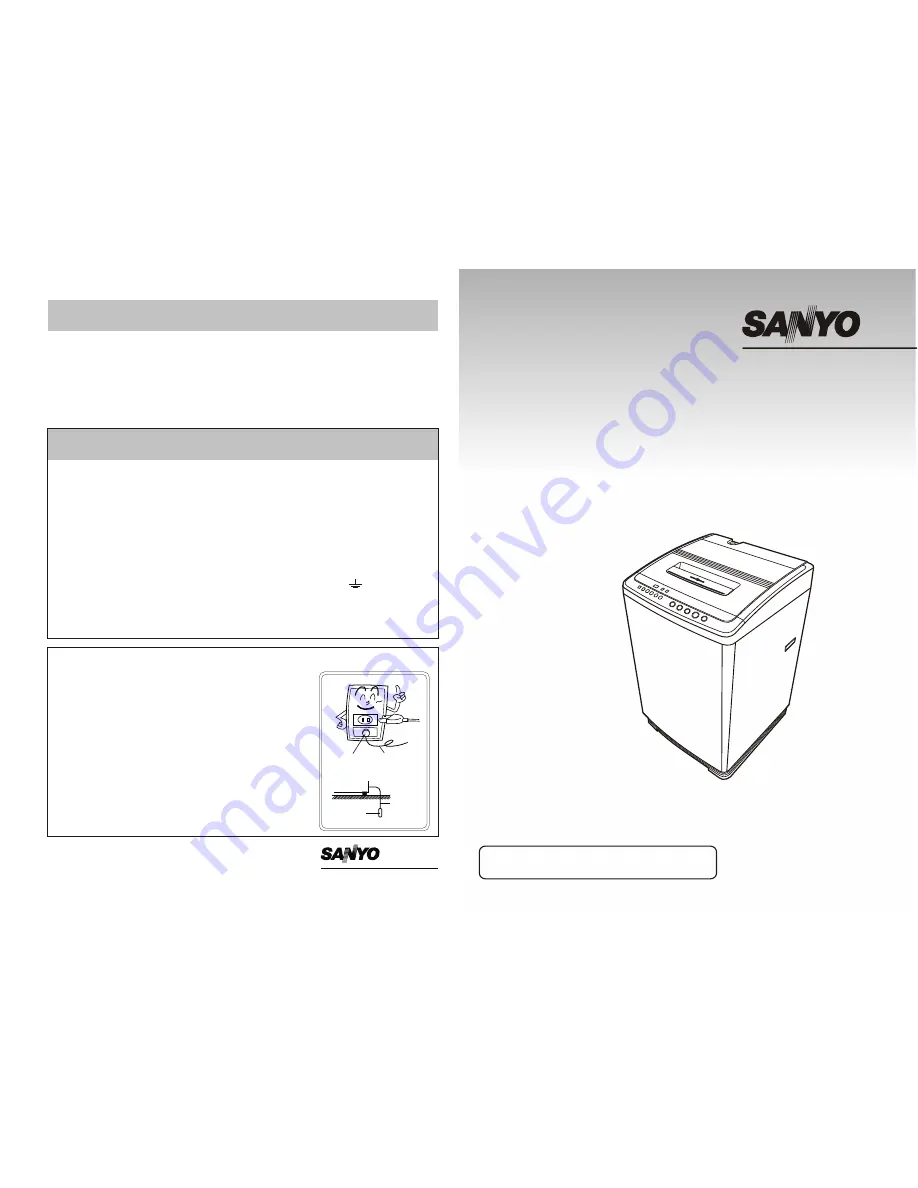
background image

INSTRUCTION  MANUAL

MICROCOMPUTER  CONTROL
FULLY AUTOMATIC WASHING MACHINE

MICROCOMPUTER  CONTROL
FULLY AUTOMATIC WASHING MACHINE

ASW-A100HT

Before operating this washing machine, please read 
these instructions carefully and completely.

Before operating this washing machine, please read 
these instructions carefully and completely.


WARNING - This appliance must be earthed.

IMPORTANT

The wires in this mains lead are coloured in accordance with the following code:


Green/yellow: Earth               

Blue: Neutral             Brown: Live

 
As the colours of the wires in the mains lead of this appliance may not correspond 
with the coloured markings identifying the terminals in your plug, proceed as follows:

Light 

The wire which is coloured green and yellow must be connected to the terminal 


in the plug which is marked with the letter E or by the earth symbol       


or coloured green or green and yellow. 

The wire which is coloured  light blue must be connected to the terminal which is 

   marked with the letter N or coloured white. 

The wire which is coloured brown must be connected to the terminal which is marked 


with the letter L or coloured black.

● 

● 

● 

SPECIFICATIONS

SPECIFICATIONS

CODE NO.301-6-411S-972-40B

CODE NO.301-6-411S-972-40B

610(W) x 585(D) x 1000(H) mm 

6

0 litres

AC Local voltage 


Dimensions 

Power Source

Water level (HIGH)

Power Consumption 
Required Water Pressure

2

FOR WASHER PLUG TOP 3 PIN

● If the 2-pin type of socket-outlet has a grounding terminal, 
   securely attach the end of the Grounding Wire to the 
   terminal. 
● When grounding the washer, connect the grounding wire 
   before plugging in the Power Cord. 
● If the 2-pin type of the socket-outlet has no grounding 
   terminal, consult your nearest dealer or securely attach 
   the end of Grounding Wire to a suitable grounding point, 
   such as a metal cold water pipe. 
   Never connect the Grounding Wire to a gas pipe. 
● Unplug the Power Cord before disconnecting the 
   Grounding Wire.

For BS Standard Plug With A 13 Amp Fuse

(                                                                     )

Grounding
Terminal

Grounding 
Wire Of 
Washer

Grounding 
Wire

Grounding 
Rod

FOLLOWING CAUTIONS ARE FOR WASHER USING DOUBLECORE 
CORD ONLY.

SANYO Electric Co.,Ltd.

SANYO Electric Co.,Ltd.

400 W 
0.03 MPa ~ 1.0MPa 
(0.3 kgf/cm  ~ 10 kgf/cm ) 

2

Summary of Contents for ASW-A100HT

Page 1: ...r coloured white The wire which is coloured brown must be connected to the terminal which is marked with the letter L or coloured black SPECIFICATIONS SPECIFICATIONS CODE NO 301 6 411S 972 40B CODE NO 301 6 411S 972 40B 610 W x 585 D x 1000 H mm 60 litres AC Local voltage Dimensions Power Source Water level HIGH Power Consumption Required Water Pressure 2 FOR WASHER PLUG TOP 3 PIN If the 2 pin typ...

Page 2: ...osion Do not install the washer in the bathroom or very humid place It may cause a malfunction or an electric shock Do not allow children to play on or in the washer If a child accidentally falls in to the Wash Spin Tub serious injury could occur Be sure not to splash or pour water on the Control Panel It may cause a malfunction or an electric shock Do not allow your washer to be repaired by an un...

Page 3: ...f the mouth of the faucet needs to be at least 16mm If it is less than16mm the Magic Hose Joint can not be installed Type C It may cause water leaking CAUTIONS Do not use water which is hotter than 50 If your faucet is not suitable consult your dealer please CAUTION Attaching the Magic Hose Joint to a Faucet Attaching the Magic Hose Joint to a Faucet Type A is the most suitable Faucet Type A Lock ...

Page 4: ...h the Magic Hose Joint How to Attach the Magic Hose Joint 1 Loosen the four screws and slide the top of the Magic Hose Joint section A in the figure onto the faucet Then securely tighten the four screws provided with the Magic Hose Joint by using a screwdriver to secure the top of the joint to the faucet 2 Remove the CAUTION label from the Magic Hose Joint Installing Water Supply Hose to the Washe...

Page 5: ... want to delete the End Buzzer press the START PAUSE button and hold down for about 4 seconds until beeping stops To turn the power on press the POWER ON OFF When you want to turn off the power press the POWER ON OFF again When washing has finished the power will be turned off in 5 seconds automatically When you Setting Remained water Draining function the time is 10 minutes If you leave the washe...

Page 6: ...nket as the method showed in the figures below and put it into the washing tub 5 Press the START PAUSE button 6 Close the washer lid The washer will stop working automatically before spinning if the washer lid is not closed The buzzer will alarm at the end of operation and the power will be switched off automatically in 5 seconds Then please shut water supply and clean the filter 1 Press the POWER...

Page 7: ... articles with embroider 5 12 Soak10 Wash10 12 7 14 6 5 6 5 7 8 8 2 Shower Rinse 1 times Water Saver Rinse 1 times Overflow Rinse 2 times Overflow Rinse 2 times Water Saver Rinse 2 times Possible the total time is not same due to different water pressure Shower rinse could be changed as Water Saver Rinse Please see Page 15 instructions SHOWER RINSE HOW TO USE THE CUSTOMIZED COURSE HOW TO USE THE C...

Page 8: ...hen the washer starts rinsing During this operation the water still is added continuously to overflow the foam with detergents VARIOUS FUNCTIONS VARIOUS FUNCTIONS ULTRASONIC FUNCTION ULTRASONIC FUNCTION When select ULTRASONIC function the light of ULTRASONIC is flashes The washer will brings Ultrasonic during working and this helps more clean washing and saving detergents Please use less detergent...

Page 9: ... buzzer To restore it repeat above or pull out the plug Method of setting Method of setting HOW TO DRAIN REMAINING WATER HOW TO DRAIN REMAINING WATER When select this function in 9 minutes after the working finished the drainage valve will open to drain out the remained water inside This will avoid freezing inside and applicable in winter when temperature below 0 Press POWER ON OFF button to switc...

Page 10: ...her the CHILD LOCK is set Close the Washer Lid Turn the water supply faucet on Check whether the water supply has been cut off Check whether the metal filter of the Water Inlet is clogged Check the washer has been freezing water pressure is too low Check whether Put down the Drain Hose from the hookhole Check the Drain Hose for any obstructions Check whether the Drain Hose is clogged Check whether...

Reviews: