Samsung SyncMaster 570B TFT, Owner'S Instructions Manual
The Samsung SyncMaster 570B TFT comes with a comprehensive Owner's Instructions Manual, providing users with all the necessary information for optimal usage. Easily downloadable and completely free, this manual can be obtained from manualshive.com, ensuring a seamless experience with your Samsung SyncMaster 570B TFT.
Share
Download


Reviews:
No comments
Related manuals for SyncMaster 570B TFT
AW**QP
Brand: LG Pages: 34
CN15MO series
Brand: Samsung Pages: 38
SyncMaster 570B TFT
Brand: Samsung Pages: 60
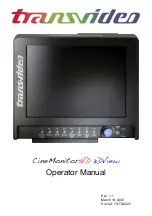
CineMonitorHD 3DView
Brand: Transvideo Pages: 48
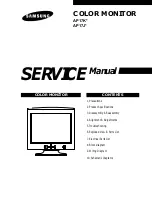
AP17K series
Brand: Samsung Pages: 64
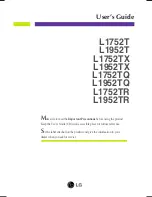
L1752TX
Brand: LG Pages: 27

AP17J series
Brand: Samsung Pages: 64
C17R07080
Brand: Hyundai Pages: 23
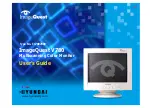
P75f+-2
Brand: ViewSonic Pages: 19


