Samsung ST76, User Manual
The Samsung ST76 user manual, available for free download at manualshive.com, is an essential guide for maximizing the features of this remarkable camera. Packed with useful instructions and tips, this comprehensive manual del usuario ensures an effortless experience, allowing you to capture stunning images with ease.
Share
Download


Reviews:
No comments
Related manuals for ST76
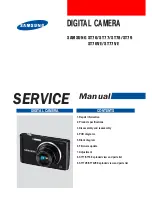
SAMSUNG ST77
Brand: Samsung Pages: 85
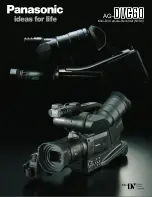
AGDVC60 - DIGITAL VIDEO CAMCORDER
Brand: Panasonic Pages: 8
Infinity OMNI-Plus V1382TIRH
Brand: Digital Watchdog Pages: 19

WV-CW500S/G
Brand: Panasonic Pages: 32
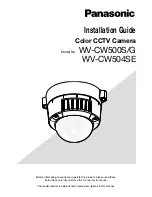
WV-CW504SE
Brand: Panasonic Pages: 44
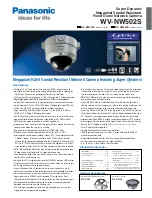
WV-NW502S
Brand: Panasonic Pages: 2
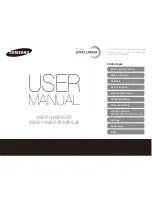
SMARTCAMERA WB150
Brand: Samsung Pages: 160
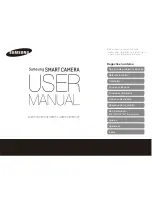
SMARTCAMERA WB150F
Brand: Samsung Pages: 159
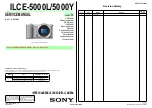
ILCE-5000L
Brand: Sony Pages: 51
ILCE-5000L
Brand: Sony Pages: 181
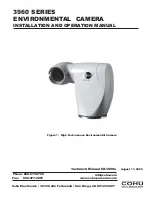
3960 Series
Brand: IVIEW Pages: 28
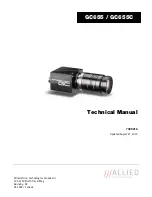
GC655
Brand: Allied Pages: 32

LIVE GAMER DUO
Brand: Avermedia Pages: 12
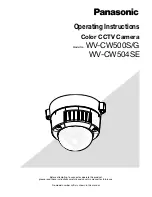
WV-CW500S/G
Brand: Panasonic Pages: 32
TG-610
Brand: Olympus Pages: 4

SAMSUNG ST77
Brand: Samsung Pages: 132
DIVAR AN 5000
Brand: Bosch Pages: 56
DIVAR AN 5000
Brand: Bosch Pages: 170


