


SDP-900DXA
SDP-900DXA
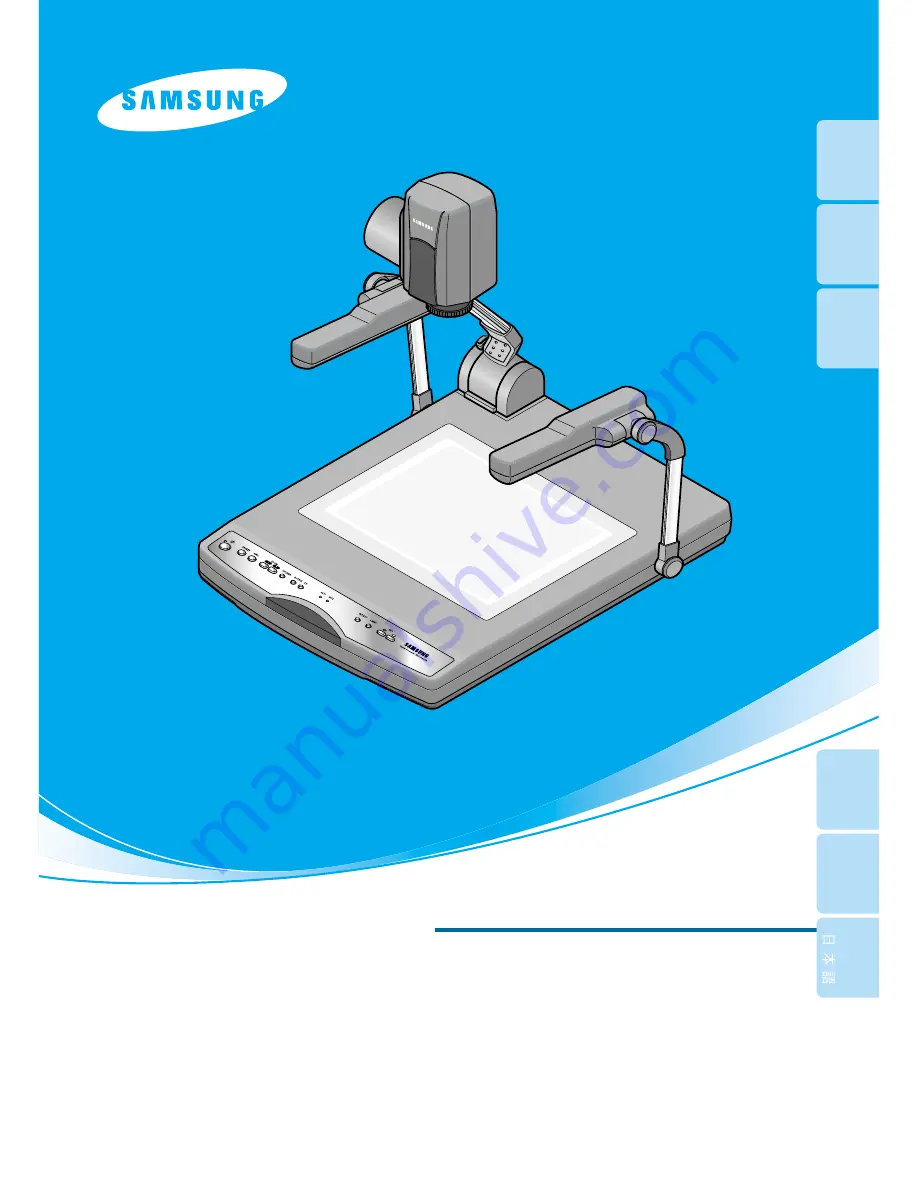
HIGH RESOLUTION DIGITAL PRESENTER
USER'S MANUAL
HIGH RESOLUTION DIGITAL PRESENTER
USER'S MANUAL
ENGLISH
ENGLISH
Before attempting to operate this product, Please read the instructions carefully.
www.samsungpresenter.com
Before attempting to operate this product, Please read the instructions carefully.
www.samsungpresenter.com
English
French
German
Italian
Spanish


