


ENGLISH
MENU
MODE
DC IN
W
T
HOLD
DISPL
AY
DELET
E
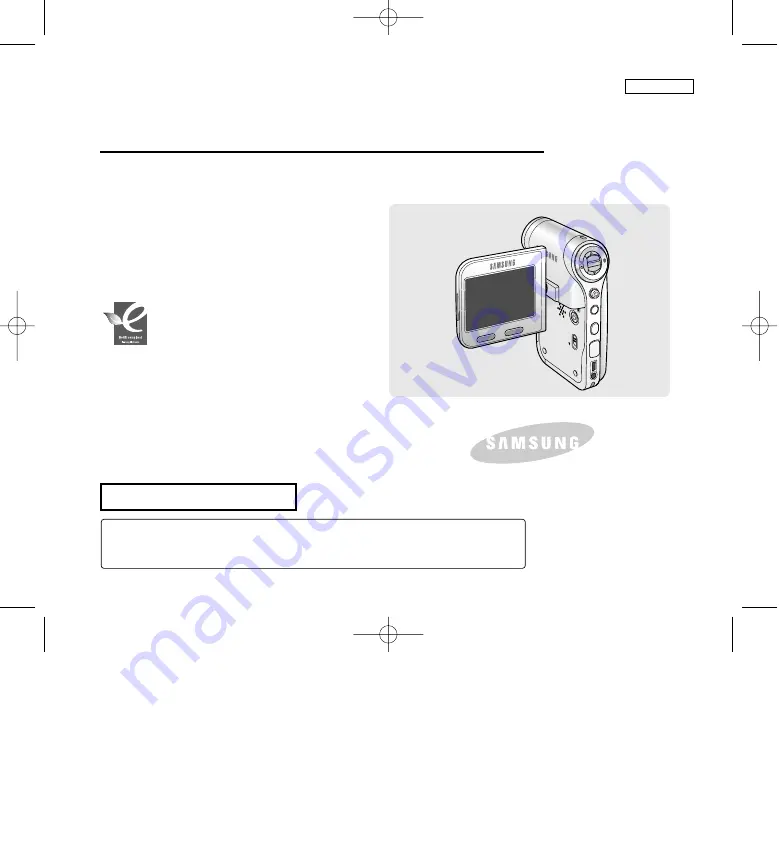
Sports Camcorder
Owner’s Instruction Book
Before operating the unit, please read this
Instruction Book thoroughly, and retain it for
future reference.
AF
Auto Focus
CCD
Charge Coupled Device
LCD
Liquid Crystal Display
SC-X205(L)/X210(L)/X220(L)
US PATENT 4415844
Use only approved battery packs.
Otherwise, there is a danger of overheating, fire or explosion.
Samsung is not responsible for problems occurring due to using unapproved batteries.
RoHS compliant
Our product complies with “The
Restriction Of the use of certain
Hazardous Substances in electrical and
electronic equipment”, and we do not
use the 6 hazardous materials- Cadmium(Cd), Lead
(Pb), Mercury (Hg), Hexavalent Chromium (Cr
+6
), Poly
Brominated Biphenyls (PBBs), Poly Brominated
Diphenyl Ethers(PBDEs)- in our products.
SC-X205 00994A 001~007 2006.1.27 8:23 PM 페이지3 001 PagePro 9100


