ENGLISH
MENU
MODE
DC
IN
W
T
HOLD
DISPLA
Y
DELETE
Owner’s Instruction Book
Before operating the unit, please read this
Instruction Book thoroughly, and retain it for
future reference.
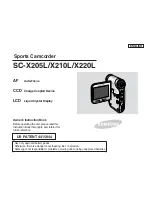
AF
Auto-Focus
CCD
Charge Coupled Device
LCD
Liquid Crystal Display
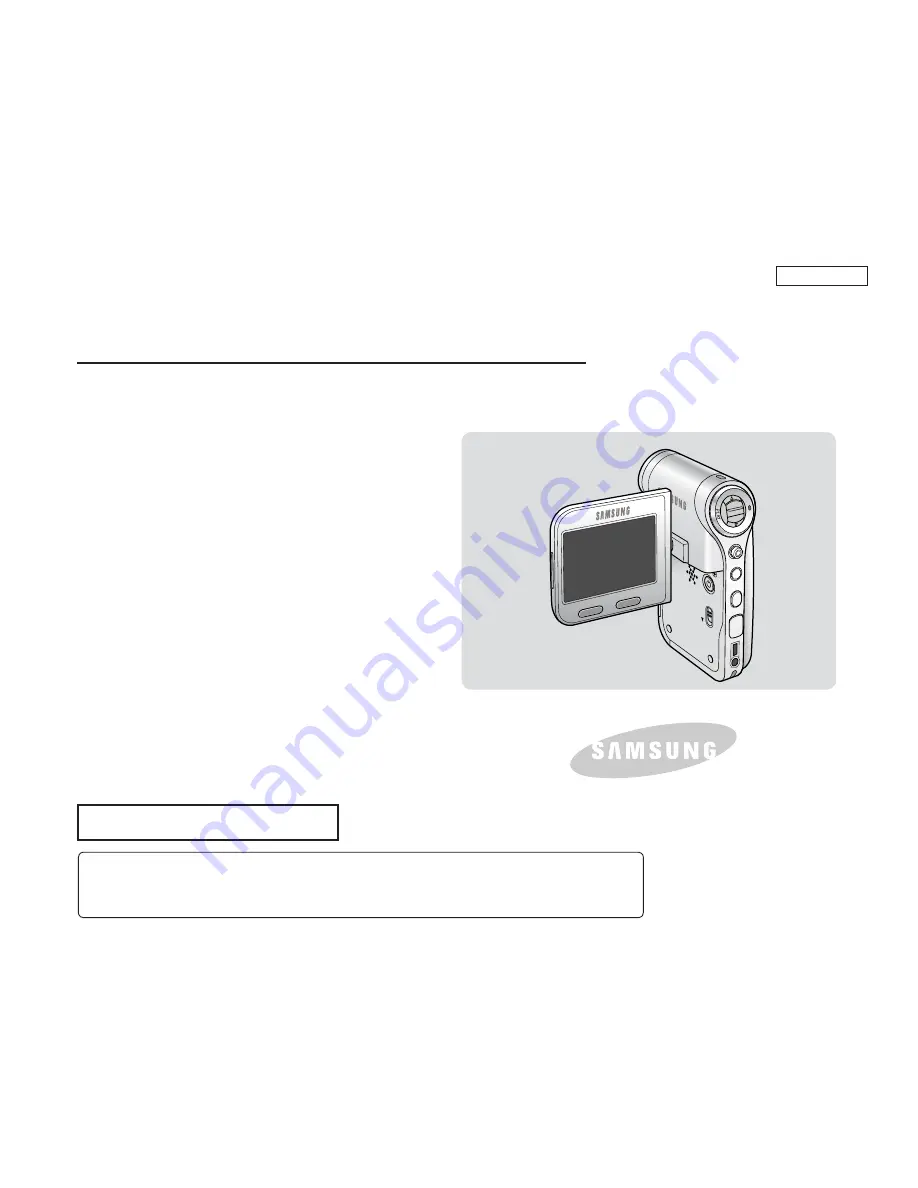
Sports Camcorder
SC-X205L/X210L/X220L
US PATENT 4415844
Use only approved battery packs.
Otherwise, there is a danger of overheating, fire or explosion.
Samsung is not responsible for problems occurring due to using unapproved batteries.


