Samsung RKP2415- 801, User Manual
Introducing the Samsung RKP2415-801 User Manual, a comprehensive guide to unlock the full potential of your device. With easy-to-follow instructions and detailed explanations, this manual is essential for maximizing the product's capabilities. Download your free copy today from manualshive.com and begin exploring the endless possibilities of your Samsung RKP2415-801.
Share
Download


Reviews:
No comments
Related manuals for RKP2415- 801
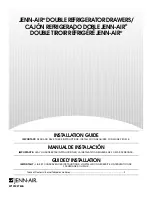
DOUBLE REFRIGERATOR DRAWERS
Brand: Jenn-Air Pages: 32

RACKACCESS 16I -
Brand: Daxten Pages: 2

3000 SERIES
Brand: U-Line Pages: 12
MW 420 620
Brand: Gaggenau Pages: 20
DV 461 710
Brand: Gaggenau Pages: 32
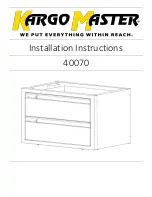
40070
Brand: Kargo Master Pages: 5
T1700
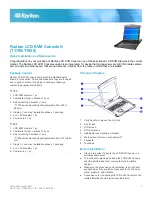
Brand: Raritan Pages: 5
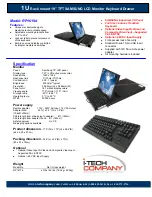
1U ELD115M
Brand: i. Tech Dynamic Pages: 23
ServTray KVT415A
Brand: Black Box Pages: 19
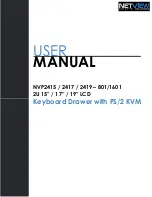
NVP2415
Brand: I-Tech Pages: 29
ACL624MAT
Brand: Pelgrim Pages: 12
RKP115-1601
Brand: I-Tech Pages: 30

NKFD1W6**DSC
Brand: Panduit Pages: 4
RP1619D
Brand: I-Tech Pages: 1
RackConsole 17
Brand: G&D Pages: 24
KVT317A-T
Brand: Black Box Pages: 2

RM-X17DAx3
Brand: Crystal Image Technologies Pages: 12
T1700-LED
Brand: Raritan Pages: 37


