


Chapter 1.
Getting Started
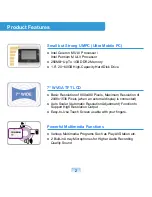
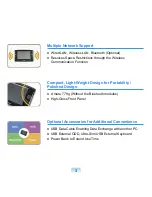
Product Features
2
Before You Start
4
Contents
7
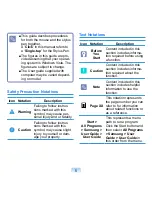
Safety Precautions
8
Proper Posture During Computer Use
18
Important Safety Information
20
Replacement Parts and Accessories
22
Regulatory Compliance Statements
24
WEEE SYMBOL INFORMATION
35
Overview
36
Turning the Computer On and Off
42


