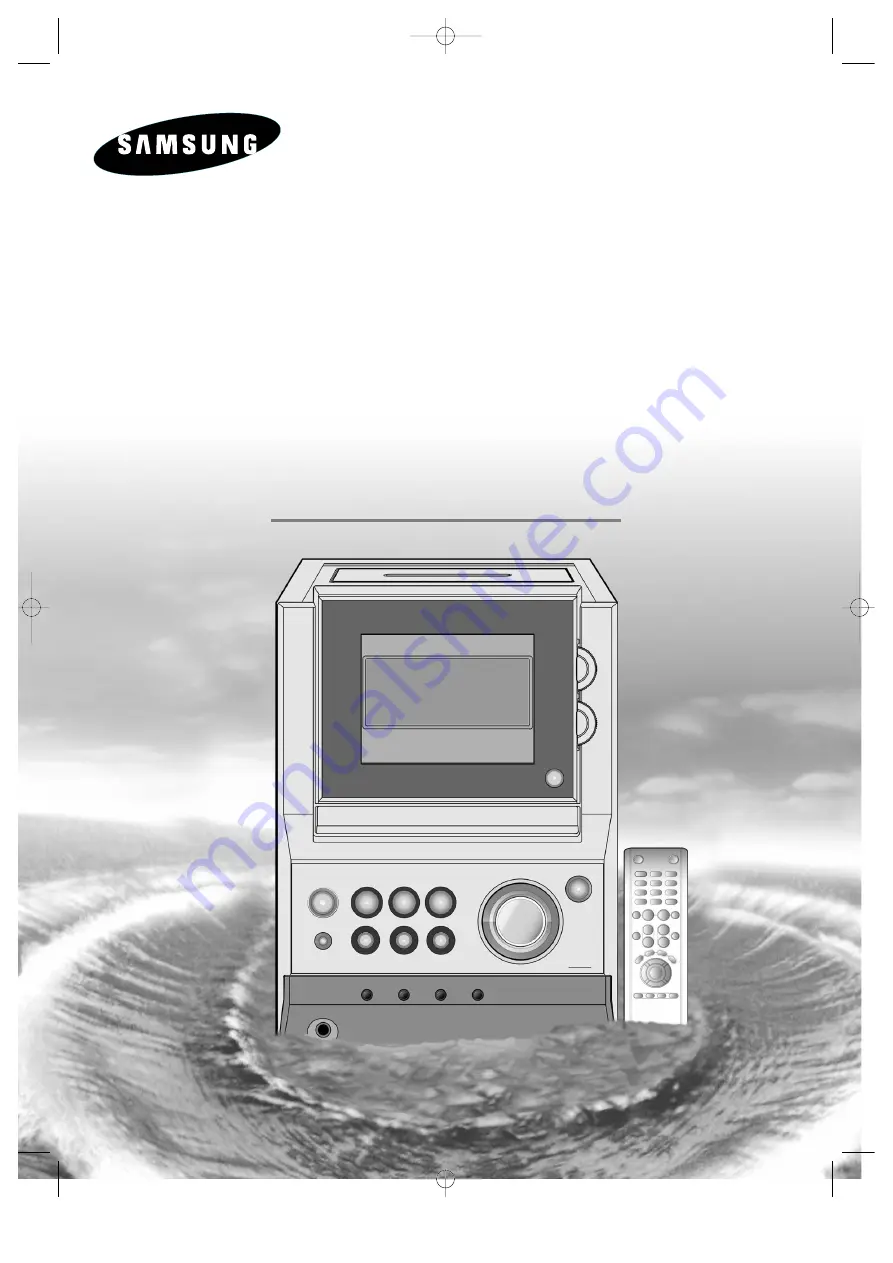
background image

Instruction Manual

MICRO COMPONENT
AUDIO SYSTEM

MP3-CD/CD-R/RW PLAYBACK

MM-ZJ8DAB 

 MM-ZJ8(GB)DAB  9/16/04 8:34  Page 1

Summary of Contents for MM-ZJ8DAB

Page 1: ...Instruction Manual MICRO COMPONENT AUDIO SYSTEM MP3 CD CD R RW PLAYBACK MM ZJ8DAB MM ZJ8 GB DAB 9 16 04 8 34 Page 1 ...

Page 2: ...the fuse is indicated on the pin face of the plug and if it requires replacing a fuse approved to BS1362 of the same rating must be used Never use the plug with the fuse cover omitted If the cover is detachable If a replacement fuse cover is required it must be of the same colour as the pin face of the plug Replacement covers are available from your dealer If the fitted plug is not suitable for th...

Page 3: ...acks on the Compact Discs 13 REPEAT A B Function 13 Last Memory Function 13 Programming the Order of Playback 14 Checking or Changing Programmed Tracks 14 TUNER Searching for and Storing the Radio Stations 15 Selecting a Stored Station 15 Improving Radio Reception 15 Listening to DAB Stations 16 Storing DAB Stations 17 DAB Related Functions 17 About RDS broadcasting 18 About RDS DISPLAY function 1...

Page 4: ...DE OR STOP BUTTON 5 DEMO DIMMER 6 SLEEP 7 HEADPHONE JACK CONNECTOR 8 REVERSE MODE 9 CD SYNCHRO REC PAUSE 10 VOLUME CONTROL 11 SRS WOW 12 DISC TRAY 13 CD DOOR OPEN CLOSE 14 BASS LEVEL 15 TREBLE LEVEL 16 PUSH EJECT CASSETTE DOOR OPEN CLOSE 1 2 3 4 5 6 7 8 9 10 11 13 12 14 15 16 MM ZJ8 GB DAB 9 16 04 8 34 Page 4 ...

Page 5: ... SEARCH 13 TAPE REWIND 14 TAPE STOP 15 TAPE PLAY 16 TAPE FAST FORWARD 17 CD STOP 18 PROGRAM SET 19 COUNTER RESET 20 SHUFFLE 21 TUNING UP OR DOWN ALBUM SKIP 22 TUNING MODE 10 23 SRS WOW 24 SLEEP 25 RDS SELECTION 26 REPEAT A B FM MONO STEREO 27 TIMER ON OFF 28 MUTE 29 TIMER CLOCK 1 2 3 4 5 6 7 8 9 10 11 12 13 14 29 28 27 26 25 24 23 22 21 20 19 18 17 16 15 MM ZJ8 GB DAB 9 16 04 8 34 Page 5 ...

Page 6: ... View 1 FM Aerial Connector Terminal 2 AM Aerial Connector Terminals 3 CD Digital Out optical 4 AUX Input 5 Loudspeaker Connector Terminals 6 DAB Aerial Connector Terminal 1 2 4 3 5 6 MM ZJ8 GB DAB 9 16 04 8 34 Page 6 ...

Page 7: ...eo sound Direct the loudspeakers towards the listening area For optimum performance make sure that both speakers are placed at an equal distance above the floor Where to Install Your Micro Component System Connecting your System to the Power Supply 2 Inserting Remote Control Batteries Insert or replace remote control batteries when you Purchase the micro component system Find that the remote contr...

Page 8: ...u were in a cinema Connecting to an External Source 1 2 3 4 5 Speaker Connection Directions in Installing Speaker Installation in a place near heating apparatus under direct lay of light or with high humidity may cause performance degradation of the speaker Do not install on the wall or on a high place of pole or other unstable place to prevent any safety accident caused by falling of the speaker ...

Page 9: ...lug the connector on the FM aerial supplied into the coaxial socket 75Ω marked FM on the rear of the system Follow the instructions given on Page 15 to tune into a radio station and determine the best position for the aerial If reception is poor you may need to install an outdoor aerial To do so connect an outdoor FM aerial to the FM socket on the rear of the system using a 75Ω coaxial cable not s...

Page 10: ...ppears in the display The current time is now set You can display the time even when you are using another function by pressing TIMER CLOCK once You can use buttons on the front panel to instead of buttons on the remote control Setting the Clock 1 2 3 4 5 6 7 You can view the various functions available on your system Press and hold DEMO DIMMER button Result The various functions available are lis...

Page 11: ...needs with the following procedures Turn the VOLUME control of the main unit or Press the VOLUME or button of the remote control The volume level can be adjust in 31 steps VOL MIN VOL 1 VOL 29 and VOL MAX To stop playback temporarily press the CD button Press CD again to continue playing the disc Press the STOP button when you have finished 1 2 3 4 5 8 7 6 To replay the CD MP3 CD 8 6 2 4 1 5 7 You...

Page 12: ...3 as their extension Files created in MP2 format Mpeg1 Layer2 with mp2 as their extension can also be played back How many MP3 files can a CD R or CD RW disc record The maximum capacity of one CD R or CD RW disc is 740MB Normally one MP3 file has a capacity of 4MB therefore approximately 180 files can be recorded on a single disc Kevin01 mp3 Album 01 E CD ROM drive Kevin02 mp3 Kevin03 mp3 Kevin04 ...

Page 13: ...APE Repeat A B playback the music passages to which you were listening is repeated 3 times Press CD TAPE button Result The CD TAPE player starts playing Press REP A B button Result The indications appear START A Time is memorized Press REP A B button Result The indications appear END B Time is memorized Your selected passages are repeated 3 times When you have finished the Repeat playback press RE...

Page 14: ...ET button may be used as the RESUME ON OFF function If the CD function is selected stop the player by pressing button Load the selected CD Press PROGRAM SET Result The following indications are displayed 01 Program no Track no on the disc Select the required track by pressing to move back through the tracks to move forward through the tracks Press PROGRAM SET to confirm your selection Result The s...

Page 15: ...and search for another station Otherwise a Press PROGRAM SET Result The PROG is displayed for a few seconds b Pressing or buttons on the front panel or or buttons on the remote control to assign a program number c Press PROGRAM SET to store the radio station Result PROG is no longer displayed and the station is stored To store any other radio frequencies required repeat Steps 3 to 5 The PROGRAM fu...

Page 16: ...use you have recently moved please set available services 174 928MHz 180 064MHz 185 360MHz 190 640MHz 195 936MHz 201 072MHz 206 352MHz 211 648MHz 216 928MHz 222 064MHz 227 360MHz 232 496MHz 237 488MHz 176 640MHz 181 936MHz 187 072MHz 192 352MHz 197 648MHz 202 928MHz 208 064MHz 213 360MHz 218 640MHz 223 936MHz 229 072MHz 234 208MHz 239 200MHz 178 352MHz 183 648MHz 188 928MHz 194 064MHz 199 360MHz 2...

Page 17: ...an store up to 6 DAB stations Information Display Function You can check various information about the service being received Tuning in to a Stored DAB Station Press 1 6 on the remote control to select the stored station If no station is stored when you press 1 6 NO MEMORY will appear on the display DLS Dynamic Label Segment Teletext Display This function may not work depending on the service area...

Page 18: ...on therefore this may not be displayed in all cases 5 TA Traffic Announcement When this symbol flashes it shows that the traffic announcement is in progress About RDS broadcasting PS NAME RT CT Current FM frequency About PS NAME MODE Displays the name of broadcasting station Press the RDS DISPLAY button to select the PS NAME PS NAME appears on the display If the PS information is being received th...

Page 19: ...uto search stops and the PTY SEARCH is finished PTY Program Type indication and PTY SEARCH function 1 2 2 2 Display NEWS AFFAIRS INFO SPORT EDUCATE DRAMA CULTURE SCIENCE VARIED POP M ROCK M M O R M LIGHT M CLASSICS OTHER M WEATHER FINANCE CHILDREN SOCIAL RELIGION PHONE IN TRAVEL LEISURE JAZZ COUNTRY NATION M OLDIES FOLK M DOCUMENT TEST Program Type News including an announced opinion and report Se...

Page 20: ...ette starts playing Press the or button if necessary To Press Rewind the cassette button Fast forward the cassette button When you have finished playback press button Your micro component system has three cassette playback modes which enable you to listen to both sides of a cassette automatically Press REV MODE until the appropriate symbol is displayed When the display indicates The micro componen...

Page 21: ...with the start of the disc or track of your choice Switch the system on by pressing Insert a blank cassette in Deck Press the PUSH EJECT button to open the cassette door insert a cassette and then close the cassette door Insert the cassette with the safety tabs Load a compact disc Press the OPEN CLOSE button to open the CD door Insert a CD and press the OPEN CLOSE button to close the CD door Press...

Page 22: ... or button d Press PROGRAM SET Result VOL 10 is displayed where 10 corresponds to the volume already set Press or button to adjust the volume level and press PROGRAM SET Result The source to be selected is displayed Press or button to select the source to be played when the system switches on If you select You must also TAPE cassette Insert a cassette tape TUNER radio a Press PROGRAM SET b Select ...

Page 23: ... functions and the SRS WOW function that enhances sound clarity Press the SRS WOW button Result Each time the button is pressed the selection changes as follows PASS TRU BASS SRS SRS WOW TruBASS Function Enhances the bass and low frequencies to produce deep and rich bass sounds SRS Function Provides the surround sound that fills the room SRS WOW Function Provides the surround sound effects with en...

Page 24: ...e remaining time by pressing SLEEP Change the remaining time by repeating Steps 1 and 2 To cancel SLEEP function press SLEEP one or more times until OFF is display Setting the System to Switch off Automatically 1 2 3 90 MIN 90 MIN 60 MIN 45 MIN OFF 15 MIN 30 MIN You can connect a set of headphones to your micro component system so that you can listen to music or radio programmers without disturbin...

Page 25: ...n direct sunlight etc If the unit emits an unpleasant odor when in use unplug it from the main supply and contact the after sales service Cleaning Your Micro Component System 1 1 2 2 The following diagrams illustrate the precautions to be taken when using or moving your micro component system Safety Precautions Ambient operating conditions Ambient temperature 5 C 35 C Humidity 10 75 Do not expose ...

Page 26: ... work There is no sound The Timer does not work In case it does not work even the action is taken as above The compact disc player does not start playing The tape does not start playing The volume falls off The cassette is not erased correctly There is excessive wow and flutter Reception is poor or no radio stations are received at all G E N E R A L C D R A D I O C A S S E T T E S Checks Explanati...

Page 27: ...ty 3 dB Total harmonic distortion 1 0 COMPACT DISC PLAYER Frequency range 20 Hz 20 KHz 1 dB Signal noise ratio 90 dB at 1 KHz with filter Distortion 0 05 at 1 KHz Channel separation 80 dB Disc sizes Diameter 120 or 80 mm Thickness 1 2 mm TAPE DECK Frequency range 125 Hz 10 KHz Signal noise ratio 40 dB Channel separation 35 dB Erasing effect 60 dB AMPLIFIER Output power 4 Ω 2X35 Watts RMS total har...

Page 28: ...THIS APPLIANCE IS MANUFACTURED BY AH68 01551B ELECTRONICS MM ZJ8 GB DAB 9 16 04 8 35 Page 28 ...

Reviews:

Related manuals for MM-ZJ8DAB