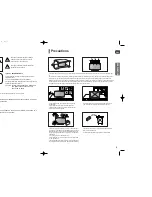


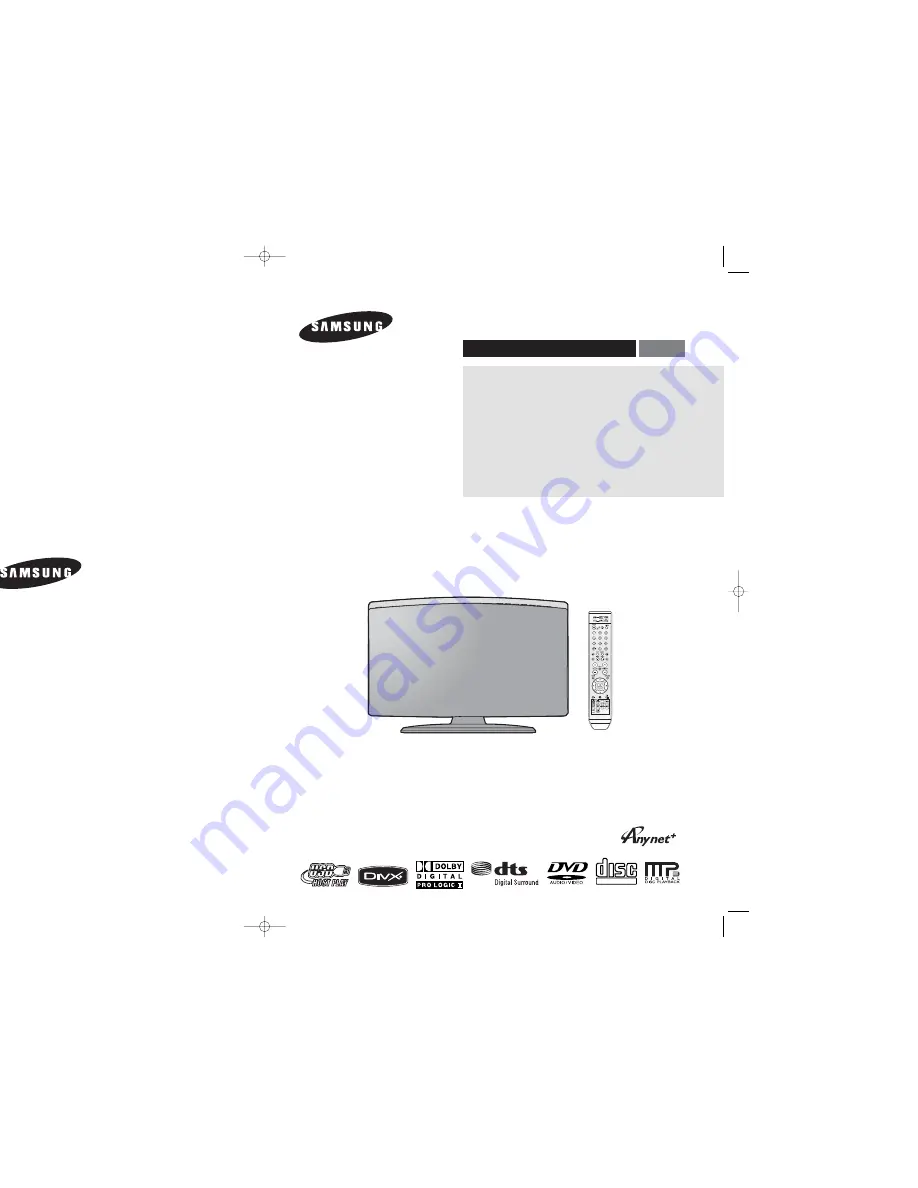
DIGITAL HOME
THEATER SYSTEM
HT-X250
HT-TX250
EJECT
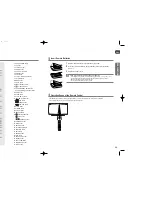
COMPACT
DIGITAL VIDEO
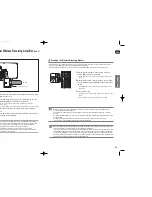
ENG
Instruction Manual
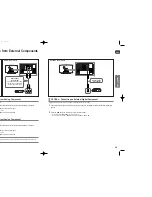
AH68-
01660E
REV: 01
If you have any questions or comments relating to Samsung products,
please contact the SAMSUNG customer care center.
Samsung Electronics America, Inc.
1-800-SAMSUNG (7267864)
www.samsung.com
AH68-01943K
HT-X250-TX250(1~41P)-NO EUR 2007.3.19 5:50 PM Page 2