


DIGITAL HOME
CINEMA SYSTEM
HT-DM150
HT-DM160
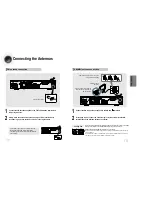
TV DVD RECEIVER
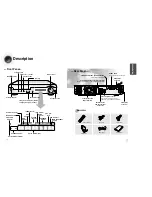
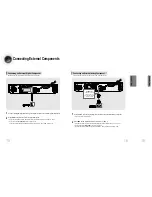
OPEN/CLOSE
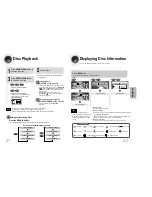
DVD
TUNER
AUX
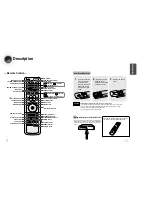
EZ VIEW
NTSC/PAL
SLOW
SUBTITLE
STEP
TUNING/CH
PL II
RETURN
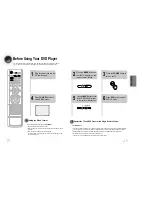
MEN
U
INFO
MUTE
MODE
ENTER
SOUND EDIT
TEST TONE
RDS DISPLAY
PTY–
PTY+
PTY SEARCH
TA
SLEEP
LOGO
DIGEST
SLIDE MODE
CANCEL
ZOOM
REMAIN
TUNER
MEMORY
PL II
EFFECT
VOLUME
DSP/EQ
REPEAT
BAND
MO/ST
TV/VIDEO
MODE
DIMMER
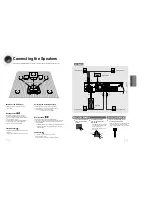
V I D E O
COMPACT
DIGITAL AUDIO
COMPACT
DIGITAL VIDEO
Instruction Manual
AH68-01324B
THIS APPLIANCE IS MANUFACTURED BY:


