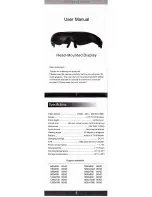
Samsung Gear VR, User Manual
The Samsung Gear VR, a cutting-edge virtual reality device, takes you on immersive adventures. Explore a vast library of games, videos, and experiences, all accessible with the utmost convenience. Unlock the full potential of your device with the free user manual available for download on our website, manualshive.com.
Share
Download


Reviews:
No comments
Related manuals for Gear VR
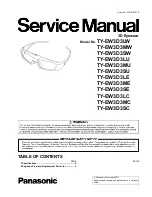
TY-EW3D3LW
Brand: Panasonic Pages: 5
TY-EW3D3LU
Brand: Panasonic Pages: 15
TY-EW3D10E
Brand: Panasonic Pages: 4
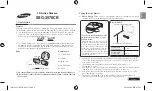
SSG-3570CR
Brand: Samsung Pages: 93
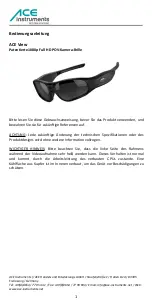
ACE View
Brand: ACE INSTRUMENTS Pages: 55
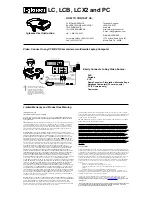
LC
Brand: i-glasses Pages: 2
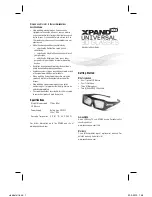
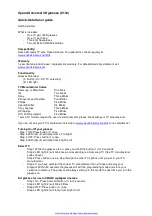
Universal
Brand: Xpand Pages: 2
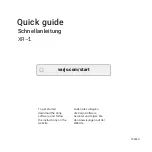
XR-1
Brand: Varjo Pages: 4
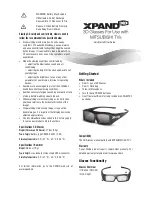
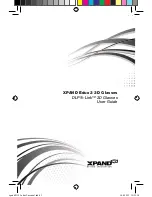
XPAND 3D
Brand: Xpand Pages: 2
XR-4
Brand: Varjo Pages: 45
X103
Brand: Xpand Pages: 2

95596
Brand: Hama Pages: 20

ATN PS31
Brand: American Technologies Network Pages: 33

SUNWAVE
Brand: YEAZ Pages: 20
Edux 3
Brand: Xpand Pages: 12
Speed Demon
Brand: Fast Metal Pages: 16
CVAGK-E516
Brand: chinavasion Pages: 4

PLASFUN
Brand: Y&Y Vertical Pages: 6


