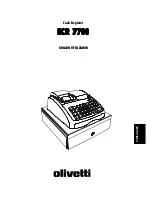


IMPORTANT NOTICE
THE CASH REGISTER WILL OPERATE CORRECTLY ONLY AFTER THE FOLLOWING
STEPS HAVE BEEN CARRIED OUT:
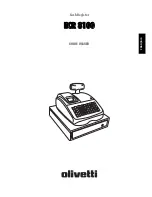
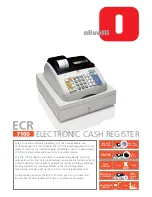
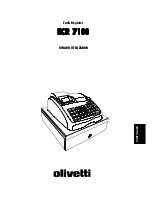
UNPACK THE CASH REGISTER
Please locate the following Items :-
1 x Paper Roll
1 x Rewind Spindle
1 x Set of Batteries
INITIALISING THE CASH REGISTER
•
Slide the control switch to the
P
position.
•
Press and hold down the
C
and
00
buttons.
•
With both buttons held down plug the cash register into the power socket.
•
The printer will print a line of dots, you can now release the buttons.
•
Remove battery cover and insert the batteries as shown in your operators guide.
(Located beneath the till roll cover)
•
Replace battery cover and insert the paper roll as shown in your operators guide.
•
Slide the control switch to the
R
position ready for use.
SETTING THE DATE
Please Note:
The date needs to be programmed every day.
•
Slide the control switch to the
X
position.
•
Enter the Date using 6 digits.
For example enter
010899
for the 1
st
of August 1999
•
Press the
CH
button.
•
Slide the control switch to the
R
position ready for normal use.
SETTING THE RECEIPT OR JOURNAL OPERATION
•
Slide the control switch to the
P
position.
•
Enter
00
for Receipt or
01
for Journal.
•
Press the
SUBTOTAL
button.
•
Slide the control switch to the
R
position ready for normal use.
REMOVE THE RUNNING GRAND TOTAL ON REPORTS
•
Slide the control switch to the
P
position.
•
Enter
01110
then press the
PO
button.
•
Slide the control switch to the
R
position ready for normal use.
PREVENT NON USED ITEMS PRINTING ON REPORTS
•
Slide the control switch to the
P
position.
•
Enter
01110
then press the
RA
button.
Slide the control switch to the
R
position ready for normal use.