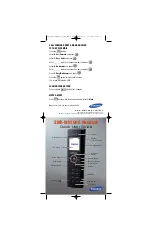
Samsung DS-5014D, User Manual
The Samsung DS-5014D phone is a versatile and user-friendly device designed to streamline communication in any professional setting. To maximize your experience, make sure to refer to the comprehensive user manual, available for free download at manualshive.com. Explore the myriad of features and functionalities at your fingertips with this essential manual.
Share
Download


Reviews:
No comments
Related manuals for DS-5014D
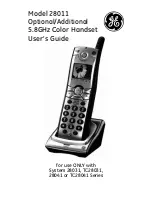
28011EE1
Brand: GE Pages: 46
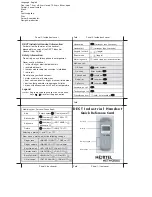
Industrial Handset
Brand: Nortel Pages: 1
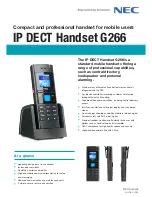
G266
Brand: NEC Pages: 4
GM338
Brand: KCM Pages: 89
DCX700
Brand: Uniden Pages: 8
G955
Brand: NEC Pages: 10
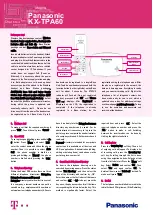
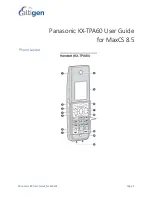
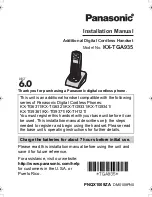
KX-TPA60
Brand: Panasonic Pages: 2
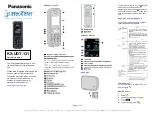
KX-UDT131
Brand: Panasonic Pages: 2
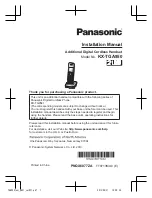
KX-TPA60
Brand: Panasonic Pages: 5
KX-TGA950B
Brand: Panasonic Pages: 16
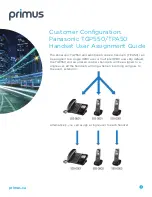
TGP 550
Brand: Panasonic Pages: 4
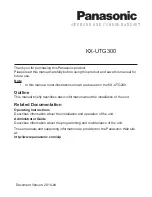
KX-UTG200
Brand: Panasonic Pages: 17
KX-TG6311
Brand: Panasonic Pages: 11
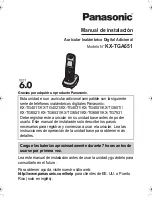
KX-TGA651B
Brand: Panasonic Pages: 16
SMT-W5100E
Brand: Samsung Pages: 4
N510
Brand: KCM Pages: 93
PLAY
Brand: Jabra Pages: 78
Handset 450
Brand: Jabra Pages: 8


