


Summary of Contents for AVH-P7490DVD
Page 115: ...114 Changing the Initial Settings of AV Receiver ...
Page 149: ...148 Troubleshooting ...
Page 171: ...170 Installation ...
Page 174: ......
Page 175: ......
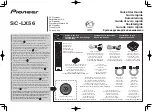
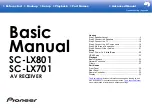
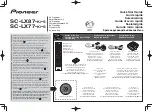
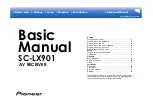
The Pioneer AVH-P7490DVD is a high-performance car DVD player and receiver. Take full control of your entertainment system with its user-friendly interface and customizable settings. Enhance your driving experience with its advanced features. Get the Owner's Manual for free and download it from our website, manualshive.com.
Page 115: ...114 Changing the Initial Settings of AV Receiver ...
Page 149: ...148 Troubleshooting ...
Page 171: ...170 Installation ...
Page 174: ......
Page 175: ......