Engineering Excellence
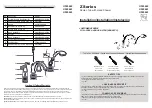
Installation Guide
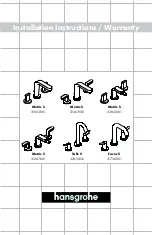
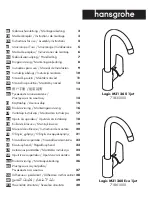
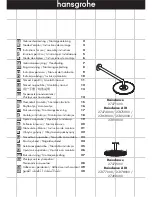
Two Handle Lavatory Faucet:
3CB100* • 3BR120 • 3BR300*
•
3CB101* • 3BR130* • 3BR310*
•
3PR100* • 3BR200* • 3BR320
•
3AM100* • 3BR210* • 3BR330*
•
3BR100* • 3BR220 • 3MT100*
•
3BR110* • 3BR230* • 3MT110*
•
This product meets the following standards:
ASME A112.18.1
•
ANSI A117.1
•
ANSI / NSF 61, SECTION 9
•
CUPC / IAPMO LISTED / *ADA COMPLIANT
•
CONTAINS NO MORE THAN 0.25% WEIGHTED AVERAGE LEAD
•
CONTENT
Pioneer Industries, Inc. © 2012