


Summary of Contents for HTD3511
Page 2: ......
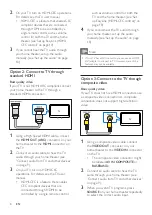
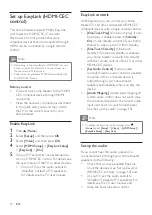
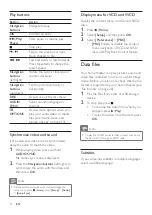
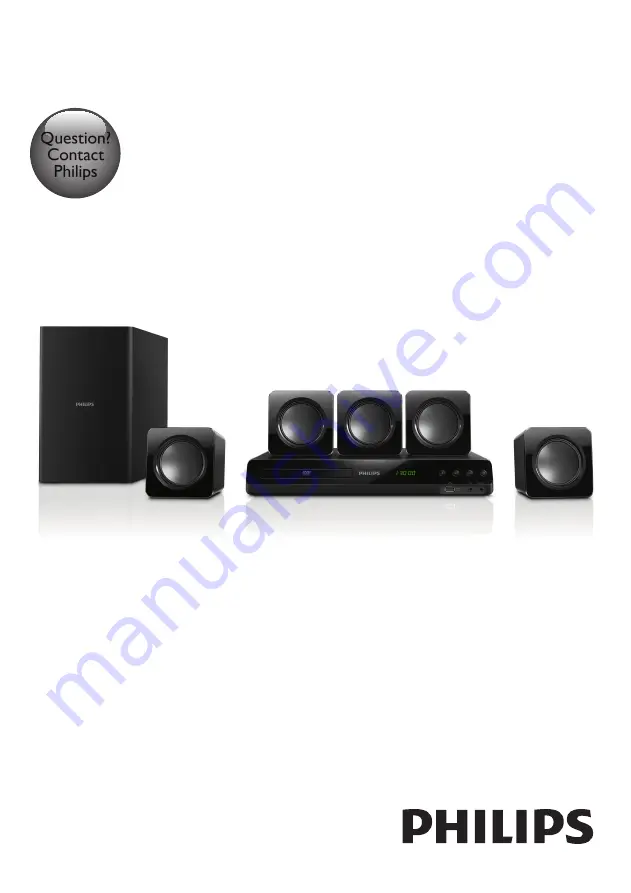
The Philips HTD3511 is a high-quality home theater system that delivers immersive audio experience. To ensure you get the most out of this product, we provide a comprehensive User Manual that you can download for free from our website. Discover all the features and settings to optimize your audio setup.
Page 2: ......


