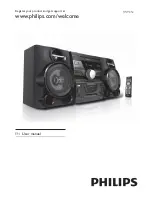
Philips FWD185, User Manual
The Philips FWD185 service manual is an essential resource for users seeking detailed instructions and troubleshooting information. Download this comprehensive manual for free from our website, offering a convenient and user-friendly platform for accessing product-related resources. Explore the Philips FWD185 manual and unravel the full potential of your device.
Share
Download


Reviews:
No comments
Related manuals for FWD185
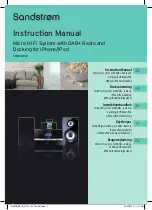
S1MDABI11E
Brand: Sandstrom Pages: 148
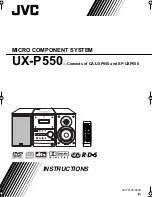
FS-P550
Brand: JVC Pages: 48
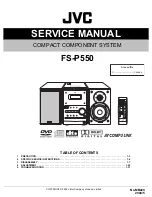
FS-P550
Brand: JVC Pages: 32
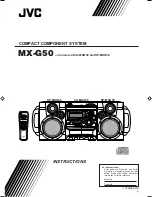
MX-G50
Brand: JVC Pages: 28
RXD-A41
Brand: Kenwood Pages: 56

FA162
Brand: LG Pages: 65
XP16DAB
Brand: LG Pages: 18
XPS16F
Brand: LG Pages: 20
22H541
Brand: Philips Pages: 14
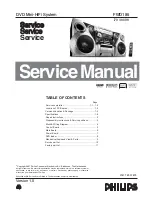
FWD185
Brand: Philips Pages: 94
FWM452
Brand: Philips Pages: 23
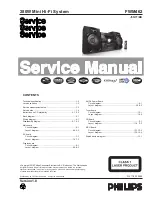
FWM452
Brand: Philips Pages: 31
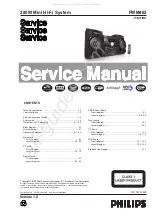
FWM462
Brand: Philips Pages: 31
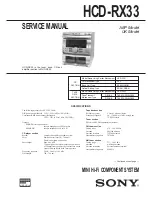
HCD-RX33
Brand: Sony Pages: 42
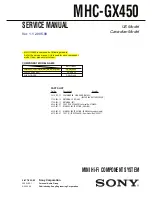
MHC-GX450 - Mini Hi Fi Stereo System
Brand: Sony Pages: 19
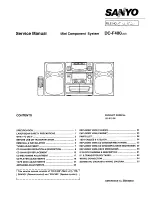
DC-F400
Brand: Sanyo Pages: 62
XL-HF301PH(S)
Brand: Sharp Pages: 22

XL-HP404E
Brand: Sharp Pages: 36


