


Summary of Contents for EasyKey 5000 Series
Page 2: ......
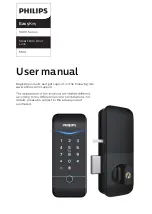
Get a hassle-free experience with the Philips EasyKey 5000 Series! Our user-friendly product ensures smooth operations every time. Enhance your understanding with our comprehensive User Manual, available for free download at manualshive.com. Discover the ultimate convenience and optimize your usage of this incredible product with our detailed manual.
Page 2: ......