


Summary of Contents for DTR 7510
Page 2: ... 2 ...
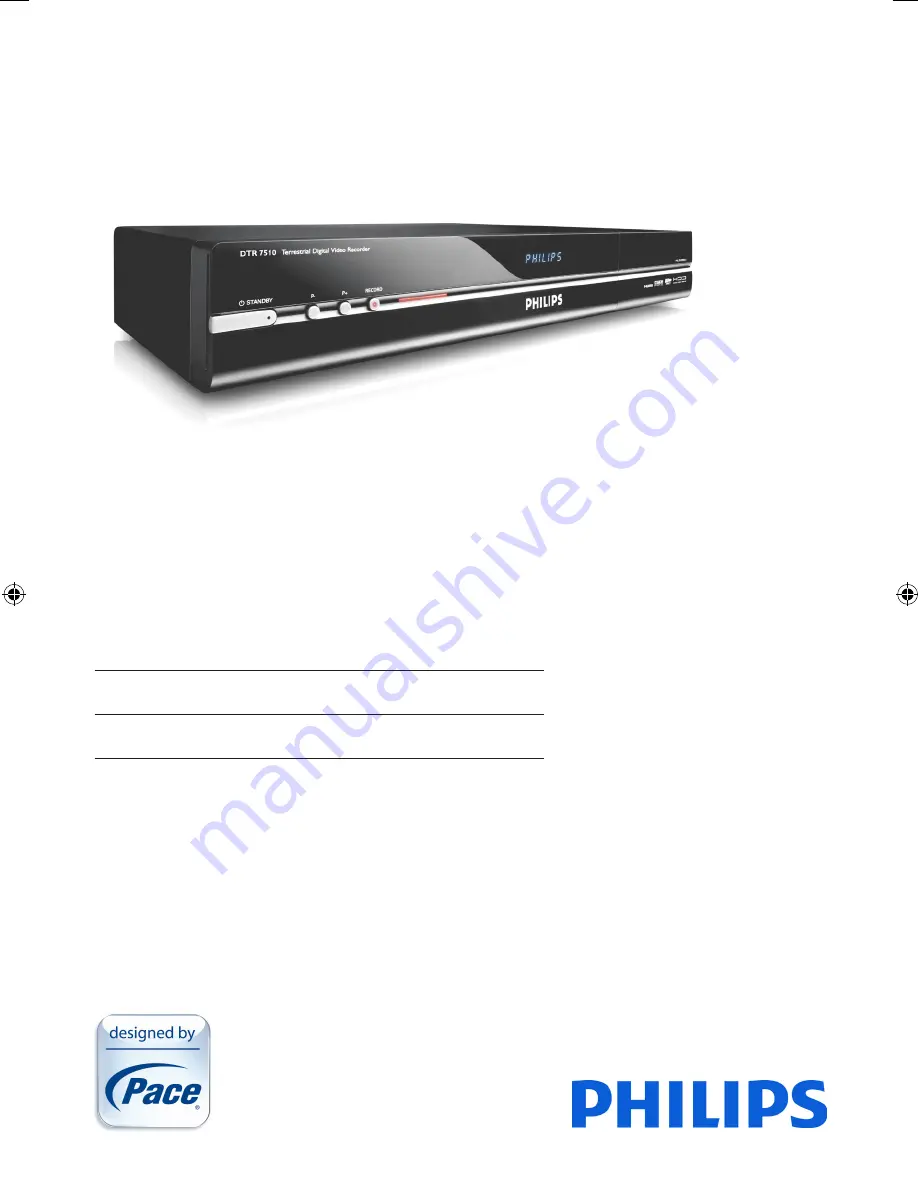
The Philips DTR 7510 User Manual is available for free download at manualshive.com, providing detailed instructions and information on operating this top-of-the-line product. Navigate through its features effortlessly with the help of this comprehensive manual, ensuring a seamless user experience. Grab your free manual now!
Page 2: ... 2 ...