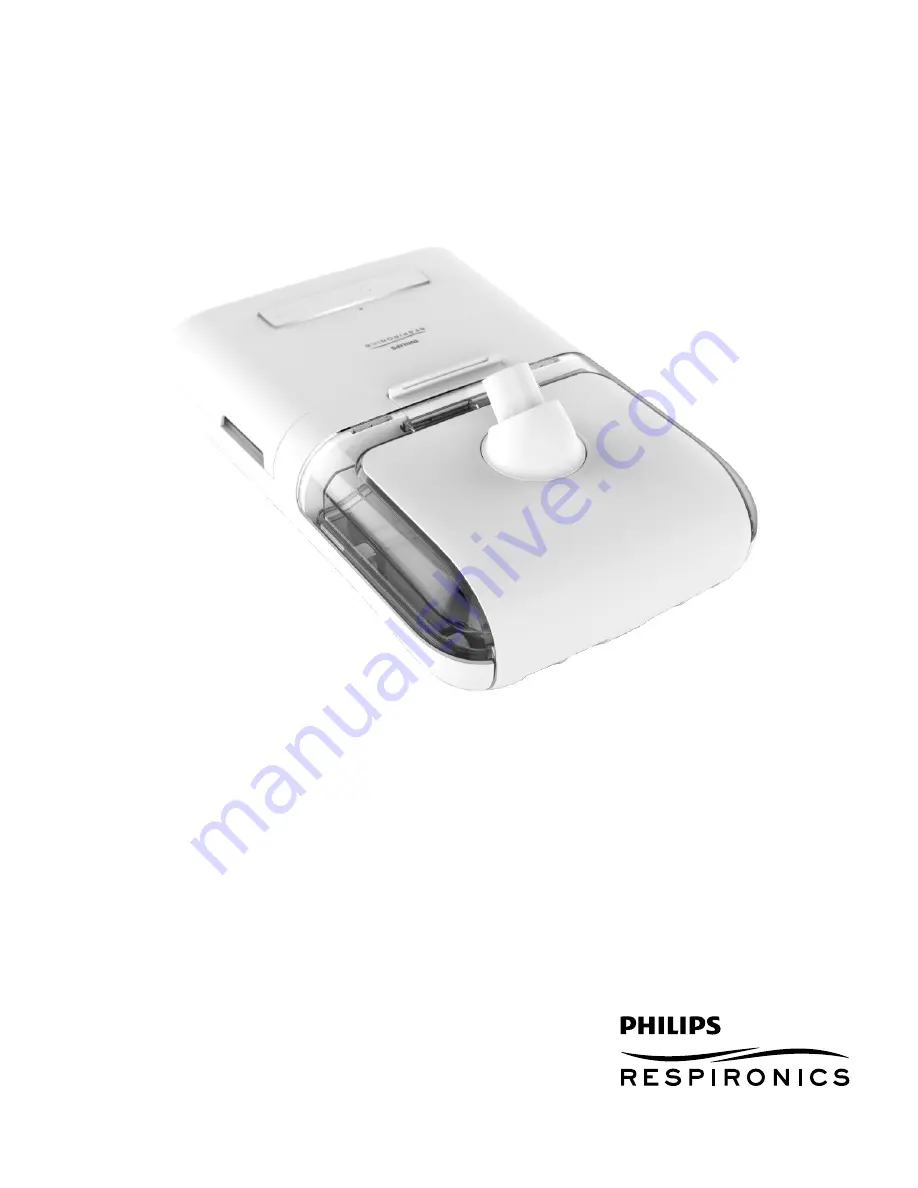
Philips DreamStation, User Manual
Looking for a user-friendly device that ensures peaceful sleep? Look no further! The Philips DreamStation is the perfect solution. This cutting-edge sleep therapy system comes with an easy-to-understand user manual, absolutely free. Simply visit manualshive.com to download this indispensable guide and optimize your DreamStation experience.
Share
Download


Reviews:
No comments
Related manuals for DreamStation

R Series
Brand: ZOLL Pages: 12

Pulsar
Brand: Magnitone Pages: 47

Icare HOME TA022
Brand: Icare Pages: 17
Kinetec Spectra Essential
Brand: Patterson Medical Pages: 104
Propaq MD
Brand: ZOLL Pages: 142

Mobile PowerWrap HBP4000
Brand: Soft Heat Pages: 24
MCT 3L
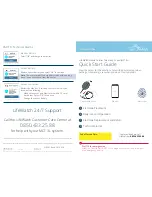
Brand: LifeWatch Pages: 4
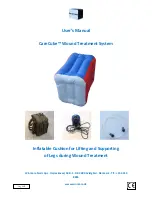
CareCube
Brand: Winncare Pages: 15
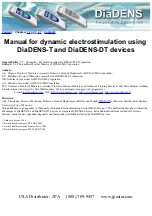
DiaDENS-DT
Brand: JPA Pages: 95
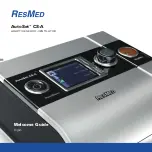
AutoSet CS-A
Brand: ResMed Pages: 13

Mobile Defender
Brand: Caretrak Pages: 16

SOLOPAD
Brand: Sunlighten Pages: 12

CHANGE X
Brand: Expain Pages: 100
RootRx
Brand: Rooti Pages: 10

CardioMessenger-S TLine
Brand: BIOTRONIK Pages: 52
S8 AutoSet II
Brand: ResMed Pages: 20
iSleep 20+
Brand: Breas Pages: 2

Sara Stedy
Brand: Arjohuntleigh Pages: 76


