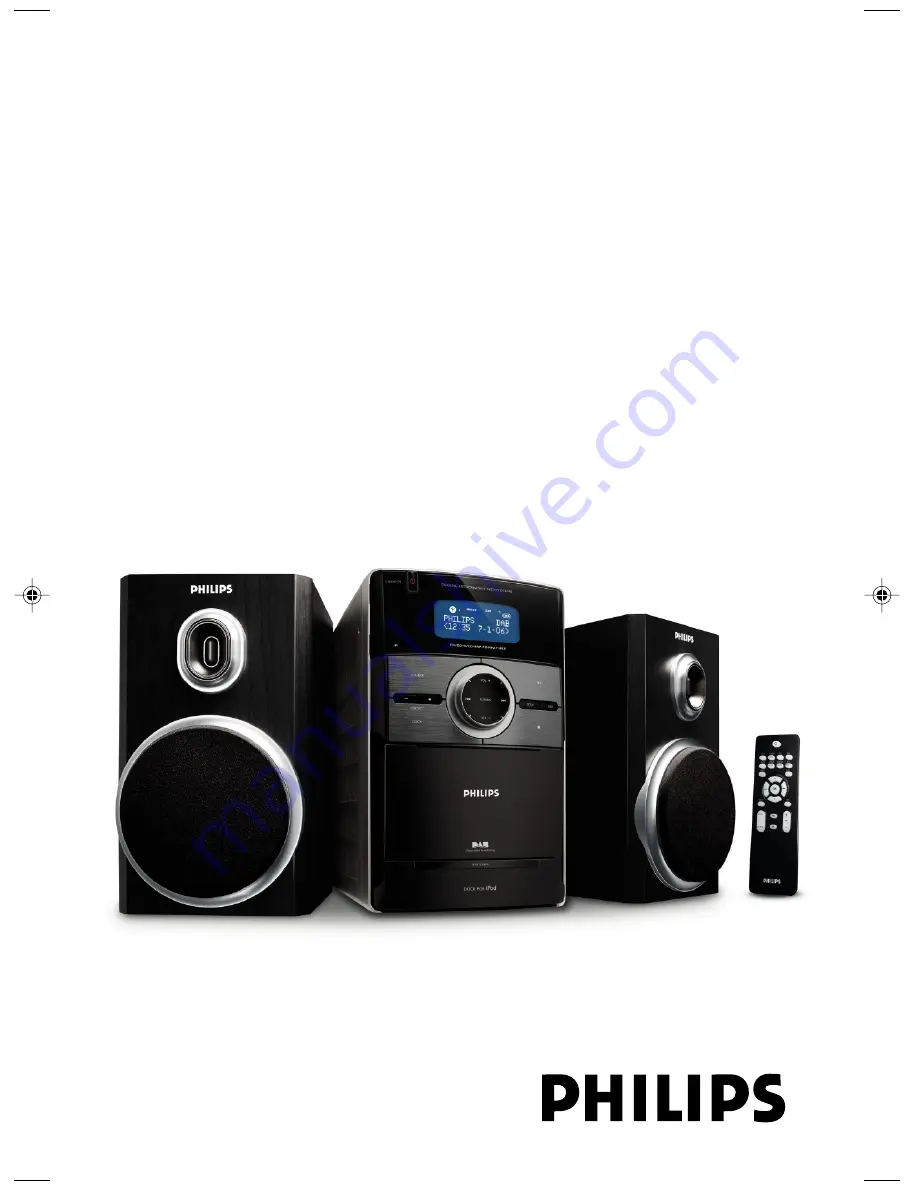
background image

DCB146

DAB Docking Entertainment System

User manual

Register your product and get support at

www.philips.com/welcome

DCB146_05_Eng

7/1/08, 12:02

1

Summary of Contents for DCB146/05

Page 1: ...DCB146 DAB Docking Entertainment System User manual Register your product and get support at www philips com welcome ...

Page 2: ...How to connect a plug The wires in the mains lead are coloured with the following code blue neutral N brown live L As these colours may not correspond with the colour markings identifying the terminals in your plug proceed as follows Connect the blue wire to the terminal marked N or coloured black Connect the brown wire to the terminal marked L or coloured red Do not connect either wire to the ear...

Page 3: ...3 1 2 0 9 8 7 6 3 4 5 PULLTO OPEN 1 0 8 9 2 4 5 3 6 7 ...

Page 4: ...ng on DAB radio 14 Changing DAB stations 14 Scanning for DAB stations 14 Storing for DAB presets 14 Selecting a preset DAB station 15 Resetting to the factory setting also available in FM mode 15 Changing the DAB station information 15 Using the MENU control 15 16 Manual tune Local scan and Full scan Dynamic Range Control DRC Software version FM Radio Tuning to radio stations 17 Programming radio ...

Page 5: ... to dripping or splashing Install the unit near the AC outlet and where the AC power plug can be easily reached Place the system in a location with adequate ventilation to prevent internal heat build up in your system Allow at least 10 cm 4 inches clearance from the rear and the top of the unit and 5 cm 2 inches from each side The ventilation should not be impeded by covering the ventilation openi...

Page 6: ...ipment reasonably and take appropriate breaks Be sure to observe the following guidelines when using your headphones Listen at reasonable volumes for reasonable periods of time Be careful not to adjust the volume as your hearing adapts Do not turn up the volume so high that you can t hear what s around you You should use caution or temporarily discontinue use in potentially hazardous situations Do...

Page 7: ...f the speaker wire into the terminal as shown 1 2 Rear connections The type plate is located at the rear of the system For users in the U K please follow the instructions on page 2 A Power Before connecting the AC power cord to the wall outlet ensure that all other connections have been made WARNING For optimal performance use only the original power cable Never make or change any connections with...

Page 8: ...sert two R03 or AAA batteries following the indications inside the compartment 3 Close the cover 3 1 2 Using the Remote Control to operate the system 1 Aim the Remote Control directly at the remote sensor IR on the front panel 2 Do not put any objects between the Remote Control and the system while operating the system CAUTION Remove batteries if they are exhausted or if the Remote Control is not ...

Page 9: ... of the current previous subsequent track fast searches back and forward within a track CD for clock timer adjusts the hours and minutes for the clock timer function VOL adjusts the volume level PULLTO OPEN opens closes the CD door AUX jack located on the back panel connects an external source 3 5 mm socket HEADPHONE located on the back panel connects headphones Controls on the remote control 1 2 ...

Page 10: ...ection SCAN for DAB in UK press briefly to auto search and store all local DAB stations of small range outside UK press and hold to auto search and store all DAB stations of wide full range for FM press briefly to tune to a radio station press and hold to program radio station INFO RDS for DAB selects station information in seven types for FM selects RDS Radio Data System information DISPLAY CLOCK...

Page 11: ...2 seconds The backlight for clock display is dim Power saving automatic standby The power saving feature automatically switches to standby 15 minutes after a CD playback has ended and no control is operated Note In the Eco power standby no button except SOURCE and STANDBY ON buttons can be activated Adjusting volume and sound 1 Press VOL to adjust volume Display shows the volume level VOL and a nu...

Page 12: ...PLAY icon flashes when playback is interrupted To resume press 2 again To stop playback Press 9 Notes CD play will also stop when the CD door is opened the disc has reached the end you select another source FM DAB iPod or AUX you select standby IMPORTANT The lens of the CD player should never be touched Loading a disc This CD player plays Audio Discs including CD Recordables and CD Rewritables CD ...

Page 13: ...layback Press 9 again to cancel repeat shuffle play mode Note The SHUFFLE and REPEAT functions can be used simultaneously Programming track numbers Programme in the STOP position to select and store your disc tracks in the desired sequence If you like store any track more than once Up to 30 tracks can be stored in the memory 1 In the stop position use the TUNING 4 or 4 on the remote control to sel...

Page 14: ...itoring The symbol indicates that the station is not currently available or not active This symbol indicates that the station is a primary station with secondary service This symbol indicates that the station is a secondary station Scanning for DAB stations New stations and services will be regularly added in the DAB broadcast To make new DAB stations and service available on your DAB radio a sear...

Page 15: ...p option Manual tune is displayed 2 Press 4 to scroll the menu options Manual tune Auto scan local Auto scan full DRC value Sw version 3 To select an option press OK 4 Repeat steps 2 3 if sub option is available under one option Manual tune By using this feature it is possible to manually tune to a specific channel frequency In addition to antenna orienting for better radio reception the optimal r...

Page 16: ...ion DRC 0 No compensation applied DRC 1 Maximum compensation applied the default DRC1 2 Medium compensation applied 1 In DAB mode press MENU to enter the menu options 2 Press 4 repeatedly until DRC value is displayed 3 Press OK to enter the sub menu The current DRC level will be displayed on the first line 4 Press 4 to select a DRC value DRC 0 DRC 1 and DRC1 2 displayed on the second line 5 Press ...

Page 17: ...ations from preset 1 Any previous presets e g manually programmed will be erased Press and hold SCAN for more than two seconds to activate programming FM Scanning is displayed during searching and storing All available stations are programmed Manual programming 1 Tune to your desired station seeTuning to radio stations 2 Press briefly PROG on the remote control to activate programming 3 Press PRES...

Page 18: ... together with the RDS signal This only works if the RDS station is sending this time signal To turn on or off clock synchronizing When clock synchronizing is turned on clock is synchronized with the time set by DAB or RDS and manually set clock is overwritten In DAB or FM mode press and hold MENU on the set or REPEAT on the remote control for around 2 seconds to switch it on or off Note Some RDS ...

Page 19: ...K on the set or iPod on the remote control to select iPod source The connected player will play automatically Notes By using the buttons 2 1 2 and VOLUME on the set and its remote control the following disc playback features are available Play Pause selecting next previous track fast forwarding rewinding and changing volume The buttons 2 1 2 and VOLUME on the set and its remote control can work on...

Page 20: ...ng cloth Wipe the disc from the centre out Do not use solvents such as benzene thinner commercially available cleaners or antistatic spray intended for analogue records Cleaning the disc lens After prolonged use dirt or dust may accumulate at the disc lens To ensure good playback quality clean the disc lens with Philips CD Lens Cleaner or any commercially available cleaner Follow the instructions ...

Page 21: ...f you have selected a time To deactivate during playback press TIMER SLEEP on the remote control once or more until 00 is shown or press STANDBY ON 2on the system or 2 on the remote control disappears from the display Setting the clock 1 In standby mode press and hold CLOCK DISPLAY on the remote control set for 2 seconds 2 Press PROG to select 12 hour or 24 hour display 3 Press CLOCK DISPLAY to co...

Page 22: ...A TUNER FM wave range 87 5 108 MHz Sensitivity FM 26 dB sensitivity 20 µV Total harmonic distortion 5 SPEAKERS Bass reflex system Dimensions w x h x d 134 x 230 x 152 mm GENERAL INFORMATION AC Power 220 230V 50 Hz Dimensions w x h x d 148 x 233 x 216 mm Weight with without speakers approx 3 65 1 53 kg Power consumption Active 15 W Standby 4 W Specifications and external appearance are subject to c...

Page 23: ...nect the headphones Check that the speakers are connec ted correctly Check if the stripped speaker wire is clamped Check the speaker connections and location Select the source DISC orTUNER for example before pressing the function button 2 4 Reduce the distance between the remote control and the system Insert the batteries with their polarities signs aligned as indicated Replace the batteries Point...

Page 24: ... timer Power has been interrupted or the power cord has been disconnected Reset the clock timer DAB coverage is currently not available in your area Wait until the coverage resumes DAB signal is weak Adjust the position of the antenna The station is currently out of service Wait until the service resumes Or perform a scan by pressing SCAN in DAB mode OK button was not pressed after changing a stat...

Page 25: ...English Français Português Español Deutsch Nederlands Italiano Svenska Dansk Suomi Polski Printed in China DCB146 PDCC JH ZYL 0827 Meet Philips at the Internet http www philips com CLASS 1 LASER PRODUCT ...

Reviews: