


V O
LU
ME
+
V O
LU
ME
-
PIC
TU
RE
SIZE -
PIC
TU
RE SIZ
E +
ME
NU
OK
V O
LU
ME
+
V O
LU
ME
-
PICT
UR
E SIZE -
PICT
UR
E SIZ
E +
ME
NU
OK
V O
LU
ME
-
SO
UR
CE
V O
LU
ME
-
SO
UR
CE
S-
VI
DE
O
D A
T A
VI
DE
O
A V
M
UT
E
S-
VI
DE
O
D A
T A
VI
DE
O
ST
AN
DB
Y
T A
ND
BY
A V
M
UT
E
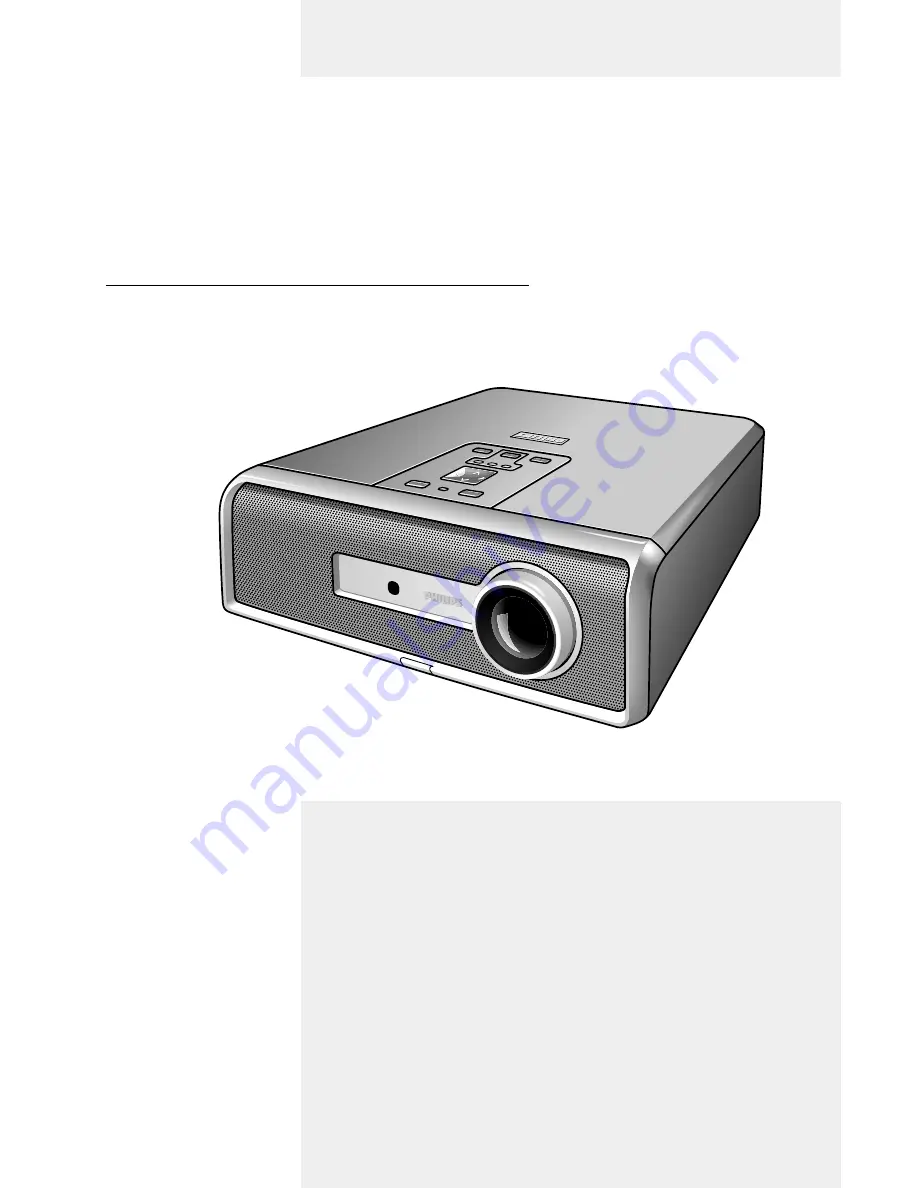
Multimedia Projector
bClever SV1
Philips
User guide
English


