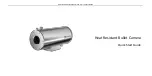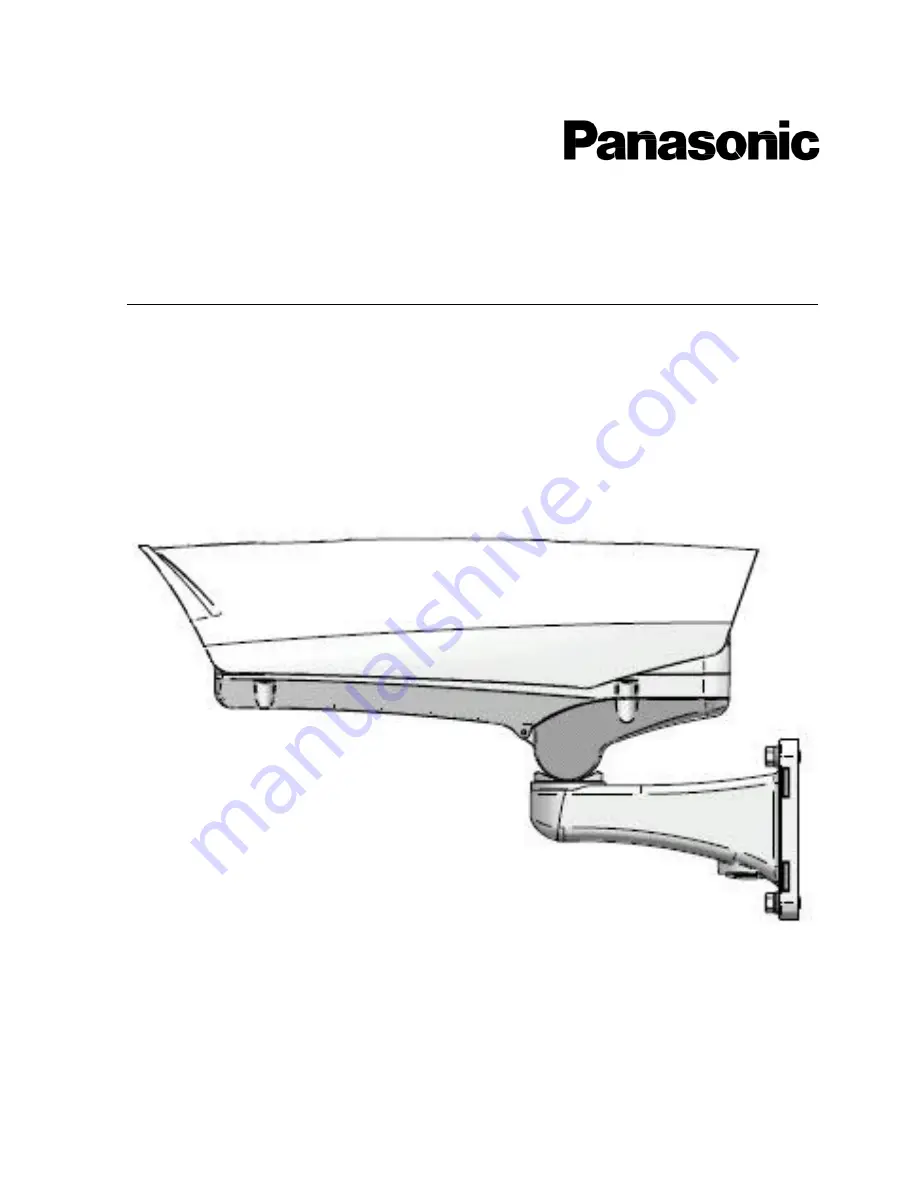
Operating Instructions
Thermal Camera
Model numbers:
TC0938450-015CE
TC0938450-019CE
TC0938450-025CE
TC0938450-045CE
TC2538450-015CE
TC2538450-019CE
TC2538450-025CE
TC2538450-045CE
TC0964070-025CE
TC0964070-045CE
TC2564070-025CE
TC2564070-045CE
Before attempting to connect or operate this product, please read these instructions carefully and save this manual
for future use.