Panasonic sv-3200, Operating Instructions Manual
The Panasonic SV-3200 Operating Instructions Manual is essential for maximizing the potential of your device. This comprehensive manual provides step-by-step guidance for user-friendly operation. Download this valuable resource for free from our website to gain a full understanding of the Panasonic SV-3200 and unlock its unlimited possibilities.
Share
Download


Reviews:
No comments
Related manuals for sv-3200
1700 series
Brand: TANDBERG Pages: 8
TS-100
Brand: V-TEK Pages: 2
HK200
Brand: Harman Kardon Pages: 8
9000X
Brand: TANDBERG Pages: 24
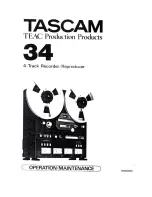
34
Brand: Tascam Pages: 44
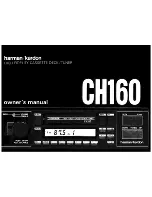
CH160
Brand: Harman Kardon Pages: 17
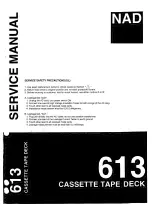
613
Brand: NAD Pages: 16
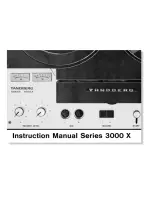
3000 X series
Brand: TANDBERG Pages: 23
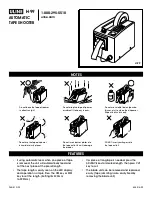
H-99
Brand: U-Line Pages: 5
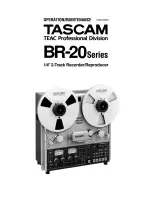
BR-20 Series
Brand: Tascam Pages: 32
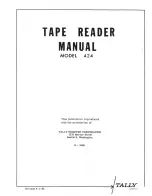
424
Brand: Tally Pages: 40

A-6600
Brand: Teac Pages: 66
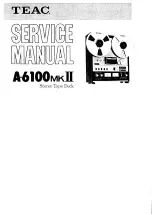
A-6100MKII
Brand: Teac Pages: 69
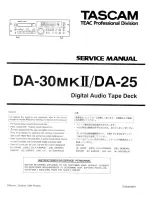
DA-25
Brand: Tascam Pages: 63
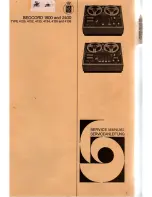
Beocord 1800
Brand: Bang & Olufsen Pages: 123
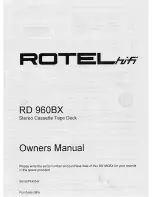
RD 960BX
Brand: Rotel Pages: 8
Beocord 2400
Brand: Bang & Olufsen Pages: 17
TM-401
Brand: V-TEK Pages: 292


