Panasonic SC-ALL2, Operating Instructions Manual
The Panasonic SC-ALL2 Operating Instructions Manual is essential for maximizing your experience with this exceptional product. Conveniently download the manual for free from our website, guaranteeing easy access to detailed guidelines and valuable insights. Enhance your audio system efficiency by referring to the user manual provided at manualshive.com.
Share
Download


Reviews:
No comments
Related manuals for SC-ALL2
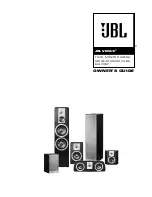
Speakers
Brand: JBL Pages: 4

AXBB-010
Brand: Axxion Pages: 3

Touch
Brand: Jam Pages: 2

Evoke H3
Brand: PURE Pages: 148

JBL PlayUp
Brand: JBL Pages: 11
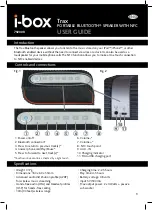
Trax
Brand: i-box Pages: 4
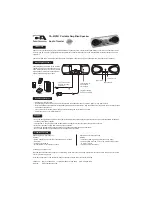
MP301
Brand: CA Pages: 6

RMD 213
Brand: Caliber Pages: 10

Kubik
Brand: Dali Pages: 85
WATERCUBE
Brand: S2G Pages: 102
Hot Rod Deluxe
Brand: Fender Pages: 12

PASSPORT
Brand: Fender Pages: 50
TRAVELER
Brand: Harman Kardon Pages: 2

JBL XTREME
Brand: Harman Pages: 23
Cube Nano cn1
Brand: iDance Pages: 9
SOLEMATE MAX
Brand: Jabra Pages: 2

JAMBOX
Brand: Jawbone Pages: 13

PARTYBOX 200
Brand: JBL Pages: 16


