background image

Operating Instructions

使用說明書

NC-A701

Model No.

型號

:

CZ45H170

MX1221Z0

Date of issue: December 2021

Printed in China

發行年月:2021 年 12 月

中國印刷

Panasonic official website: https://www. panasonic. hk
Panasonic 官方網站網址: https://www. panasonic. hk

Aftersales services 

售後服務

Panasonic Taiwan Co.,Ltd. 

© Panasonic Taiwan Co., Ltd. 2021

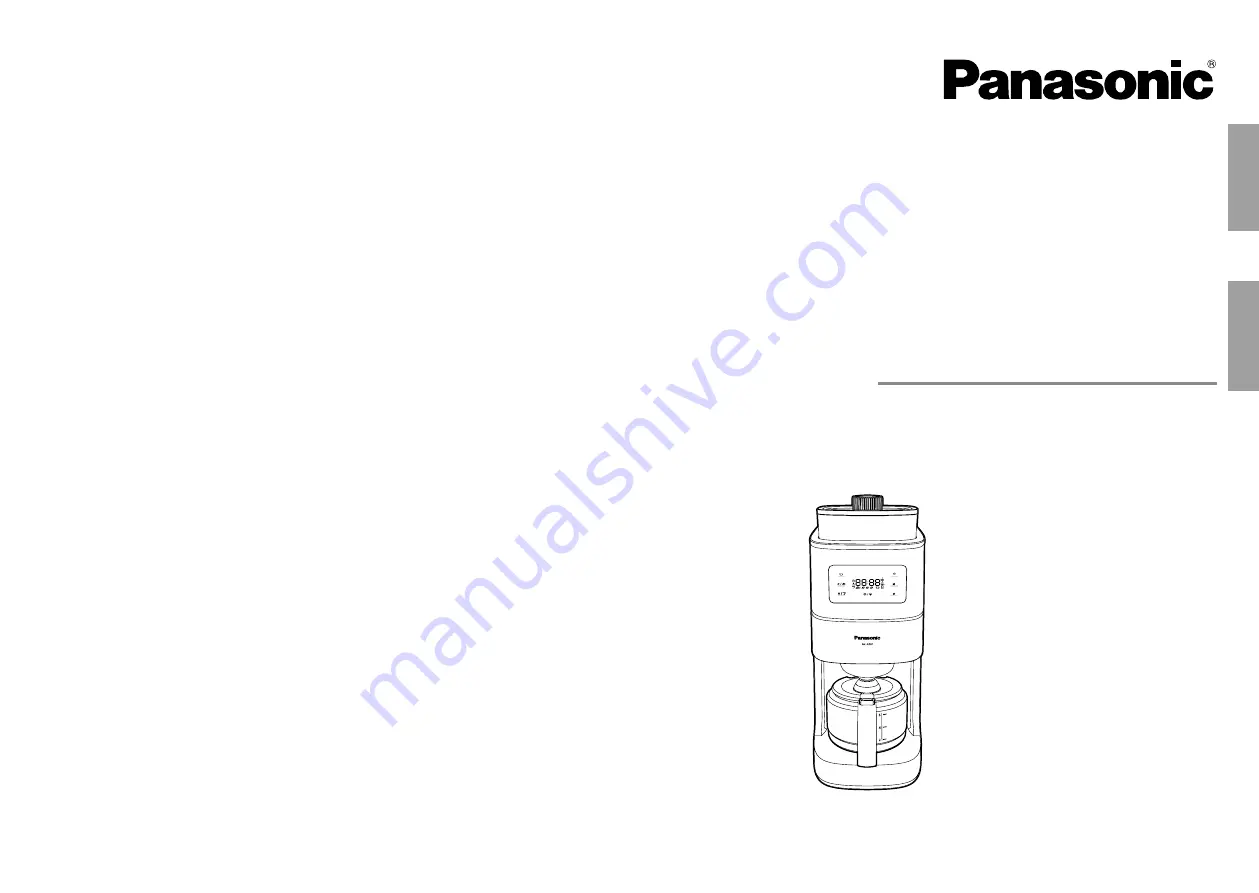
Coffee Maker

(Household Use)

全自動研磨咖啡機


( 家庭用 )

English

中文(繁體)

Summary of Contents for NC-A701

Page 1: ...sue December 2021 Printed in China 發行年月 2021 年 12 月 中國印刷 Panasonic official website https www panasonic hk Panasonic 官方網站網址 https www panasonic hk Aftersales services 售後服務 Panasonic Taiwan Co Ltd Panasonic Taiwan Co Ltd 2021 Coffee Maker Household Use 全自動研磨咖啡機 家庭用 English 中文 繁體 ...

Page 2: ... without supervision WARNING To avoid risk of electric shock fire due to short circuit burns scalding or injury The symbols are classified and explained as follows This symbol indicates an action that must be avoided This symbol indicates an action that must be carried out Thank you for purchasing the Panasonic product Please read these instructions carefully to use the appliance correctly and saf...

Page 3: ...l timer or separate remote control system Do not place or insert anything on the top or under the appliance Do not put your hand in the grinding cavity to avoid accident occurred such as cuts Do not touch hot surfaces such as warming plate the area around steam ventorthesurfaceofcoffeejugwhiletheapplianceisinuseorimmediately after use The appliance becomes hot easily during use and the surface tem...

Page 4: ...ean container lid Water tank lid Water tank lid handle Steam vent Grinding tray Bean grinding cavity Stop Start button Water tank Detachable 2 Water tank Control button Warming plate Fine grinding Standard grinding Rough grinding Jug lid Jug handle Glass jug Coffee basket Drip lid Cleaning brush Measuring spoon CAUTION Important Information Make sure to hold the power plug when unplugging the powe...

Page 5: ...aning or the powder port cleaning Page EN16 Preset Timer Mode Preset the coffee brewing time You need to set the current time first Page EN13 and then set the Preset Timer Mode If no reservation is required press button again to exit Time Setting 時 Click to set the current time on the LCD screen hours of the Preset Timer Mode and long press to fast forward Time Setting 分 Click to set the current t...

Page 6: ...rinding cavity and turn the grinding tray clockwise in the direction until a click sound is heard Assembly Disassemly Note After putting in the ground coffee make sure to close the coffee basket rack to prevent liquid from escaping during operation Reference table for the amount of coffee beans and ground coffee to be used Approx 120 mL for one cup You can adjust the amount of coffee beans and pow...

Page 7: ...e a time to start brewing This step can be omitted if no reservation is required Preset Timer Mode Setting Steps Press the button to enter the Preset Timer Mode The LCD screen displays Press 時 to set the hour time Press 分 to set the minute time 10 11 12 Function setting Number of coffee cups only available in coffee bean mode Press the button to select the number of cups of drip coffee required 9 ...

Page 8: ...d separately Page EN16 Never put the coffee jug on any heat source or in the microwave oven Do not use any coffee jug with broken or loose handles When the temperature of the coffee jug is high please do not put it in water spray it with water or place it in a damp place To prevent the coffee jug from being damaged please pay attention to the following items and use the coffee jug safely Make sure...

Page 9: ... filter is damaged Replace the filter 1 Press the button to select the Powder Port Cleaning Mode When the on LCD screen is on press the button 2 After the beep sounds the powder port will open automatically There will be ground coffee falling please pay attention 3 Open the coffee basket rack 6 After Beep for 8 times the internal pipeline cleaning has finished 7 After use it is recommended to repe...

Page 10: ...ffee tastes too weak strong Is the bean container feeding beans normally There is grease on the surface of the bean container Please clean the bean container completely Please gently pour coffee beans into the bean grinding cavity with a utensil The water volume for brewing is not in line with the requirements of the corresponding number of cups Please pour proper water for brewing in line with th...

Page 11: ...購買點或 Panasonic 服務中心諮詢維修事宜 請勿損壞電源線或電源插頭 嚴禁執行下列動作 損傷 加工或將其放置在發熱品附近 強行彎曲 扭轉 拉扯 從尖 銳邊緣拉過電源線 在電源線上放置重物 捆紮電源線或以使用電源 線提拉本產品 電源線或電源插頭受損或插入插座鬆動時 切勿使用本產品 如電源線損壞 必須由製造商 製造商的服務代理商或有同等資格 的人員更換 以避免產生危險 切勿在雙手潮濕時 插入或拔下電源插頭 切勿將本產品 電源線及電源插頭浸入水中或用水將其濺濕 切勿讓電源線懸掛在桌子或工作枱邊緣 或者接觸灼熱表面 請勿讓嬰孩和小童將包裝當作玩具 有可能造成窒息 切勿碰觸或將臉部靠近蒸氣出口處 請勿讓孩童在無監護的情況下進行清潔和保養 為避免發生觸電 短路引起的火災 灼傷 燙傷或其他人身傷害的危險 針對務必需要遵守的事項 用以下符號予以區分說明 此符號表示必須避免的行為 此符號表示必須遵從...

Page 12: ... 作枱上 使用中請勿將咖啡機 放置於櫥櫃中 使用中請勿觸碰 堵塞或蓋住蒸汽排氣口 請勿使用外接定時器等 本產品不能在外接定時器或外接獨立遙控系統的方式下運行 請勿在本產品頂部放置或在底部插入任何物品 請勿將手伸進磨豆腔 避免造成割傷等意外發生 切勿在使用本產品時或剛使用後觸碰灼熱表面 如保溫板 蒸汽排氣口 周圍或咖啡壺表面 本產品在使用時容易變熱 使用期間表面溫度很高 待冷卻後再進行使用後的清潔 請特別小心使用後的餘熱 請勿在本產品工作時 包括在預約模式下工作時打開任何部件 請勿在咖啡壺 儲豆盒 水箱 滴漏蓋 咖啡籃及濾網未安裝好時使 用本產品 請勿使用其他非本產品所配的咖啡壺 進入保溫狀態時 水箱內請勿加水 切勿以握住儲豆盒 濾網籃架或水箱的方式來移動本產品 請勿在濾滴咖啡過程中或剛濾滴完時打開咖啡籃架 咖啡壺還裝有熱咖啡時 請勿打開壺蓋 熱的液體可能會噴出或滴到 手上 導致意外發生 咖...

Page 13: ...表示 產品表面高溫 觸碰時請小心謹慎 各部件名稱及操作說明 儲豆盒 研磨粗幼調節旋鈕 1 研磨粗幼調節旋鈕 顯示窗 咖啡籃架 電源線 電源插頭 咖啡壺 濾網 儲豆盒蓋 水箱蓋 水箱蓋把手 蒸氣排氣口 研磨盤 磨豆腔 停止 開始鍵 水箱 可拆式 2 水箱 操作按鍵 保溫板 粗研磨 幼研磨 中研磨 壺蓋 壺把手 玻璃壺 咖啡籃 滴漏蓋 清潔刷 計量匙 注意 安全注意事項 拔出電源插頭時 務必拿住電源插頭 禁止用力拉電源線 請確保每次使用後清潔本產品 尤其與食物接觸的表面 第TC14 16 頁 清潔方法 長期使用的本產品 應主動聯繫購買點或Panasonic 服務中心進行檢修 及保養 以提高商品使用安全性 本產品僅限於家庭使用 請務必遵守 6 最高水位 ...

Page 14: ...進行機體內部管路清潔 或是落粉口清潔 第 TC16 頁 預約模式 可預約咖啡煮製的時間 需先做當前時間設定 第 TC13 頁 再進行預約 模式設定 若不需要預約 再次按下 鍵 可退出預約模式 時間設定 時 點按設定顯示窗上的當前時間 預約模式的小時 長按快進 時間設定 分 點按設定顯示窗上的當前時間 預約模式的分鐘 長按快進 咖啡數量 杯 設定咖啡煮製杯數 可設定範圍 2 4 6 杯 豆 粉模式 停止 相關動作取消 啟動 運轉中 閃爍 管路清潔 落粉口清潔運轉中 不顯示 1 清洗所有可拆卸部件並擦拭乾淨 2 裝妥咖啡壺 咖啡籃 濾網 儲豆盒 請勿放入咖啡粉 3 打開水箱蓋 將水注入水箱中 直到刻度 4 的位置並蓋上水箱蓋 4 插上電源插頭 按下 鍵 顯示窗亮 並閃爍 按下 鍵 長亮 即開始清洗 清洗完成 嗶 8 聲 5 清洗完成後 拔掉電源插頭並將咖啡壺中的熱水倒出 停止 啟動鍵 拔出電源...

Page 15: ...蓋安裝於儲豆盒上 粗細調節旋鈕調節至 的位置 將儲豆盒凹 槽部分對準機身頂部凸起位置按壓至穩固 選擇咖啡豆模式時 打開儲豆盒蓋將適量的咖啡豆放入儲豆盒中 然後蓋 上儲豆盒蓋 當儲豆盒內有咖啡豆未使用完取出儲豆盒時 研磨盤上會有殘留咖啡豆 需要將殘留咖啡豆清理完後再放入儲豆盒 不然安裝儲豆盒時可能會將咖 啡豆壓碎掉入研磨盤縫隙中 安裝儲豆盒前 請確認研磨盤是否確實安裝 濾滴杯數 2杯 4杯 6杯 2 5 4 6 咖啡豆量平勺 約 咖啡粉量平勺 約 2 5 19 g 3 5 30 g 5 5 45 g 研磨盤的拆卸方式 研磨盤拆卸前 請先將儲豆盒拆下 拆下研磨盤前 請先將殘豆使用完畢 否則提起時殘豆會撒出 3 注意 注意 選擇咖啡粉模式時 組裝 朝箭頭 方向放入咖啡壺 確保咖啡壺 與保溫板凹處對齊放入 拆卸 朝箭頭 方向拉出 取出咖啡壺 拆卸 握住研磨盤把手 朝研磨盤上的 方向旋轉 將研磨盤從...

Page 16: ...約 4 秒退出設定畫面 如無操作 閃爍約 8 秒 退出設定畫面 按下 鍵 選擇所需濾滴咖啡的杯數 設定研磨粗幼 僅限咖啡豆模式可設定 確認粗幼調節旋鈕旋至鎖定位置後 將粗幼調節旋鈕旋至研磨檔位範圍 否則無法啟動本產品 8 9 7 使用方法 高濃度 低濃度 中濃度 中研磨 幼研磨 粗研磨 開鎖 鎖定 請插上電源插頭 6 咖啡豆模式 按下 鍵 LCD上顯示 即選擇咖啡豆模式 咖啡豆圖示越多表示咖啡濃度越高 咖啡粉模式 按下 鍵 選擇咖啡粉模式 LCD上顯示 即為選擇咖啡粉模式 咖啡粉模式無法選擇咖啡杯數 且 無需設定研磨粗幼 研磨檔位範圍 溫馨提示 若插上電源後未設定當前時間 請按下列步驟進行當前時間設定 預約模式下 按下 鍵一次取消預約 返回當前時間畫面 長按 時 或 分 鍵 進入當前時間設定畫面 LCD畫面對應的小時 或分鐘的數字閃爍 然後長按或點按進行時間調整即可 設定完成後 閃爍約4 ...

Page 17: ...倒出咖啡時 請勿觸摸咖啡壺的壺蓋活動部 保溫期間 請勿拔下電源插頭 保溫期間 保溫板表面仍有高熱 請勿觸摸 此模式是兩個分別獨立的功能 清洗模式只會清洗管路落粉口需另外清潔 第 TC16 頁 切勿將咖啡壺置於任何熱源上或放入微波爐中 請勿使用破裂或把手鬆動的咖啡壺 咖啡壺溫度尚高時 請勿將其放入水中 或對其噴水或放置在潮濕場所 為了防止咖啡壺破損 請注意下列事項並安全使用咖啡壺 每次使用完畢時 請務必清潔本產品 1 拔下電源插頭 2 打開咖啡籃架 待咖啡粉冷卻後取出 3 將咖啡籃與濾網一起取出 4 倒出濾網中的咖啡粉 遵循 若要丟棄咖啡粉 的步驟 若咖啡豆研磨未完成時切斷電源 建議您丟棄未完成研磨的咖啡豆 若繼續使用其進行研磨可能會造成研磨咖啡粉顆粒過細 會使咖啡過濃或 咖啡粉溢出造成口感不佳 為防止殘留的咖啡豆因氧化變質 建議將儲豆盒的咖啡豆取出 並將磨豆 腔的咖啡豆研磨完畢後進行清潔 ...

Page 18: ...加入適當的水量 馬達堵轉 請將電源插頭拔出並清潔磨豆腔 若上述動作仍無法排除 請聯絡Panasonic直 屬服務站 濾網破損 更換濾網 1 將咖啡籃 咖啡壺及儲豆盒等配件確實安裝 請勿放入咖啡粉或咖啡豆 2 將水注入水箱中 直到刻度 4 的位置 3 將 20 g 的檸檬酸倒入水箱中 並用海綿清潔刷 顧客自備 攪拌 4 蓋上水箱蓋並靜置 30 分鐘 5 插上電源插頭後 按下 鍵 選擇機體內部管 路清潔模式 顯示窗亮 後 按下 鍵 開始清洗 1 按下 鍵 選擇落粉口清潔模式 當顯示窗 亮後 按下 鍵 2 嗶 聲後 落粉口自動開啟 開啟時 會有咖啡粉掉落 請注意 3 打開咖啡籃架 6 嗶 8 聲後 內部管路清洗完畢 7 使用後 建議可用清水重複 2 6 步驟去除檸檬酸的氣味 4 用清潔刷妥善清理落粉口 落粉口周圍的水滴與咖啡粉也請一併清潔 5 關閉咖啡籃架並按下 鍵 即可關閉落粉口 疑難排解 管...

Page 19: ...10頁 清除內 部的異物後 重新安裝 磨豆腔未正常運轉 或發出異常聲響 發出噠噠聲 替換零件 規格 問題 原因和解決方法 零件名稱 咖啡口感太淡 太濃 儲豆盒是否正常進豆 儲豆盒表面含有油脂 請將儲豆盒妥善清潔 請使用器具將咖啡豆輕輕撥入磨豆腔 未參照建議杯數的水量進行煮製 請參照杯數與相應的水量進行煮製 第TC10頁 若部件損壞 您可以從經銷商或 Panasonic 服務中心處購買 疑難排解 電源 220 V 50 Hz 功率 750 W 尺寸 約 長 28 4 x 寬 16 1x 高 42 0 cm 重量 約 4 3 kg 電源線長度 約 1 1 m ...

Page 20: ...Memo Memo ...

Reviews: