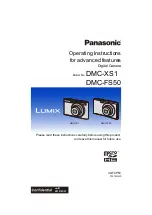
Panasonic Lumix DMC-XS1, Operating Instructions Manual
The Panasonic Lumix DMC-XS1 is a sleek and compact digital camera that packs a punch. Capture stunning photos with ease using its advanced features. For complete guidance, download the operating instructions manual for free from our website. Unleash your creativity and get the most out of your Lumix DMC-XS1.
Share
Download


Reviews:
No comments
Related manuals for Lumix DMC-XS1
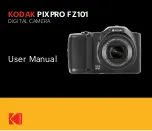
PIXPRO FZ101
Brand: Kodak Pages: 88

Lumix DMC-FS50
Brand: Panasonic Pages: 126

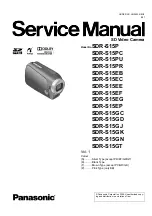
SDR-S15EB
Brand: Panasonic Pages: 56
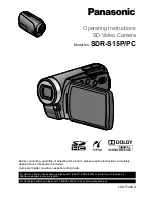
SDR-S15P
Brand: Panasonic Pages: 121
SDR-S15P
Brand: Panasonic Pages: 56
GT700HD
Brand: Gator Pages: 6

DV180F
Brand: Samsung Pages: 156

AB-201CL
Brand: JAI Pages: 68
AEC-9331BSD-SP8-WF
Brand: aurum Pages: 22

Effio-E Dome
Brand: Provision ISR Pages: 20
AM-201CL
Brand: JAI Pages: 68


