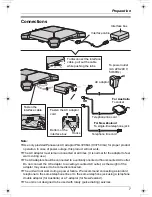

This unit is compatible with Caller ID. To use this feature, you must
subscribe to the appropriate service offered by your service provider.
For New Zealand customers
This unit’s factory setting of the recall time is 100 ms.
Please change the recall time depending on your situation (see page 12,
page 24 for the direction).
Please read these Operating Instructions before using the unit and save
for future reference.
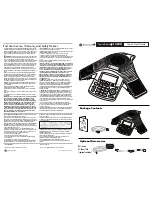
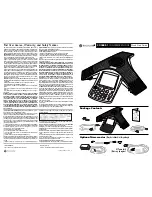
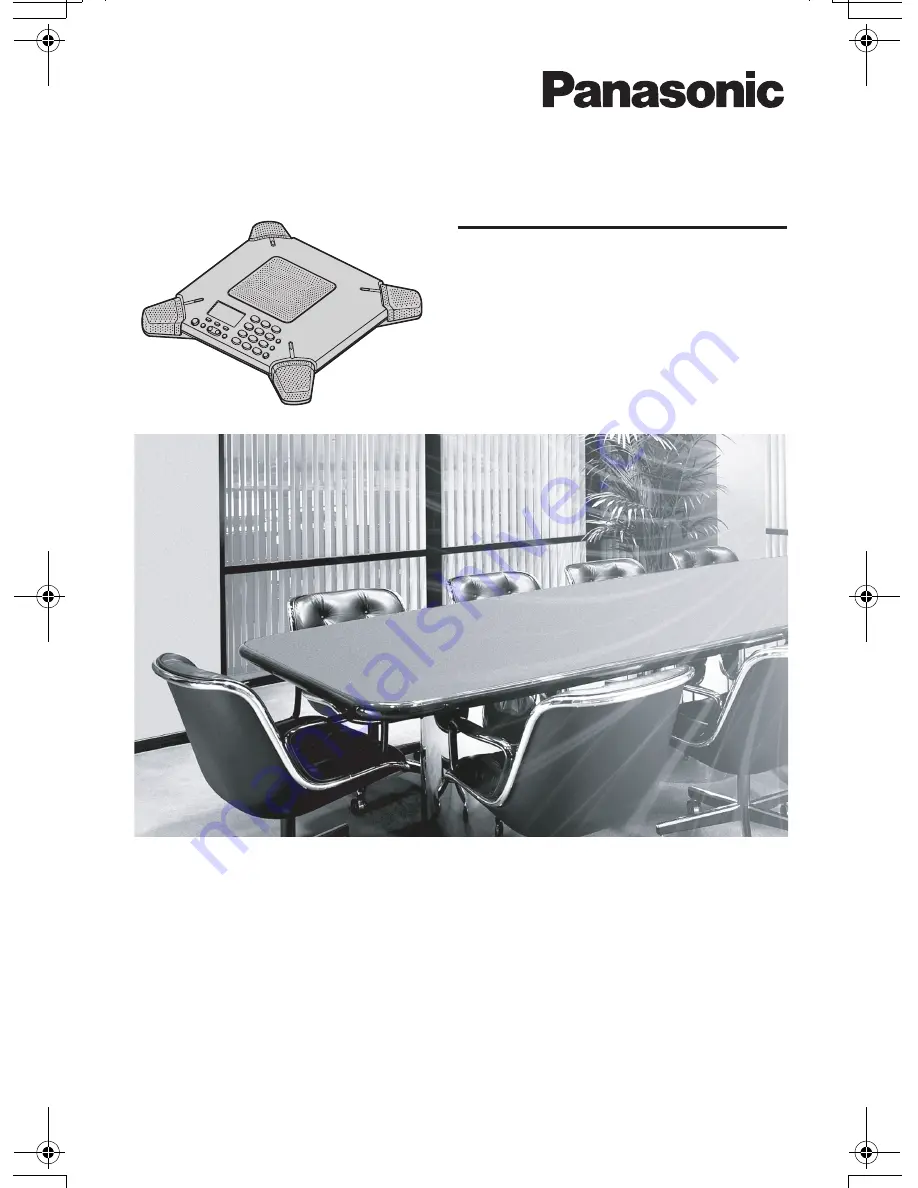
Conference Recording Speakerphone System
Model No.
KX-TS730AZ
Operating Instructions
TS730AZ.book 1 ページ 2005年11月9日 水曜日 午後4時34分