Please read these Operating Instructions before using the unit and save
for future reference.
For assistance, visit our website:
http://www.panasonic.com/phonehelp
for customers in the U.S.A. or
Puerto Rico.
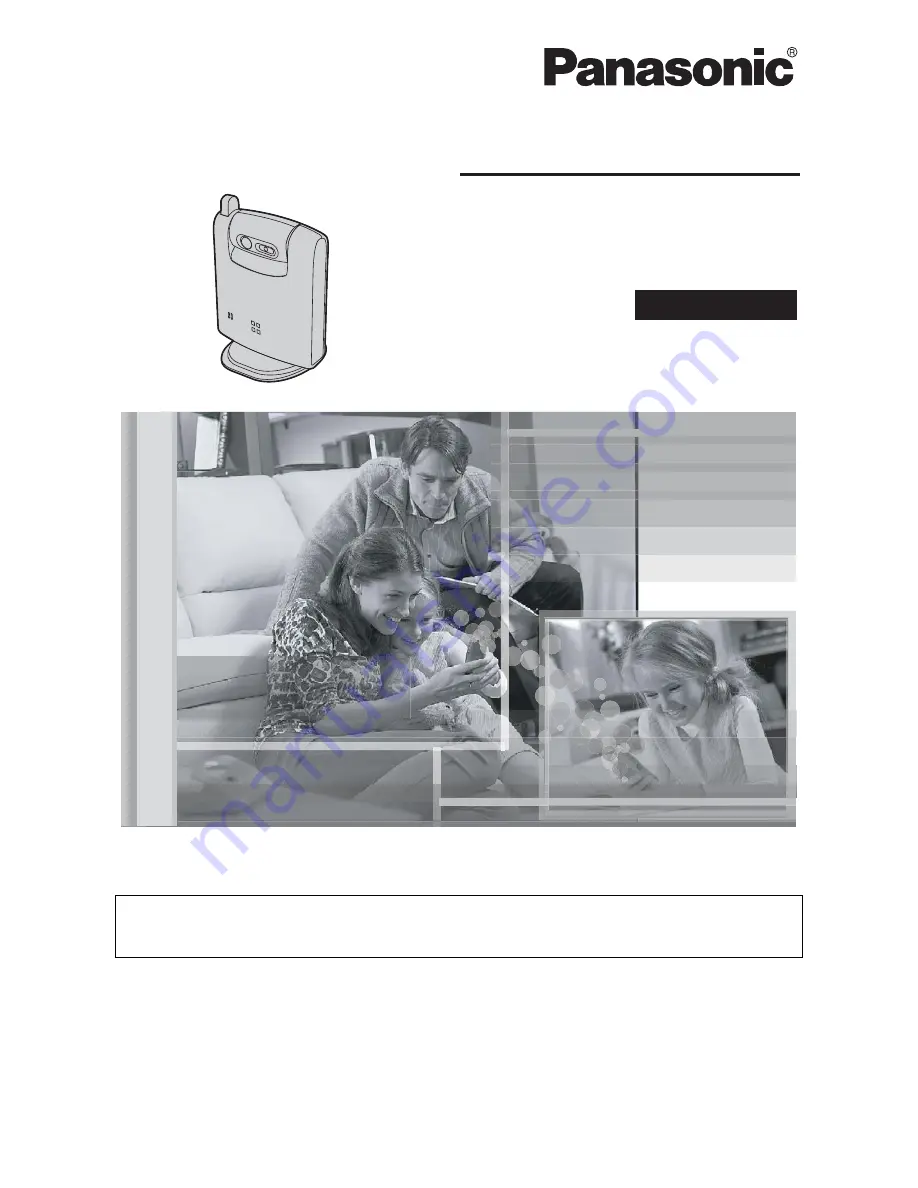
This unit is an accessory unit for use with the KX-TH102 base unit. You
must register this unit with your base unit before it can be used.
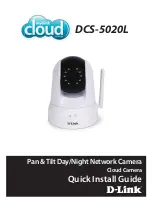
Home Communication System
Cordless Camera
Model No.
KX-THA13
Operating Instructions
Indoor Use Only
PQQX14791WA
DM1105PN3096