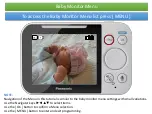
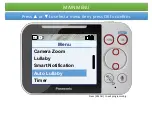


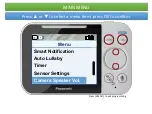
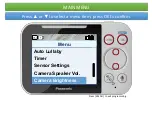
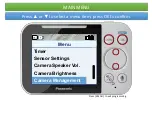


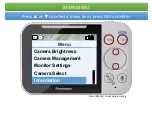
Baby Monitor Menu
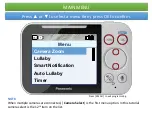
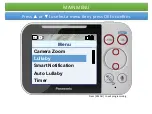
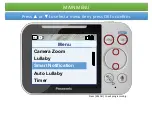
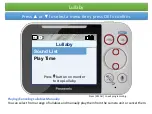
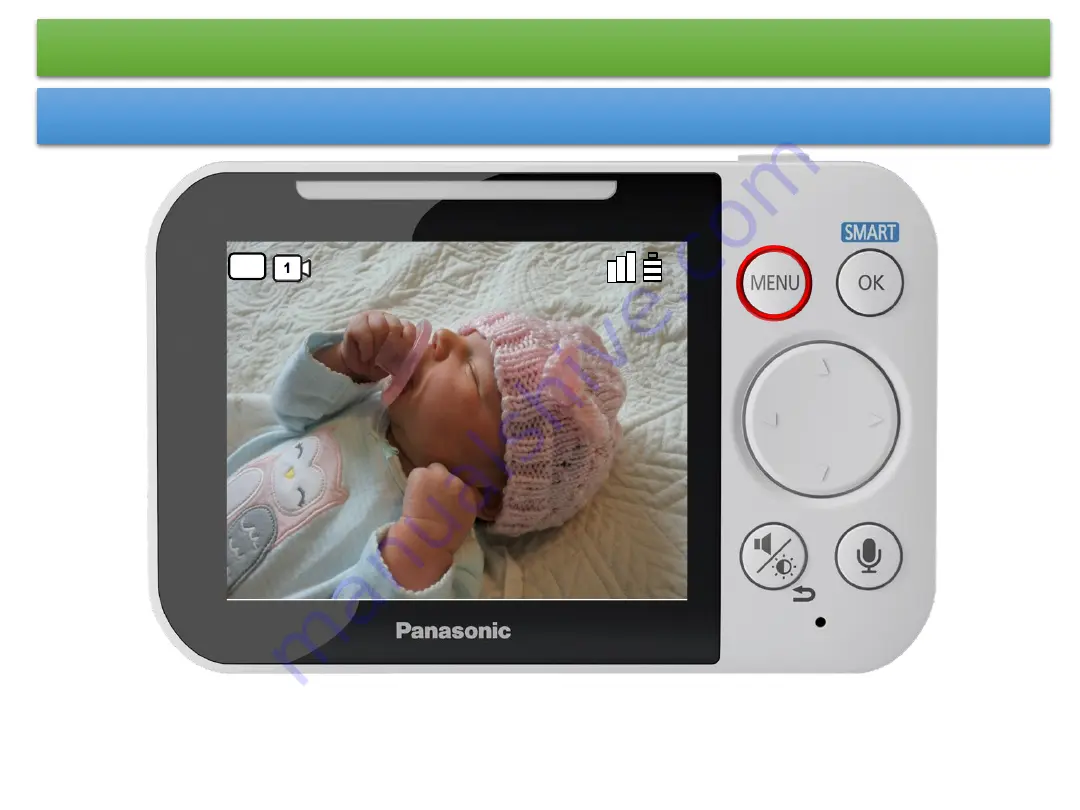
To access the Baby Monitor Menu list press [ MENU ]
75
°
F
NOTE:
Navigation of the Menu in this tutorial is similar to the baby monitor menu settings with small variations.
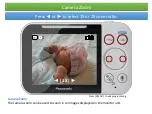
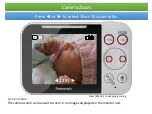
Use the Navigator keys
►◄▲▼
to select items.
Use the [ OK ] button to confirm a Menu selection.
Use the [ MENU ] button to enter and exit programming.


