background image

TQB4GD0318

F0420QK0

English

Thank you for purchasing this Panasonic product.

Please read these instructions carefully before operating this product and retain them 
for future reference.

Please carefully read the “Safety Precautions” of this manual before use.

The images shown in this manual are for illustrative purposes only.

For more detailed instructions, please refer to [eHELP]  
(Built-in Operating Instructions).

● 

How to use [eHELP] 


(p. 23)

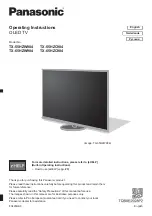
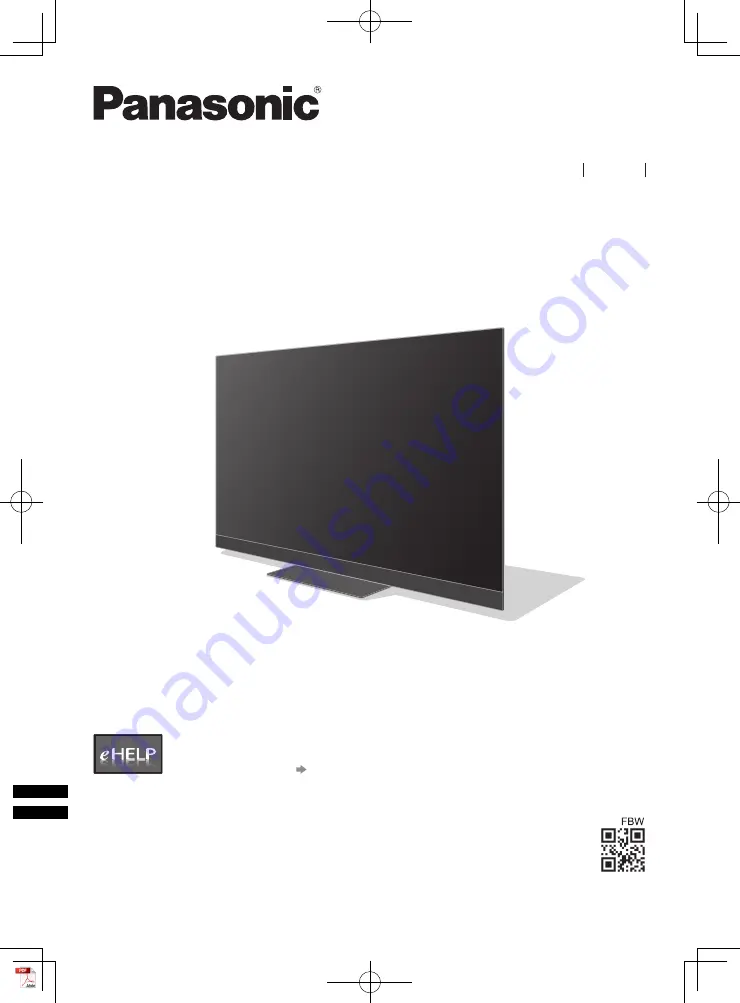
(image: TH-65HZ2000H)

Operating Instructions

OLED TV

English

HZ2000H series

Summary of Contents for HZ2000H Series

Page 1: ... retain them for future reference Please carefully read the Safety Precautions of this manual before use The images shown in this manual are for illustrative purposes only For more detailed instructions please refer to eHELP Built in Operating Instructions How to use eHELP p 23 image TH 65HZ2000H Operating Instructions OLED TV English HZ2000H series ...

Page 2: ...t Notice 3 Safety Precautions 6 Accessories 9 Installing the TV 9 Installing the wall hanging bracket 14 Connections 14 Identifying Controls 19 First time Auto Tuning 21 Watching TV 22 How to Use eHELP 23 FAQs 24 Maintenance 25 Specifications 26 ...

Page 3: ... mark and logos are registered trademarks owned by Bluetooth SIG Inc and any use of such marks by Panasonic Corporation is under license x v Colour is a trademark RealMedia RealVideo and RealAudio are trademarks or registered trademarks of RealNetworks Inc These statements are under the Licence Agreement with RealNetworks Inc 4 4 2 1 Terms of use must prohibit the user from modifying translating r...

Page 4: ...confirm the terms and conditions etc of provider in advance Panasonic will not be held responsible for collecting or using customer information via application provided by third party on this TV or website When entering your credit card number name etc pay special attention to the trustworthiness of the provider Registered information may be registered in the server etc of provider Before repairin...

Page 5: ...C Video that was encoded by a consumer engaged in a personal activity and or was obtained from a video provider licensed to provide AVC Video No license is granted or shall be implied for any other use Additional information may be obtained from MPEG LA LLC See http www mpegla com Panasonic and its affiliates make no representations or warranties of any kind with respect to the USB devices and the...

Page 6: ...Ensure that children do not climb on the TV Do not place the TV on sloping or unstable surfaces and ensure that the TV does not hang over the edge of the base Safety Precautions To help avoid risk of electrical shock fire damage or injury please follow the warnings and cautions below Mains plug and lead Warning If you detect anything unusual immediately remove the mains plug This TV is designed to...

Page 7: ...or slow response caused by radio wave interference when using the built in wireless LAN keep the TV away from other devices that use 2 4 GHz and 5 GHz signals such as other wireless LAN devices microwave ovens and mobile phones When problems occur due to static electricity etc the TV might stop operating to protect itself In this case turn the TV off at the Mains power On Off switch then turn it b...

Page 8: ...f time to prevent battery leakage corrosion and explosion Bluetooth wireless technology Caution The TV uses the 2 4 GHz radio frequency ISM band Bluetooth To avoid malfunctions or slow response caused by radio wave interference keep the TV away from the devices such as other wireless LAN devices other Bluetooth devices microwaves mobile phones and the devices that use 2 4 GHz signal Ventilation Ca...

Page 9: ... scratch or break the TV Do not place the TV temporarily on the floor or desk Accessories Standard accessories Remote Control p 19 N2QAYA000218 Pedestal p 9 Cable clamp p 12 Cable clamp p 11 Cable tie 2 p 11 Batteries 2 R03 p 20 Operating Instructions Accessories may not be placed all together Take care not to throw them away unintentionally ...

Page 10: ...he terminal cover pedestal cover p 12 Terminal cover Connecting the aerial and external equipment p 14 Assembling the pedestal Insert the pedestal firmly otherwise it may come off when setting up the TV Do not apply any strong force to the speaker part in front of this TV Do not assemble the pedestal by any method other than those specified below A B Speaker part in front of this TV ...

Page 11: ...s Snaps Cable arrangement Fix the cables using the cable clamp cable tie etc and then attach the terminal cover pedestal cover to the TV The terminal cover pedestal cover may not be attached depending on the number of cables Fixing the Mains lead using the cable clamp Attach the cable clamp Insert the cable clamp in a hole Hole Bundle the cable Set To release Keep pushing the tab Tab To remove fro...

Page 12: ...2 port USB 3 port AV IN terminal DIGITAL AUDIO OUT HDMI3 terminal or HDMI4 terminal you cannot attach the terminal cover Keep the removed cover for future use Do not apply load to the terminal cover pedestal cover Terminal cover C Example Cable clamp Fix cables as necessary When using the optional accessory follow the option s assembly manual to fix cables ...

Page 13: ...to remove the pedestal in the following procedures when you use the wall hanging bracket or repack the TV 1 Remove the pedestal cover 2 Remove the assembly screws from the pedestal 3 Pull out the pedestal from the TV C To remove from the TV C ...

Page 14: ...anging bracket Holes for wall hanging bracket installation Rear of the TV 300 mm 300 mm View from the side Depth of screw minimum 14 mm maximum 28 mm Diameter of screw M6 Screw for fixing the TV onto the wall hanging bracket not supplied with the TV Warning Using other wall hanging brackets or installing a wall hanging bracket by yourself have the risk of personal injury and product damage In orde...

Page 15: ...ble 75 Ω coaxial and correct terminating plug are required to obtain optimum quality picture and sound If a communal aerial system is used you may require the correct connection cable and plug between the wall aerial socket and the TV Your local Television Service Centre or dealer may be able to assist you in obtaining the correct aerial system for your particular area and the accessories required...

Page 16: ...er definition signals than Mode1 Set to Mode1 when the image or sound in HDMI input is not played properly Connect the 4K compatible equipment to HDMI terminal using a 4K compatible cable and you can watch content in 4K format Supporting HDR does not increase the peak brightness capabilities of the TV panel HDMI Auto Setting Setup Menu Reproduces the image more precisely with the expanded colour g...

Page 17: ...kers To enjoy multi channel sound from external equipment e g Dolby Digital 5 1ch connect the equipment to the amplifier For information about the connections read the manuals of the equipment and amplifier TV HDMI cable Amplifier with speaker system External equipment DVD Player etc Use HDMI2 to connect the TV to an amplifier which has eARC Enhanced Audio Return Channel ARC Audio Return Channel f...

Page 18: ...r The subwoofer output from the TV is the same for both L and R For information about the headphone terminal output settings refer to eHELP Search by Purpose Settings Sound TV Audio cable 3 5 mm stereo mini plug audio pin plug USB HDD for recording Use USB 1 port for connecting the USB HDD For details refer to eHELP Search by Purpose Recording VIERA Link Use HDMI1 4 for VIERA Link connection For d...

Page 19: ...to eHELP Search by Purpose Home Apps 15 LIGHT Lights the buttons for about 5 seconds Press again to turn off the button lights 16 Input mode selection TV switches to Digital TV Analogue TV AV switches to AV input mode from Input Selection list 17 EXIT Returns to the normal viewing screen 18 Cursor buttons Makes selections and adjustments 19 Return Returns to the previous menu page 20 HOME Displays...

Page 20: ...e control to perform the panel maintenance During the panel maintenance LED turns to orange During panel maintenance avoid touching and exerting any pressure on the screen e g wiping the screen etc There are two types of the maintenance as following Normal maintenance automatically starts and it takes approx 10 minutes Regular maintenance takes approx 80 minutes When regular maintenance is necessa...

Page 21: ...ings Shipping Condition in System Menu Setup Menu First time Auto Tuning When the TV is turned on for the first time it will automatically search for available TV channels and give options to set up the TV These steps are not necessary if the setup has been completed by your local dealer Please complete connections p 14 18 and settings if necessary of the connected equipment before starting Auto T...

Page 22: ...atching TV 1 Turn power on TV or Remote Control Mains power On Off switch should be on p 20 2 Select Digital TV or Analogue TV 3 Select a channel up down or To select a channel position with 2 or more digit e g 399 ...

Page 23: ...explanation for a better understanding of the operation of each feature 1 Display eHELP or Help eHELP If the eHELP has been accessed previously since the TV was turned on the confirmation screen is displayed to select whether to go to the First page or to the Last viewed page 2 Select the menu select access To access How to use green Keyword Search Search the content of eHELP in the keyword Search...

Page 24: ...al when the equipment is connected via HDMI Set HDMI Auto Setting Setup Menu to Mode1 p 16 No sound is produced from the connected HDMI equipment Set the audio output format of the connected HDMI equipment to PCM Parts of the TV become hot Parts of the TV may become hot These temperature rises do not pose any problems in terms of performance or quality When pushed with a finger the display panel m...

Page 25: ...he stubborn dirt 5 Finally wipe away all the moisture Caution Do not use a hard cloth or rub the surface too hard otherwise this may cause scratches on the surface Take care not to subject the surfaces to insect repellent solvent thinner or other volatile substances This may degrade surface quality or cause peeling of the paint The surface of the display panel is specially treated and may be easil...

Page 26: ...ent Type Deep Colour x v Colour HDMI2 4K Content Type eARC Enhanced Audio Return Channel ARC Audio Return Channel Deep Colour x v Colour This TV supports HDAVI Control 5 function ETHERNET 10BASE T 100BASE TX USB 1 2 3 USB 1 DC 5 V Max 900 mA SuperSpeed USB USB 3 0 USB 2 3 DC 5 V Max 500 mA Hi Speed USB USB 2 0 DIGITAL AUDIO OUT PCM Dolby Audio Fibre optic Receiving systems Band name 17 Systems Fun...

Page 27: ... GHz 5 35 GHz 5 47 GHz 5 85 GHz IEEE802 11b g n 2 400 GHz 2 4835 GHz Security WPA2 PSK TKIP AES WPA PSK TKIP AES WEP 64 bit 128 bit Bluetooth wireless technology 2 Standard Compliance Bluetooth 4 2 Frequency Range 2 402 GHz 2 480 GHz 1 The frequency and channel differ depending on the country 2 Not all the Bluetooth compatible devices are available with this TV Up to 5 devices can be used simultan...

Page 28: ...uld note this serial number in the space provided below and retain this book plus your purchase receipt as a permanent record of your purchase to aid in identification in the event of theft or loss and for Warranty Service purposes Model Number Serial Number Web Site http www panasonic com Panasonic Corporation 2020 English Printed in Malaysia ...

Reviews: