background image

Basic Owner’s Manual

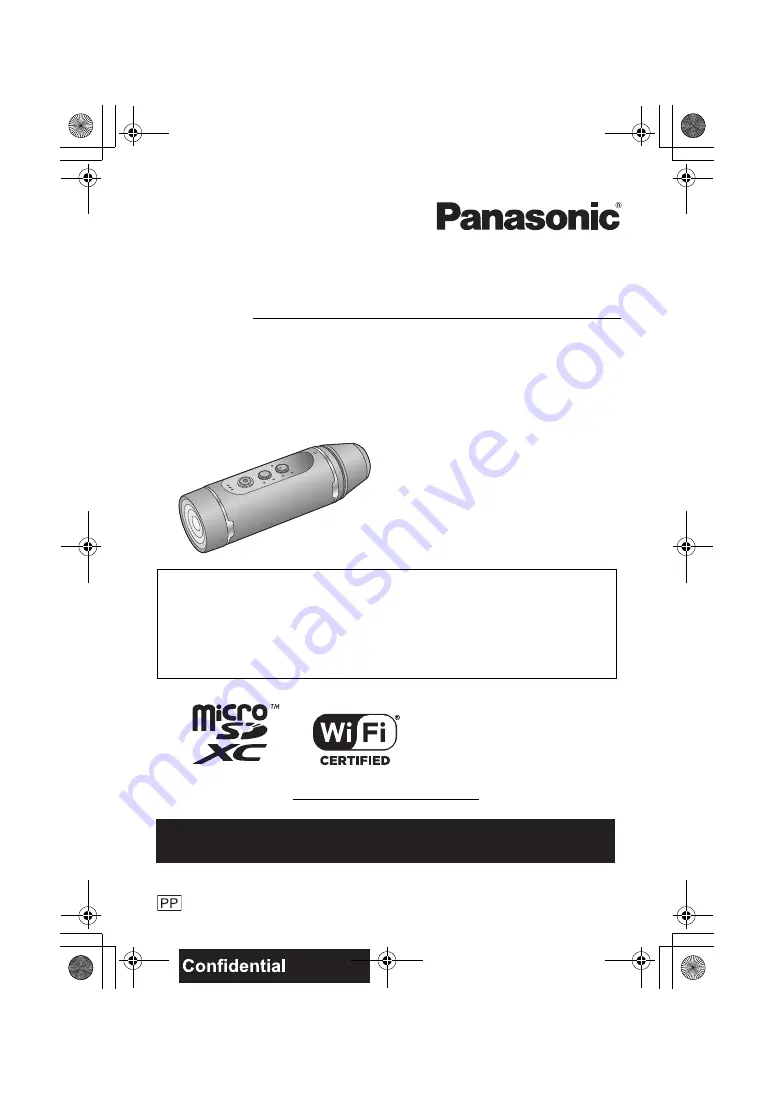
Wearable Camera

Model No.

HX-A1M

More detailed operating instructions are available in “Owner’s Manual (PDF format)”. To read it, 
download it from the website.

https://eww.pavc.panasonic.co.jp/hdw/oi/A1/

Click the desired language.

* You will need Adobe Reader to browse or print the Owner’s Manual (PDF format).

You can download and install a version of Adobe Reader that you can use with your OS from 
the following website. (As of March 2015)

http://www.adobe.com/products/acrobat/readstep2.html

SQT0885-1

until 
2015/4/20

Please read these instructions carefully before using 
this product, and save this manual for future use.

Register online at www.panasonic.com/register 

(U.S. customers only)

If you have any questions, visit : 
U.S.A. : www.panasonic.com/support
Canada : www.panasonic.ca/english/support

HX-A1M-SQT0885_mst.book  1 ページ  2015年6月1日 月曜日 午前9時58分

Summary of Contents for HX-A1

Page 1: ...an download and install a version of Adobe Reader that you can use with your OS from the following website As of March 2015 http www adobe com products acrobat readstep2 html SQT0885 1 until 2015 4 20 Please read these instructions carefully before using this product and save this manual for future use Register online at www panasonic com register U S customers only If you have any questions visit...

Page 2: ... or product damage Do not let water or other liquids drip or splash inside the unit Do not expose accessories battery pack battery charger AC adaptor SD memory card and etc to rain moisture dripping or splashing Do not place objects filled with liquids such as vases on accessories Use only the recommended accessories Do not remove covers Do not repair this unit by yourself Refer servicing to quali...

Page 3: ... the separation between the equipment and receiver Connect the equipment into an outlet on a circuit different from that to which the receiver is connected Consult the dealer or an experienced radio TV technician for help FCC Caution To assure continued compliance follow the attached installation instructions and use only shielded interface cables with ferrite core when connecting to computer or p...

Page 4: ...Exposure Guidelines IC 216A HXA1M This device complies with RSS 210 of the IC Rules Operation is subject to the following two conditions 1 This device may not cause harmful interference 2 This device must accept any interference received including interference that may cause undesired operation of the device The available scientific evidence does not show that any healthproblems are associated wit...

Page 5: ...nner alcohol or dishwashing liquid may alter the camera body or peel the surface finish Do not use these solvents When using a chemical dust cloth follow the instructions that came with the cloth When you are not going to use this unit for an extended time Store this unit in a cool place with minimal humidity and with a constant temperature where possible recommended temperature 15 oC to 25 oC 59 ...

Page 6: ...onnecting to a smartphone 19 Setting up a Wi Fi connection to a smartphone 19 Setting up this unit 19 Setting date and time 20 Initializing the network settings 20 Attaching this unit to a Multi Mount or Tripod Mount 21 Using a Multi Mount 21 Using a Tripod Mount 24 Basic Recording 26 Check before recording 26 Recording with this unit 27 Playback 28 Others Troubleshooting 29 Requests when disposin...

Page 7: ...roof Do not handle with a wet hand Also do not insert wet card into this unit Do not attach remove the terminal cover waterproof or glasscover when your hands are wet or water droplets are present on this unit If water droplets get inside this unit the terminals may rust and cause malfunctions Other types of damage may also result If you attach remove the terminal cover waterproof or glasscover in...

Page 8: ...reful as it may cause the lens to become soiled moldy or damaged When taking the unit to a place which has a different temperature if the unit is accustomed to the room temperature of the destination for about one hour condensation can be prevented When the difference in temperature is severe place the unit in a plastic bag or the like remove air from the bag and seal the bag When condensation occ...

Page 9: ...low container for about 10 minutes 2 Drain water by holding this unit and shaking it lightly a few times After using this unit at the seaside or underwater or after washing it water will remain at the mic site of this unit for a while and it may cause lower sound or sound distortion Pay careful attention to prevent this unit from dropping 3 Wipe off water drops on this unit with a soft dry cloth a...

Page 10: ...attery recording time operating time may decrease temporarily when using in a temperature between j10 oC and 0 oC 14 oF and 32 oF cold places such as ski resorts or places at high altitude Charge the battery sufficiently before use The battery cannot be recharged at temperatures lower than 0 oC 32 oF The power lamp flashes fast when the battery cannot be recharged Charge the battery sufficiently i...

Page 11: ... using captured screens described in this owner s manual may differ from the actual screens Names icons contents and services of applications may be changed with no prior notice Please note that they may differ from the descriptions of this owner s manual microSD card microSDHC card and microSDXC card are referred to as the microSD card Smartphone and tablet computer are referred to as the smartph...

Page 12: ...age 21 4 These accessories come standard with the Multi Mount 5 This is attached to the Multi Mount at the time of purchase Preparation Accessories Glasscover night mode SFC0315 Orange SFC0316 Black The glasscover night mode allows you to perform Night mode recording For details refer to the operating instructions PDF format Glasscover normal shooting 1 SFC0313 Orange SFC0314 Black Terminal cover ...

Page 13: ...seconds approximately 1 second on 1 second off indicating that charging has begun It will turn off when the charging is completed When the charging is complete disconnect the USB cable from this unit and rotate the terminal cover waterproof in the opposite direction of Step 1 to attach it Tighten it firmly to ensure that it is not loose Do not use any other USB cables except the supplied one Opera...

Page 14: ...it or the connecting device such as PC are not dirty or covered with a foreign object and reconnect correctly If a foreign object or dirt is present turn off this unit before removing The environment is at an extremely high or low temperature Wait until the temperature has returned to an appropriate level and try charging again If you are still unable to charge there may be a fault in this unit or...

Page 15: ...ve it Preparation Recording to a card For the latest information on the cards that have been confirmed to operate with this unit check the support website below http panasonic jp support global cs e_cam index html This website is in English only When using a microSD card not from Panasonic or one previously used on other equipment for the first time on this unit format the microSD card When the mi...

Page 16: ...ng beeps will be heard and the power lamp will flash fast This unit will then turn off automatically To use this unit again wait until it cools down This unit cannot be used until it cools down About battery level indications You can check the battery level by looking at the recording mode lamps when you have turned on this unit The battery level can be checked for a few seconds after this unit ha...

Page 17: ...hat data sent and received via radio waves may be intercepted Please note that there is the risk that data sent and received via radio waves may be intercepted by a third party Do not use this unit in areas with magnetic fields static electricity or interference Do not use this unit in areas with magnetic fields static electricity or interference such as near microwave ovens Radio waves may not re...

Page 18: ...pp on a mobile network high packet communication fees may be incurred depending on the details of your contract About the Image App The Image App is an application provided by Panasonic For Android apps For iOS apps OS Android 4 0 or later iOS 6 0 or later iPhone 3GS is not supported Installation procedure 1 Connect your Android device to a network 2 Select Google Play Store 3 Enter Panasonic Imag...

Page 19: ...etween this unit and the smartphone 2 Start up the smartphone application Image App If a connection attempt to this unit fails turn off and on the Wi Fi function using the setup menu of the smartphone and then retry the connection For more information refer to the Help in the Image App menu Preparation Connecting to a smartphone Default setting SSID Password A1 wearable a12345678 Preparation Setti...

Page 20: ...for approximately 4 months The setting range from 1 January 2000 through 31 December 2039 is available for time synchronisation with the smartphone Initializing the network settings To reset the network settings to the default after turning off this unit press the power button l 16 and recording start stop button l 27 simultaneously to turn it on again and continue to hold them down for approximat...

Page 21: ...ith a helmet shield etc 3 Pass the fastener that has a softer texture loop fastener through the Multi Mount so that the soft fabric side will face down Preparation Attaching this unit to a Multi Mount or Tripod Mount When the Tripod Mount is attached to a tripod or similar item do not hold this unit or adjustment belt to carry the assembled items It may not be possible to attach a Multi Mount to a...

Page 22: ...n attaching the Multi Mount check if the hook and loop fastener is fastened securely and the adhesion of the double sided tape has weakened Before attaching the Multi Mount remove the hook and loop fastener from the Multi Mount 1 Tuck a shoulder strap of a backpack or similar item between the Multi Mount and the band and pass the band through the portion A to hold the Multi Mount in position Befor...

Page 23: ...3 Pass this unit through the adjustment belt C so that this unit is in the position shown in the figure 4 While holding the adjustment knob B tighten the adjustment belt C by rotating the tightening nut A towards LOCK until this unit is fastened securely Adjust the adjustment belt with hands Do not apply too much force Do not rotate the tightening nut more than necessary after fastening this unit ...

Page 24: ...le holding the adjustment knob B loosen the tightening nut A by rotating it towards UNLOCK and pull out this unit Using a Tripod Mount The tripod mounting hole A of the tripod mount is compatible with the screw 1 4 20 UNC of a tripod etc If you attach a screw with a length of 6 mm 0 24 q or more to a Tripod Mount it may wobble Removing this unit from the Multi Mount Attaching the tripod mount to a...

Page 25: ...ply too much force Do not rotate the tightening nut more than necessary after fastening this unit Check the direction of this unit after attaching it To correct the left right tilt of this unit loosen the adjustment belt While holding D loosen the tightening nut C by rotating it towards UNLOCK and remove this unit This unit is not waterproof when the terminal cover USB connection is in use In this...

Page 26: ... recording the screen will be displayed again for approximately 30 seconds Also outputs sound from the microphone of this unit Still pictures will be recorded with a picture size of 2 1 M standard or 2 7 M wide Refer to Help in the Image App menu about how to operate Basic Recording Example of the screen display 1 Live view Displays an image from this unit 2 Remaining number of recordable pictures...

Page 27: ... recorded the access lamp will flash Do not remove the microSD card until the access lamp goes off In Still Picture Recording Mode Recording still pictures In Interval rec mode the access lamp will light red and recording will start If you press the recording start stop button again the recording will stop Please refer to the operating instructions PDF format for details Recording Mode Recording m...

Page 28: ...ack screen will be displayed If you have tapped a still picture you can play back the previous or next picture by dragging swiping the screen left or right 4 For playing back motion pictures Tap the playback icon on the screen to play back motion pictures Tapping or dragging the slide bar will start playback from the desired position of a motion picture file Basic Playback Preparation Connect this...

Page 29: ...alance setting to Indoor 2 If you cannot record clearly with the Indoor 2 set it with Custom Recorded motion pictures flicker Horizontal lines appear in recorded images If you record an image with 1280k720 60fps or 848k480 120fps in Slow Motion flickering or horizontal lines may appear under fluorescent lighting The Wi Fi connection is not possible between this unit and a smartphone Make sure the ...

Page 30: ...crowaves or ovens etc Do not charge use or leave in hot places such as next to fires or in extremely hot weather Do not put into water This may cause leaking overheating fire or rupture If a leak should occur by no means touch the liquid with bare hands If the liquid gets on the body or clothes wash well with water If the liquid gets into your eyes there is a danger of blindness Do not rub the eye...

Page 31: ...rminal with a sharp object Use a cross slot screwdriver commercially available 3 Pull out the inner unit 4 Remove the five screws shown in the figure below and remove the frame B 5 Remove the lead C from the holders D 6 Open the control board E and lift up the battery 7 Pull out the battery connector F upwards and remove the battery Regarding the handling of used batteries Insulate the terminals w...

Page 32: ...128 GB Image sensor 1 3z 1MOS image sensor Total Approx 3540 K Effective pixels Motion picture Approx 2870 K 16 9 Still picture Approx 2660 K 16 9 Lens F2 8 Focal length 2 6 mm Angle of view Approx 150 o Wide Approx 120 o Standard Minimum focus distance Approx 30 cm When the angle of view mode is set to wide Shutter speed Motion picture 1 30 to 1 12000 Still picture 1 15 to 1 12000 Microphone Mona...

Page 33: ...these instructions are usually the registered trademarks or trademarks of the manufacturers who developed the system or product concerned This product is licensed under the AVC patent portfolio license for the personal and non commercial use of a consumer to i encode video in compliance with the AVC Standard AVC Video and or ii decode AVC Video that was encoded by a consumer engaged in a personal ...

Page 34: ...er within the applicable operating procedures for this product For at least three 3 years from delivery of this product Panasonic will give to any third party who contacts us at the contact information provided below for a charge no more than our cost of physically performing source code distribution a complete machine readable copy of the corresponding source code covered under conditions that im...

Page 35: ...dlebar RP CMC10 the Tripod Mount VW CTA1 or VW CTA100 is required Others Optional accessories Accessory No Figure Description VW MKA1 Multi Mount VW MKA100 VW TMA1 Twin Mount VW CTA1 Tripod Mount VW CTA100 VW SCA100 Suction Cup Mount VW WJA100 Wind Jammer RP CMC10 Video Camera Mount For Handlebar HX A1M SQT0885_mst book 35 ページ 2015年6月1日 月曜日 午前9時58分 ...

Page 36: ...ult your local dealer Product numbers correct as of March 2015 These may be subject to change Accessory No Figure Description VW CLA100 Clip Mount VW HMA1 Head Mount VW BTA1 Extended Battery VW SAA1 Strap Adaptor VW MBA100 Multi Belt HX A1M SQT0885_mst book 36 ページ 2015年6月1日 月曜日 午前9時58分 ...

Page 37: ...4th Avenue South Kent WA 98032 Ship To Mr Mrs Ms First Last Street Address City State Zip Phone Day Night 4 Shipping information UPS delivery requires complete street address Please photocopy this form when placing an order 3 Method of payment check one American Express VISA MasterCard Please do not send cash 2 Items Ordered Quantity Accessory Price Each Description Total Price 6 95 Subtotal Your ...

Page 38: ...ing the unit carefully pack include all supplied accessories listed in the Owner s Manual and send it prepaid adequately insured and packed well in a carton box When shipping Lithium Ion batteries please visit our Web Site at www panasonic com BatteryHandling as Panasonic is committed to providing the most up to date information Include a letter detailing the complaint a return address and provide...

Page 39: ... THE LIMITED WARRANTY Some states do not allow the exclusion or limitation of incidental or consequential damages or limitations on how long an implied warranty lasts so the exclusions may not apply to you This warranty gives you specific legal rights and you may also have other rights which vary from state to state If a problem with this product develops during or after the warranty period you ma...

Page 40: ...trols improper maintenance improper batteries power line surge lightning damage modification introduction of sand humidity or liquids commercial use such as hotel office restaurant or other business or rental use of the product or service by anyone other than an Authorized Servicer or damage that is attributable to acts of God Dry cell batteries are also excluded from coverage under this warranty ...

Page 41: ...00 PANA737 800 7262737 El Salvador 800 PANA 800 7262 Guatemala 1 801 811 PANA 1 801 811 7262 Chile 800 390 602 From a cell phone 797 5000 Venezuela 800 PANA 800 800 7262 800 Uruguay 0 800 PANA 0 800 7262 Peru 0 800 00 PAN 0 800 00726 Argentina 0800 333 PANA 0800 333 7262 0810 321 PANA 0810 321 7262 Paraguay 0800 11 PANA 0800 11 7262 Dominican Republic 809 200 8000 Mexico Service To obtain informat...

Page 42: ... 07102 5490 Panasonic Canada Inc 5770 Ambler Drive Mississauga Ontario L4W 2T3 Panasonic Corporation 2015 Printed in China http www panasonic com www panasonic com Panasonic Corporation Web site http www panasonic com HX A1M SQT0885_mst book 42 ページ 2015年6月1日 月曜日 午前9時58分 ...

Reviews: