


Sa
fe
ty
P
re
c
a
u
ti
o
n
s
Us
in
g w
ith a
P
C
P
re
p
ar
at
io
n
U
sin
g
w
it
h
a
TV
Mo
n
it
o
r
Ot
h
e
r
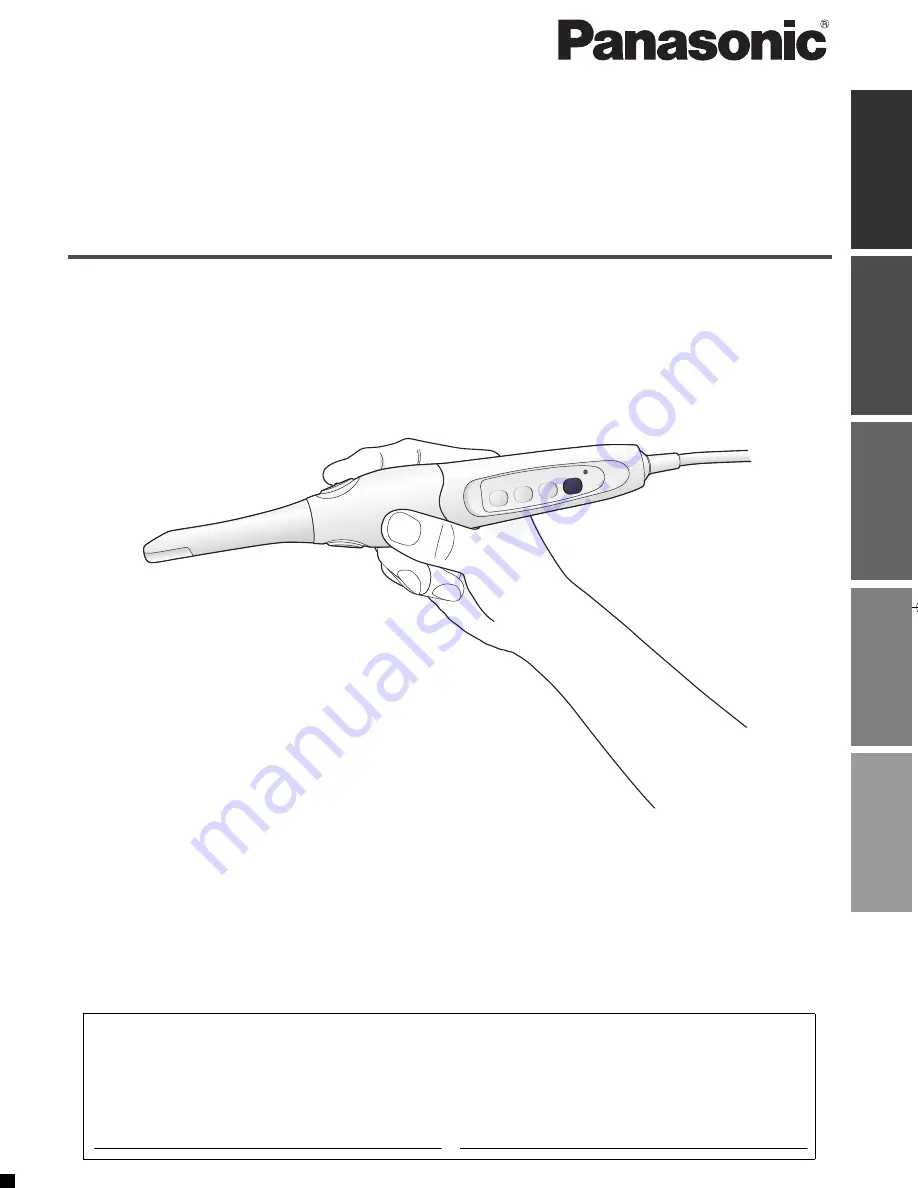
Operating Instructions
Intraoral Camera
Model No.
EJ-CA01UP
≥
Please read these instructions carefully before using this product, and save these instructions for
future use.
≥
The information contained in the Safety Precautions (P. 4 – P. 7) is important for the safe and
reliable operations of the product. Read and understand the information thoroughly before
attempting to set up and operate the product.
≥
Compliant with medical safety standards
This design complies with the UL 60601-1 and EN 60601-1 safety standards, meeting the
requirements for use in the medical field.
Customer’s Record
The serial number of this product can be found on the Logo sheet of Camera handpiece. You
should note this serial number in the space provided below and retain this book, plus your
purchase receipt, as a permanent record of your purchase to aid identification in the event of
theft or loss, and for Warranty Service purposes.
Model Number
Serial Number
EJ-CA01UP&EP_mst.book 1 ページ 2011年4月5日 火曜日 午前10時18分


