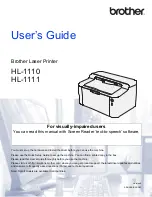
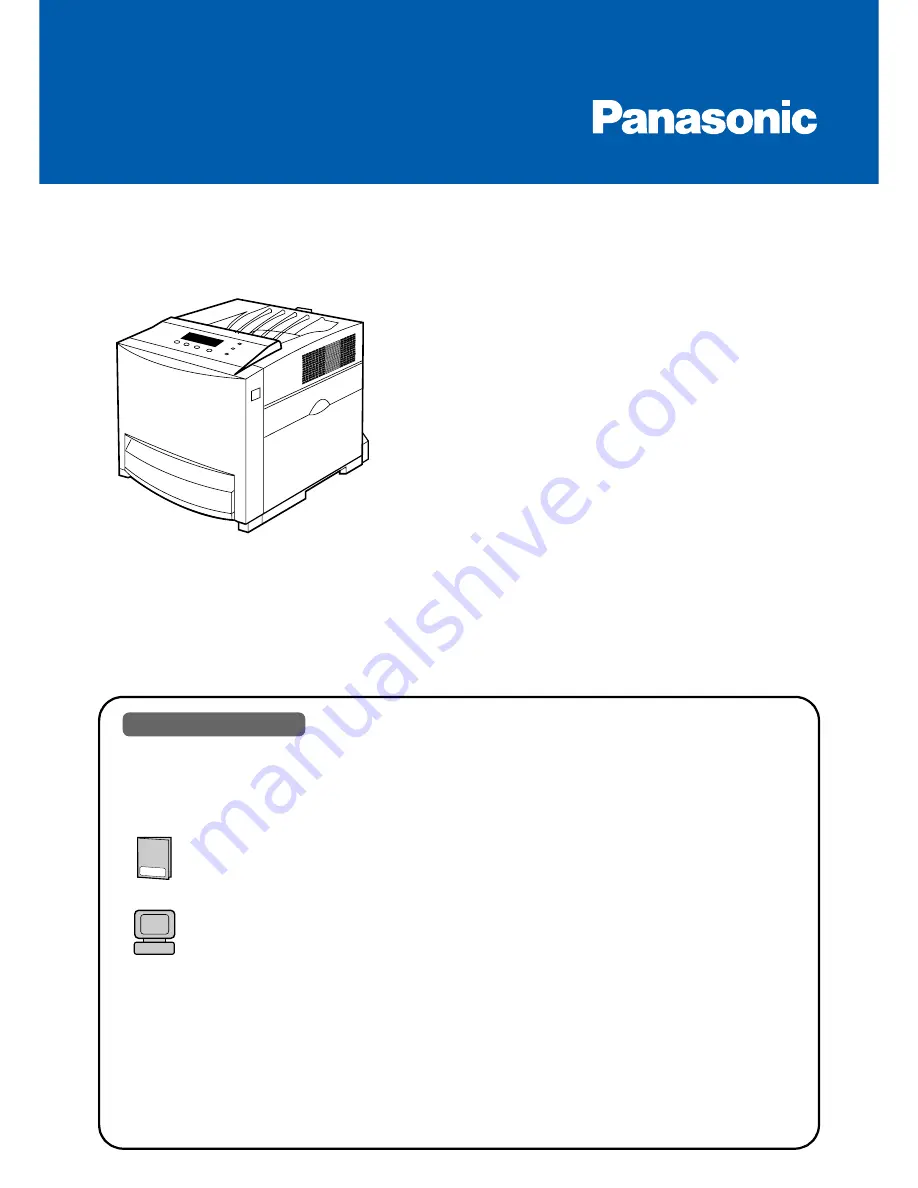
background image

Color Laser Printer

Setup Guide

Model No.

DP-CL21

DP-CL21 is the PCL model of the printer. The printer can be used as PCL / PostScript model by purchasing 
the Upgrade Kit. 

They are distinguished as follows

 in the manuals.

DP-CL21P

: PCL model

DP-CL21M

: PCL / PostScript model

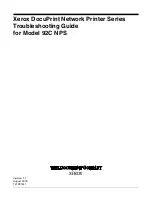
This manual describes basic setup procedures for the Panasonic DP-CL21 Color Laser Printer 
and necessary precautions for safety and use. First read this guide to setup the printer.

For other detailed information, refer to 

Operating Instructions

 included on the printer 

CD-ROM*

1

, or it is automatically installed on your computer when installing the DP-CL21 

software (see page 16).
If the Acrobat Reader application has not been installed in your computer, it is required to be 
installed to read the documentation for the printer (see page 21, 27).

*1

The DP-CL21M printer CD-ROM provided is the Hybrid CD-ROM including both files for Windows

*

2


and Macintosh. Each files can be displayed in applicable operating system only.

*2

Microsoft

 Windows

 operating system (hereafter Windows)

Please carefully read this manual and keep this documentation in a safe place for 
future reference.

Using Manuals:

Setup Guide 

Model No. 

KX-CL500/KX-CL510

Color Laser Printer


Summary of Contents for DP-CL21 Series

Page 1: ...tructions included on the printer CD ROM 1 or it is automatically installed on your computer when installing the DP CL21 software see page 16 If the Acrobat Reader application has not been installed in your computer it is required to be installed to read the documentation for the printer see page 21 27 1 The DP CL21M printer CD ROM provided is the Hybrid CD ROM including both files for Windows 2 a...

Page 2: ...d trademarks of Wind River Systems Inc All other acknowledgements are trademarks or registered trademarks of their respective holders The instructions are subject to change without notice Screen shot s reprinted with permission from Microsoft Corporation Acrobat Reader Copyright 1987 2001 Adobe Systems Incorporated All rights reserved COPYRIGHT 2002 Peerless Systems Corporation All Rights Reserved...

Page 3: ...if in any doubt about the effective grounding earthing of the power point consult a qualified electrician If the plug cannot be inserted into the AC outlet contact a licensed electrician to replace the outlet with a properly grounded earthed one Do not defeat the purpose of the grounding earthing plug ex do not use a conversion plug Caution This printer utilizes a laser Use of controls or adjustme...

Page 4: ...For Your Safety 4 Caution Labels CAUTION HOT SURFACE DO NOT TOUCH CAUTION HOT SURFACE DO NOT TOUCH CAUTION HOT SURFACE DO NOT TOUCH ...

Page 5: ...rked on the nameplate located on the rear of the unit Do not use an extension cord Do not use a line conditioner transient suppressor or surge protector as it may cause a machine error Ventilation Space The ventilation space is needed more than 20 mm 0 8 between the printer and a wall Cautions Not genuine toner Direct exposure to sunlight Extremely high or low temperature temperature range 10 C to...

Page 6: ...he separation between the equipment and receiver Connect the equipment into an outlet on a circuit different from that to which the receiver is connected Consult the dealer or an experienced radio TV technician for help The user may find the booklet Something About Interference available from FCC local regional offices helpful FCC Warning To assure continued FCC emission limit compliance the user ...

Page 7: ...lti purpose tray Printer panel Front door release Paper support Right side door Front door Toner door Parallel interface connector Network interface connector Rear cover AC inlet Optional paper feeder cable cover USB interface connector Power switch Tray cover Before You Start ...

Page 8: ...election by 1 Hold down this button to scroll faster While the printer prints pressing this button will allow you to stop printing or processing the current job CONTINUE Displays the next menu or item Increases the numerical value of the selection by 1 Hold down this button to scroll faster When performing the manual duplex printing function after even pages are printed odd pages are printed by pr...

Page 9: ...Millennium Edition operating system hereafter Windows Me 4Microsoft Windows NT operating system Version 4 0 hereafter Windows NT 4 0 5Microsoft Windows 2000 operating system hereafter Windows 2000 6Microsoft Windows XP operating system hereafter Windows XP Indicators Indicators Printer Status Printer is warming up Printer is ready for printing Printer is receiving data printing or data remains in ...

Page 10: ...ey have been specifically designed to protect the equipment during shipment Minimum Space Requirements Accessories Toner cartridges Cyan Magenta Yellow Black Printer includes free starter toner cartridges that yield 2 500 pages based on 5 page coverage per color Color print cartridge Black print cartridge 110 mm 4 4 For power cord 350 mm 13 8 For right side door 650 mm 25 6 For media tray 130 mm 5...

Page 11: ...n occurs remove to fresh air if skin contact occurs wash thoroughly with soap and water or if eye contact occurs flush thoroughly with water In all cases seek medical treatment if adverse symptoms occur When the toner cartridge is at the end of its life do not dispose in fire Keep the toner cartridge out of children s reach Store in a cool and dry place For USA only Distributed by Panasonic Digita...

Page 12: ...YELLOW 4 4 Close the toner door 1 Open the right side door 2 Unlock and open the print cartridge holder 3 Open the plastic bags and take out the print cartridges 4 Remove the upper seal covers Setting up the Printer Installing the Toner Cartridges 4 3 2 1 Installing the Print Cartridges NOTE To prevent damage to the print cartridges Do not touch the green drum surface Do not expose to light for mo...

Page 13: ...nto place Store the protective tray for repacking in future 7 Repeat Step 4 6 for the black print cartridge 8 Install the waste toner cartridge 1 and slide the green lever 2 to the left 9 Close the print cartridge holder 1 until it clicks and locks it 2 10 Close the right side door 11 Push the front door release button 1 and open the front door 2 Protective tray Protective tray 1 2 1 2 2 2 1 1 2 2...

Page 14: ...ws 98 Windows Me Windows 2000 Windows XP Mac OS 8 6 9 0 9 1 9 2 or Mac OS X 10 1 10 2 is required for a USB connection C When using the network interface cable NOTE Use category 5 shielded twisted pair cable with RJ 45 connectors Do not connect other connectors than 100Base TX 10Base T Excessive current flow may cause damage of the unit 1 Connect the interface cable to the printer 2 Connect the ot...

Page 15: ...hem to the width of the media 3 Slide the length guide unit to adjust it to the media length Slide the length guide unit 2 while pressing the PUSH mark 1 to extend it 4 Tap the media stack on a level surface to avoid media jams or skewed printing NOTE Be careful not to leave fingerprints on the media which can result in a smudged print Reusing media used paper or jammed paper that has been fed thr...

Page 16: ...f the Operating Instructions It is automatically installed 1It can be installed using the Custom Printer Setup The following are the steps to set up LPR Port printing using TCP IP Step 1 Setting up TCP IP on the computer Step 2 Setting up TCP IP on the printer Step 3 Installing the printer driver and utilities Step 1 Setting up TCP IP on the computer If the TCP IP protocol is already installed on ...

Page 17: ...nter with a network interface cable and to turn it on in advance Perform the following steps to complete the installation For Windows NT 4 0 Windows 2000 Windows XP Log in as an Administrator For Windows NT 4 0 Confirm the LPR port is installed Refer to Network section of the Operating Instructions 1 Click Custom Printer Setup 2 Click Install Network Port 3 Insert the Windows NT 4 0 CD ROM and ins...

Page 18: ...isplayed 9 Click Finish NOTE For Windows XP If the Found New Hardware Wizard window is displayed during restarting Windows after installing the printer driver perform the following instructions 1 Click on the Install from a list or specific location Advanced check button and click Next 2 Click on the Search for the best driver in these locations check button and Include this location in the search...

Page 19: ...nstructions on the screen 14 Proceed to step 7 on page 21 6 B For Windows Me 1 Click on the Specify the location of the driver Advanced check button and click Next 2 Click on the Search for the best drive for your device Recommended check button and Specify a location check box and click Browse 3 Select WINME folder D CD ROM drive letter USB WINME and click OK 4 Click Next until Finish window is d...

Page 20: ...s 7 Click Finish 8 Proceed to step 7 on page 21 6 D For Windows XP 1 Click on the Install from a list or specific location Advanced check button and click Next 2 Click on the Search for the best driver in these locations check button and Include this location in the search check box and remove the check mark of the Search removable media floppy CD ROM check box and click Browse 3 Select PCL folder...

Page 21: ...nish It can be installed 1 File name of Acrobat Reader may differ depending on the version 2 Only available in Windows NT 4 0 Windows 2000 or Windows XP Professional To install the desired application 1 Insert the printer CD ROM disk into the CD ROM drive The CD ROM launches automatically 2 Click the Install Applications 3 Click the desired applications above 4 Follow the instructions on the scree...

Page 22: ... install the additional software Network Setup Tool select Custom Install to complete the installation The Status Display folder is created in the Macintosh HD Panasonic DP CL21M folder after finishing installation successfully If you install the Network Setup Tool using the Custom Install its folder is also created in the same folder Step 2 Installing the Adobe PostScript printer driver 1 Insert ...

Page 23: ... set consult with your network administrator Regarding the configuration of TCP IP refer to the help menu or documentation for Macintosh NOTE Refer to Network section in the Operating Instructions about setting the AppleTalk and TCP IP to your Macintosh Step 2 Setting up TCP IP on the printer You need to set the IP Address Subnet Mask and Default Gateway for the printer It can be set by using one ...

Page 24: ...ter name The DP CL21M desktop printer icon is created on your desktop screen 6 Close the Chooser For Mac OS X 10 1 Mac OS X 10 2 Before you can use a printer you must add it in the Print Center If you want to select the DP CL21M in the Print Center be sure the printer is connected to the network and turned it on in advance see Power On on page 28 DP CL21M appears in the Print Center by choosing Ap...

Page 25: ...SB desktop printer icon is created on your desktop screen Step 2 Setting the DP CL21M to the Default Printer 1 Click the DP CL21MUSB desktop printer icon 2 Click Printing menu and select Set Default Printer For Mac OS X 10 1 Step 1 Setting the PostScript printer driver Before you can use a printer you must add it in the Print Center If you want to select the DP CL21M in the Print Center be sure yo...

Page 26: ... Type Manager and PostScript screen fonts are included on the DP CL21M CD ROM Copy fonts files from PS3 Fonts folder on the DP CL21M CD ROM to the System Folder of your Macintosh hard drive Note that font files need to be moved to specific locations Fonts folder of the System Folder others can be moved to a folder of your choice Adobe Type Manager Adobe Type Manager ATM is included on the DP CL21M...

Page 27: ...mputer screen install Acrobat Reader for Macintosh in your computer Installing the Acrobat Reader 1 Insert the DP CL21M CD ROM disk in your CD ROM drive and then double click the DP CL21M icon 2 Open the Manual folder then the English folder 3 Double click the Reader Installer icon 4 Follow the instructions on the screen to install the Acrobat Reader program Opening a Manual s File 1 Perform step ...

Page 28: ...ion file Panasonic DP CL21M PPD Macintosh HD Library Printers PPDs Contents Resources en lproj Panasonic DP CL21M PPD 3 Click the printer DP CL21M or DP CL21M XXXXXX to be removed in the printer list of the Print Center and then click Delete Delete Printer from the Printers menu NOTE If the DP CL21M software for Mac OS 9 2 is installed remove it refer to For Mac OS 8 1 Mac OS 9 2 Turn the printer ...

Page 29: ...ust the density of the toner applied to the media This feature compensates for the changes that can occur as environmental conditions change replacement of accumulator unit and or print cartridge Perform the following steps to adjust the color density 1 Print a Color Calibration Test Print Page to confirm the current density Color Calibration and compare it with the provided Color Calibration Card...

Page 30: ...or Calibration menu is displayed 3 Press ENTER button Calibration Offset item menu appears 4 Press ENTER button 0 5 to 5 selection menu appears 5 Press CONTINUE or CANCEL button to darken lighten for all the colors to match with the colors of the Color Calibration Card To make the color density setting of the Color Calibration Test Print Page darker or lighter by 1 level increase or decrease a val...

Page 31: ...for each color MAGENTA YELLOW BLACK To skip a color press CONTINUE button To return to a previous color press CANCEL button Before going to step 9 make sure Calib Test Prn item menu is displayed 9 Press ENTER button to reprint the Color Calibration Test Print Page The line enclosure and Gray Balance reflects the changes made to the settings If you are not satisfied with the current color density s...

Page 32: ...onic Sales Company PSC Division of Matsushita Electric of Puerto Rico Inc Ave 65 de Infateria Km 9 5 San Gabriel Industrial Park Carolina Puerto Rico 00985 Matsushita Electric Industrial Co Ltd Web Site http www panasonic co jp global World Wide Web Support http panasonic co jp pcc products en printer Printed in Japan PJQQB0035ZA K0503M0 ...

Reviews: