


Gettin
g T
o
Know
Y
our Machine
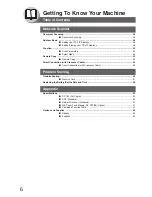
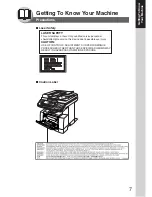
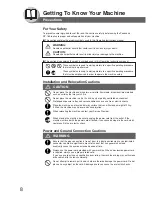
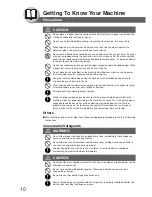
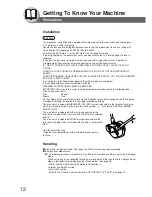
Be
fore Starting
Ma
ki
ng
C
o
pi
es
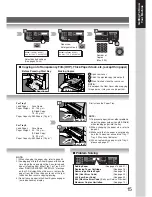
Function
Network Scanner
Problem Solv
ing
Appendix
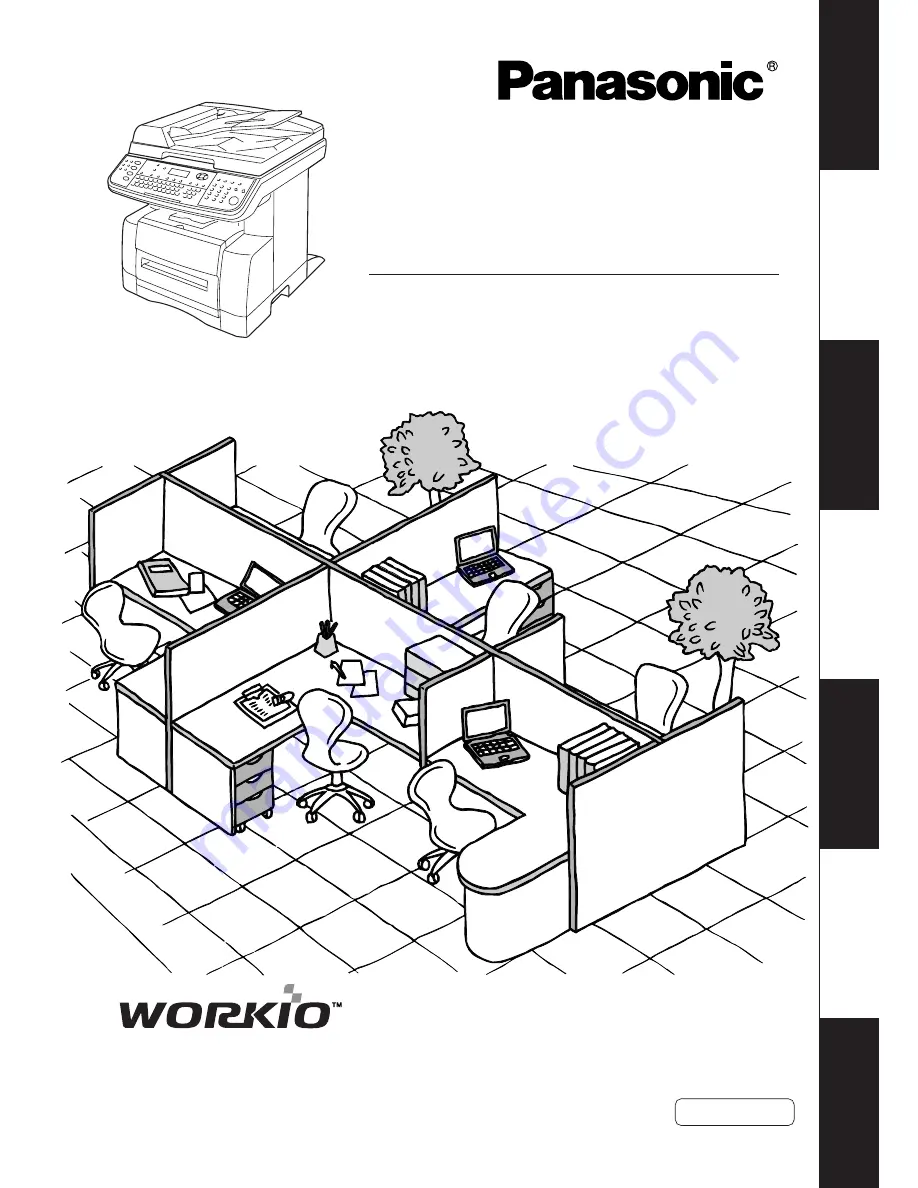
Digital Imaging System
Operating Instructions
(For Copy & Network Scan Functions)
Model No.
DP-180
Before operating this equipment, please read these instructions completely
and keep these operating instructions for future reference.
English


