DH940A3MP1M6
Printed in Malaysia
Terima kasih kerana memilih Pancuran Mandi Elektrik Panasonic. Produk ini hanya untuk kegunaan di rumah sahaja.
Sila baca semua arahan ini dengan teliti demi keselamatan dan penggunaan yang optimum dan simpan Panduan
Penggunaan ini di tempat yang selamat untuk rujukan di masa hadapan.
Thank you for purchasing the Panasonic Electric Home Shower. This appliance is intended for household use only.
For optimum performance and safety, please carefully read this Operating Instructions and keep this documentation
in a safe place for future reference.
感謝您購買
Panasonic
電熱花灑器
,
此產品只供家庭使用
。
為了確保正確使用及維護您的安全
,
請詳細閱讀此使用說明
書
,
并保持在安全的地方以供未來参考
。
PEMBERITAHUAN PENTING
Sila simpan Kad Jaminan Perkhidmatan yang
dicetak pada muka surat akhir buku Panduan
Penggunaan dan Pemasangan ini dan pastikan
mendaftar jaminan ini di www.panasonic.com.my
IMPORTANT NOTICE
Please retain the warranty card printed on the
last page of this booklet and ensure to register
the warranty online at www.panasonic.com.my
重要通知
請保留印刷在這本小冊子最後一頁的保修卡並確保
在線上
www.panasonic.com.my
登記保修。
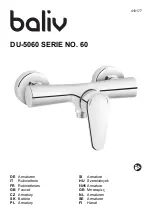
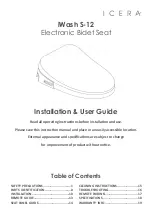
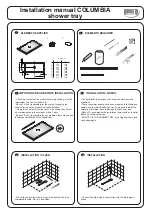
Pancuran Mandi Elektrik
Electric Home Shower
電熱花灑器
DH-3MP1 / DH-3MP2
No. Model
Model No.
型號
.......................................................................... 2 - 11
Panduan Penggunaan
(termasuk Panduan Pemasangan)
B.MALAYSIA
........................................................................ 12 - 21
Operating Instructions
(Installation Instructions included)
ENGLISH
........................................................................ 22 - 31
使用說明書
(包括安装说明)
中文
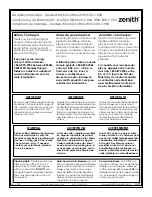
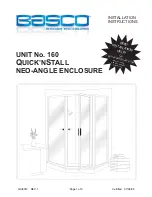
JET PUMP
DH-3MP1
ELB Reset
Push Up
ELB Test
Push On-Off
Power Control
Off
ELB
High