


A
°
Panasonic Corporation
1006 Kadoma, Kadoma City, Osaka, Japan
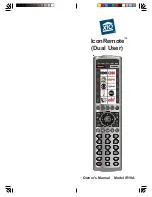
Operating Instructions
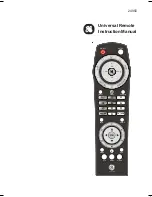
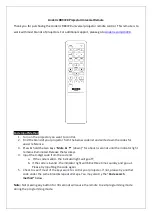
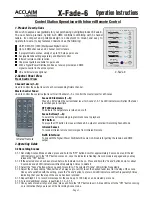
Timer Remote Controller
Model No.
CZ-RTC4
Installation Instructions
Separately Attached.
ENGLISH
Before operating the unit, read these operating instructions thoroughly and keep them for future
reference.
CV6233312187
Panasonic Corporation
http://www.panasonic.com