

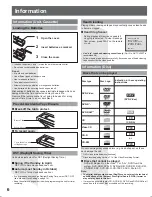

Information
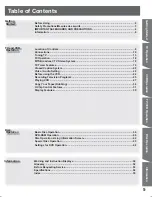
Getting Started
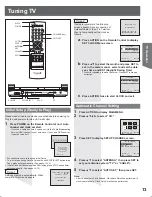
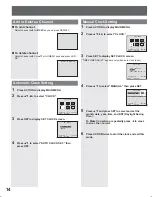
TV Operation
Disc Operation
Information
VCR Operation
TV/VCR Operation
LSQT0967 A
TV / DVD / VCR Combination
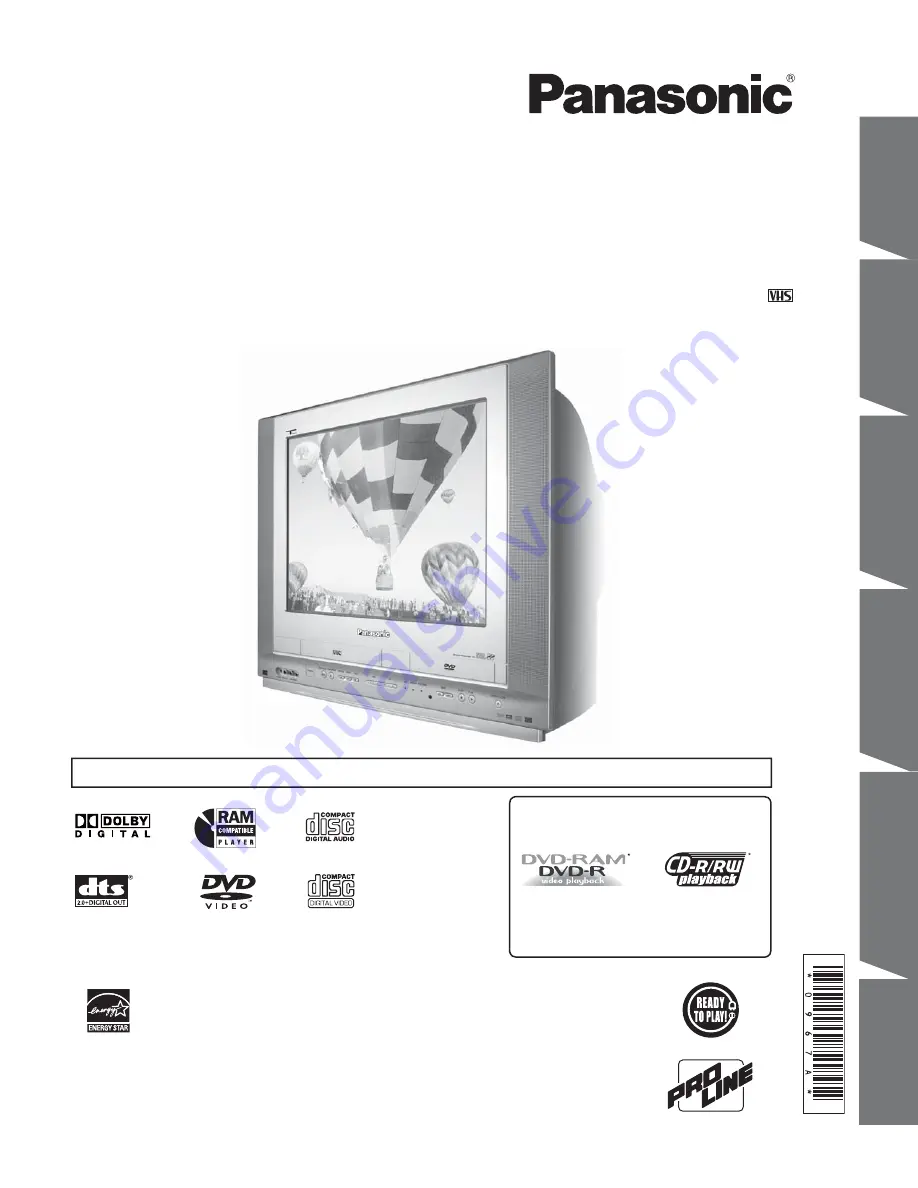
Operating Instructions
Model No.
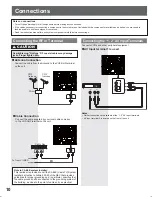
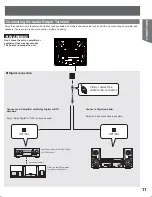
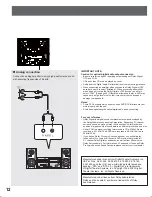
• Connection and Initial Setup Procedures are on pages 10 and 13.
AG-520VDH
MULTI FORMAT PLAYBACK
*Ability to play back may depend on recording
conditions.
As an
E
NERGY
S
TAR
®
Partner, Panasonic Corporation of North America
has determined that this product or product model meets the
E
NERGY
S
TAR
®
guidelines for energy efficiency.
Please read these instructions carefully before attempting to connect, operate,
or adjust this product. Please save this manual.
Professional/Industrial Video


