


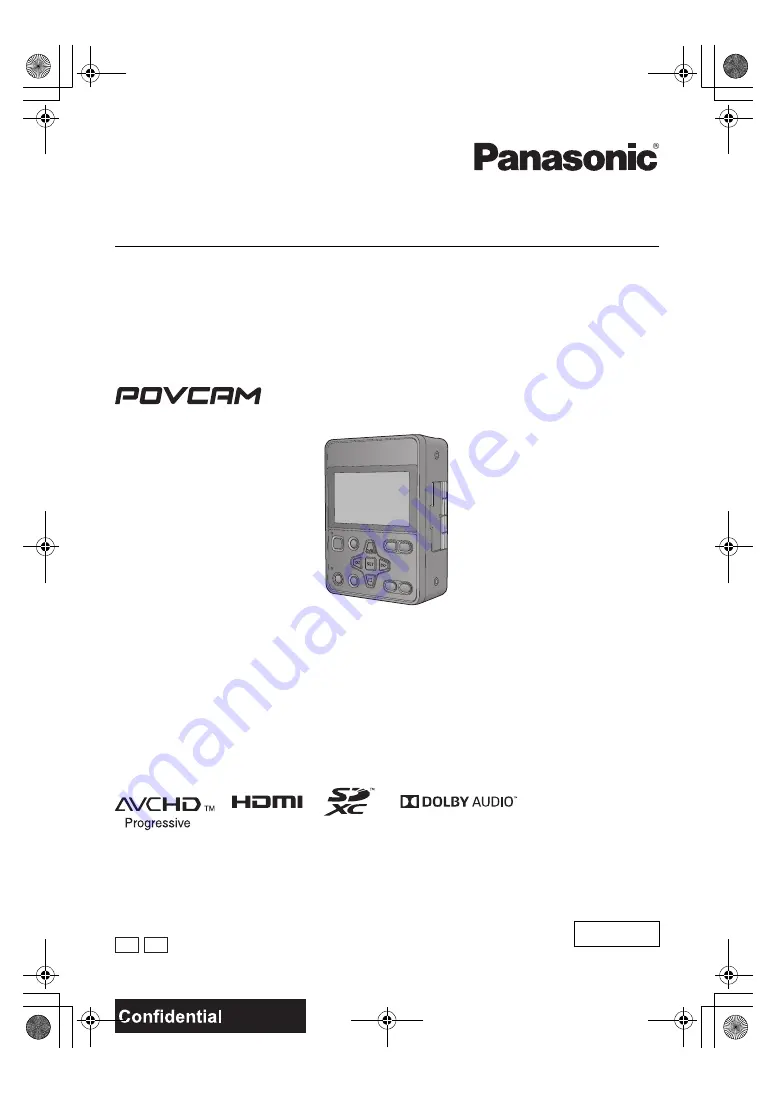
Operating Instructions
Memory Card Portable Recorder
Model No.
AG-UMR20P
AG-UMR20E
Please read these instructions carefully before using this product, and save this manual for future use.
DVQP1321ZA
ENGLISH
PJ EJ
F0517SQ0
until
2017/05/31
AG-UMR20PJ.EJ(DVQP1321ZA)_E.book 1 ページ 2017年5月22日 月曜日 午後2時11分


