


AG-HPG20P
AG-HPG20E
AG-HPG20
Menu
Displays
Editing
Saving data
Recording
Playback
Pr
ep
ar
at
io
ns
Name of the
parts
Introduction
For your reference
■ This product is eligible for the P2HD
5 Year Warranty Repair Program. For
details, see page 6.
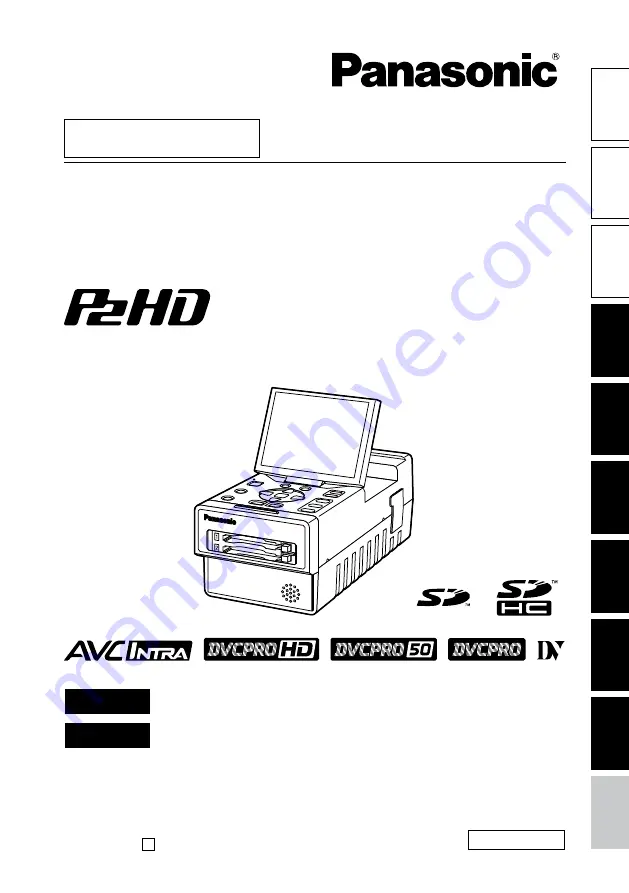
Operating Instructions
Memory Card Portable Recorder
Model No.
Before operating this product, please read the instructions carefully and save
this manual for future use.
Model No.
FRANÇAIS
Pour des explications en français, veuillez vous reporter au CD-ROM fourni.
F0109T0 -M
D
Printed in Japan
VQT1X51
ENGLISH
ESPAÑOL
Para la explicación en español, consulte el CD-ROM uministrado.
Summary of Contents for AG-HPG20E
Page 120: ...E P ...


