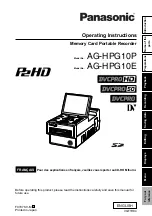
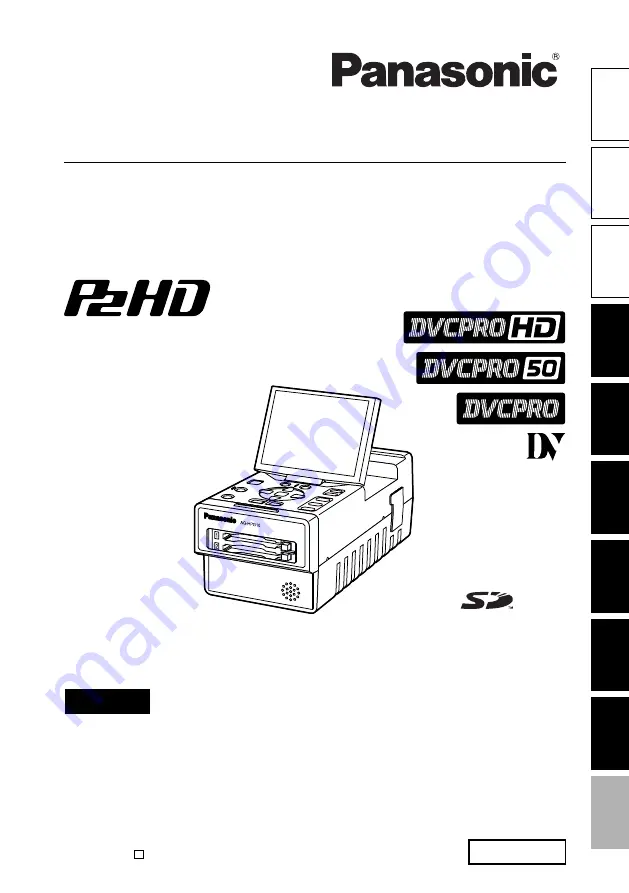
AG-HPG10P
AG-HPG10E
Menu
Displays
Editing
Saving data
Recording
Playback
Preparations
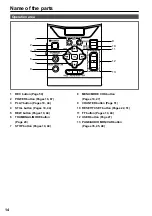
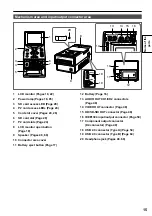
Name of the
parts
Introduction
For your
reference
Operating Instructions
Memory Card Portable Recorder
Model No.
F0707K0 -M
Printed in Japan
VQT1H84
ENGLISH
Before operating this product, please read the instructions carefully and save this manual for
future use.
D
Model No.
FRANÇAIS
Pour des explications en français, veuillez vous reporter au CD-ROM fourni.


