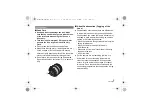
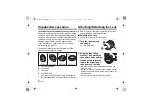
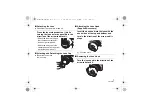
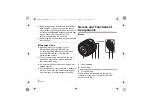
Panasonic 33335, Operating Instructions Manual
The Panasonic 33335 comes with an easy-to-follow Operating Instructions Manual. This comprehensive manual provides step-by-step guidance for optimal product utilization. Download this manual for free from our website, where you can access a wide range of user manuals to enhance your product experience.
Share
Download


Reviews:
No comments
Related manuals for 33335

540EZ - Speedlite - Hot-shoe clip-on Flash
Brand: Canon Pages: 4

EF 24mm f/2.8 IS USM
Brand: Canon Pages: 2

EF14mm f/2.8L II USM
Brand: Canon Pages: 2

EF 70-200mm f/2.8L IS II USM
Brand: Canon Pages: 2

EF-S18-135mm f/3.5-5.6 IS STM
Brand: Canon Pages: 11

EF-S10-18mm f/4.5-5.6 IS STM
Brand: Canon Pages: 16

EF24-105MM F/4L IS USM
Brand: Canon Pages: 21

EF24-70mm f/2.8L USM
Brand: Canon Pages: 11

EF 70-200mm f/2.8L IS II USM
Brand: Canon Pages: 17

EF100-400mm f/4.5-5.6L IS II USM
Brand: Canon Pages: 21

EF 28-80mm 1:2.8-4.0L USM
Brand: Canon Pages: 2

CN-E30-105mm T2.8 L S
Brand: Canon Pages: 6

EF-S60mm f/2.8 MACRO USM
Brand: Canon Pages: 16

EF 400mm f/2.8L IS II USM
Brand: Canon Pages: 17

EF 400mm f/2.8L IS II USM
Brand: Canon Pages: 29

EF50mm f/1.0L USM
Brand: Canon Pages: 11
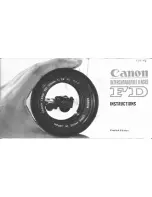
FD Lens
Brand: Canon Pages: 40

EF 100-400mm f/4.5-5.6L IS USM
Brand: Canon Pages: 17


