Nokia 110T Mediamaster, User Manual
The Nokia 110T Mediamaster User Manual is an essential companion for this cutting-edge device. Discover its advanced features and functionalities through this comprehensive manual, available for free download at manualshive.com. Unlock the full potential of your Nokia 110T Mediamaster with this user-friendly manual.
Share
Download


Reviews:
No comments
Related manuals for 110T Mediamaster
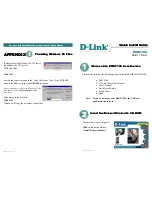
DSB-T100
Brand: D-Link Pages: 2

M44
Brand: DAS Pages: 16

Caruso
Brand: T+A Pages: 56
M-4132
Brand: ICP DAS USA Pages: 70

Medi TV
Brand: Packard Bell Pages: 48
Adagio ATC-AMFM2
Brand: Crestron Pages: 20

DIS-1/S
Brand: dallmeier Pages: 97
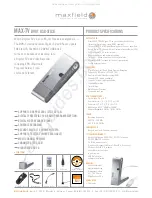
MAX-TV
Brand: Maxfield Pages: 3
PCTV 300I
Brand: Pinnacle Pages: 14
SmartBox
Brand: NeuroNexus Pages: 49

EyeTV DTT DELUXE
Brand: Elgato Pages: 1
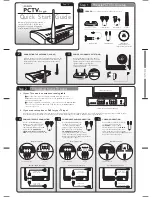
PCTV To Go
Brand: Pinnacle Pages: 2
DVBT03
Brand: Manta Pages: 28
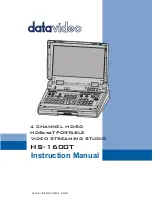
HS-1600T-2C140TM
Brand: Datavideo Pages: 63
WinTV-USB2
Brand: Hauppauge Pages: 2
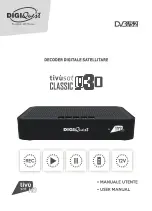
RICD1232
Brand: DiGiQuest Pages: 54
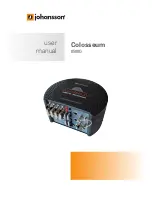
Colosseum 8500D
Brand: Johansson Pages: 28
BVTS4
Brand: Boss Audio Systems Pages: 9


