


Camera Control Pro Reference Manual
Overview
This section describes the structure of this manual, outlines Camera Control Pro’s
main functions, and gives the system requirements and installation instructions.
Using Camera Control Pro
This section describes how to use Camera Control Pro.
Appendices
This section lists preferences and describes how to uninstall the software.
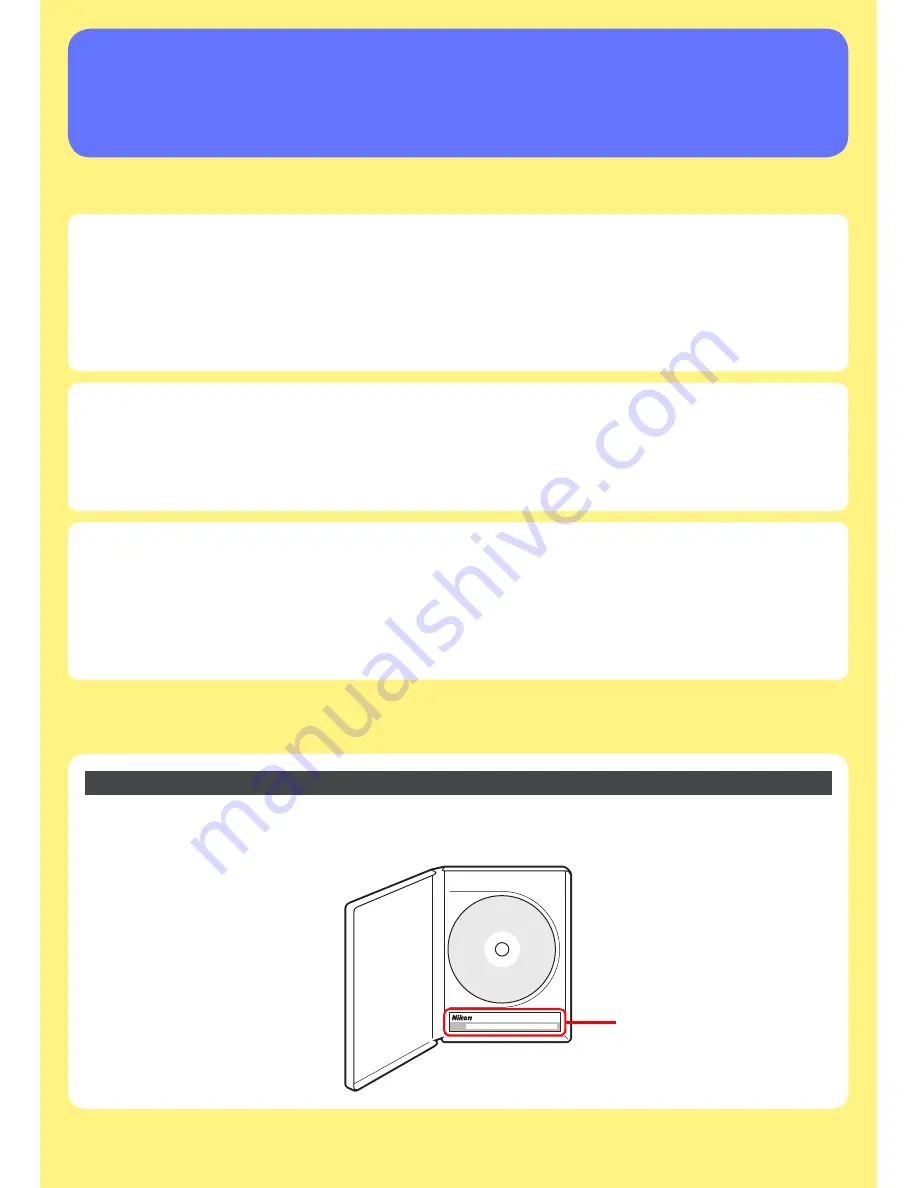
Important Information on the Product Key
The product key may be found on the CD-ROM case.
Do not lose this key.
It is required
when installing or upgrading this software and can not be replaced if lost.
xxxxx–xxx–xxxx–xxxx–xxxx–xxxx
Product key
SB6E01(B1)
6MS522B1--


