background image

MD322C8

User’s Manual

Summary of Contents for MD322C8

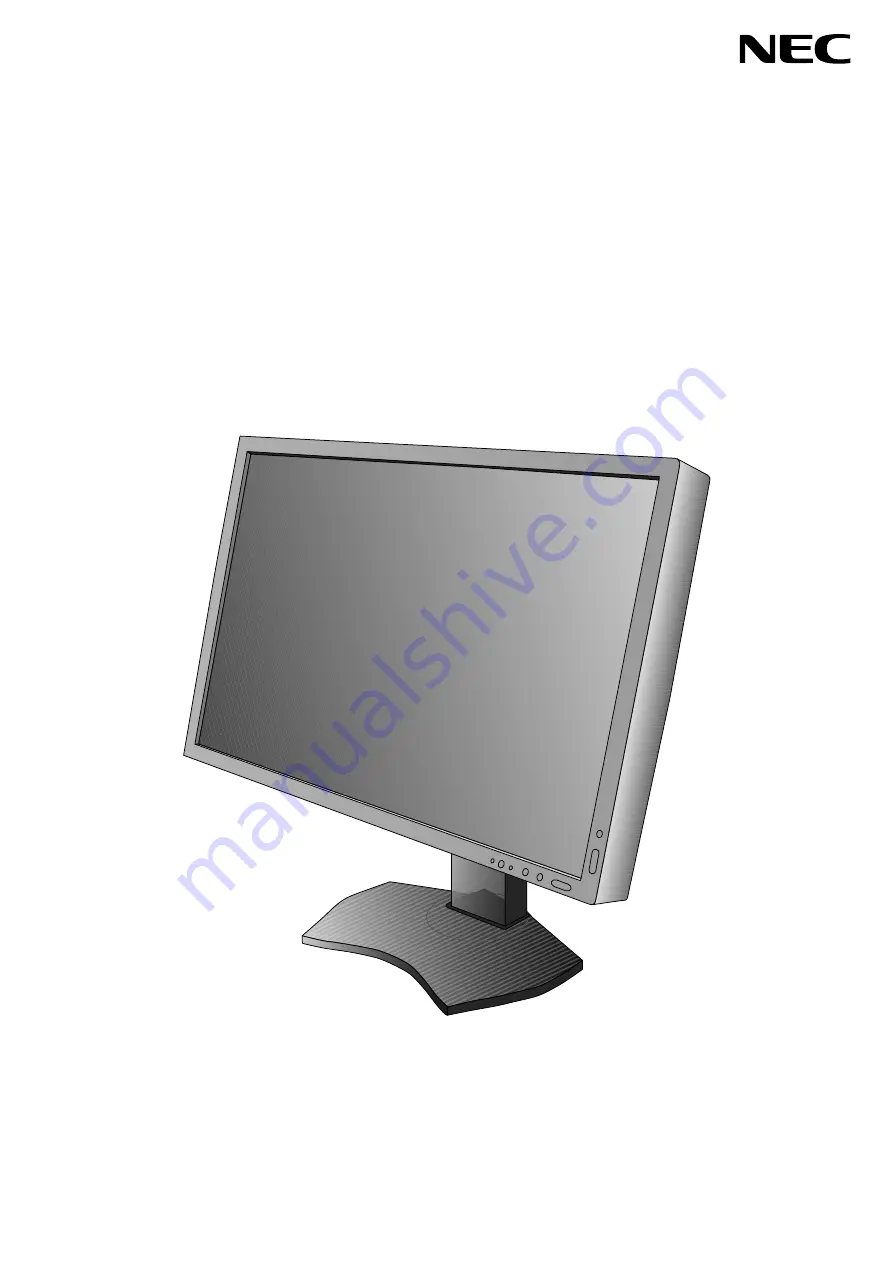
Page 1: ...MD322C8 User s Manual ...

Page 2: ...literature concerning the operation and maintenance of this unit has been included Therefore it should be read carefully in order to avoid any problems Protective earth terminal marked Stand by AC Input MEDICAL GENERAL MEDICAL EQUIPMENT AS TO ELECTRICAL SHOCK FIRE AND MECHANICAL HAZARD ONLY IN ACCORDANCE WITH ANSI AAMI ES60601 1 2005 C1 09 A2 10 AND CAN CSA C22 2 NO 60601 1 2008 ALSO LISTED ACCORD...

Page 3: ...rd is not supplied with this equipment please contact your supplier For all other cases please use a power cord that matches the AC voltage of the power outlet and has been approved by and complies with the safety standard of your particular country When you use this Monitor in North America you should use a North America Hospital Grade power cord Plug Type North America European Continental U K C...

Page 4: ...tial electromagnetic sources such as a cell phone To reduce the risk of electric shock make sure the power cord is unplugged from the wall socket To fully disengage the power to the unit please disconnect the power cord from the ac outlet Do not remove the front or back cover No user serviceable parts inside Refer servicing to qualified service personnel The AC outlet shall be readily available an...

Page 5: ...etermined by turning the equipment off and on the user is encouraged to try to correct the interference by one or more of the following measures Reorient or relocate the receiving antenna Increase the separation between the equipment and receiver Connect the equipment into an outlet on a circuit different from that to which the receiver is connected Consult your dealer or an experienced radio TV t...

Page 6: ...from the wall outlet and move to a safe location then refer servicing to qualified service personnel under the following conditions If the monitor is used in this condition the monitor may cause fall fire and electric shock If the monitor stand has been cracked or peeled If the monitor has been wobbled If the monitor has an unusual odor When the power supply cord or plug is damaged If liquid has b...

Page 7: ...void displaying fixed patterns on the monitor for long periods of time to avoid image persistence after image effects Get regular eye checkups Ergonomics To realize the maximum ergonomics benefits we recommend the following To avoid eye fatigue adjust the brightness to a moderate setting Place a sheet of white paper next to the LCD screen for luminance reference Use the preset Size and Position co...

Page 8: ...Video Signal Cable DVI D to DVI D cable x 2 Video Signal Cable DisplayPort cable x 2 USB Cable Setup Manual CD ROM x 2 Screw x 4 to mount the monitor to a flexible arm page 11 Thumbscrew x 2 to remove the DisplayPort interface unit page 12 Setup Manual Video Signal Cable DVI D to DVI D cable x 2 Video Signal Cable DisplayPort cable x 2 CD ROM x 2 Screw x 4 Power Cord 1 Setup Manual USB Cable Thumb...

Page 9: ... in your system Figure A 2 For a PC with HDMI output Connect the HDMI cable to the connector of the display card in your system Figure A 3 Figure A 1 Figure A 2 Figure A 3 DisplayPort cable HDMI cable not included HDMI cable not included DVI cable DVI cable NOTE 1 Please use a DisplayPort cable with a DisplayPort logo 2 When removing the DisplayPort cable hold down the top button to release the lo...

Page 10: ...on DisplayPort DisplayPort DISPLAYPORT1 DISPLAYPORT1 USB downstream USB downstream USB upstream2 USB upstream1 USB upstream1 Power cord USB downstream 2 30 Tilt DVI D DVI D Headphone Headphone DisplayPort DISPLAYPORT2 3 5 To keep the cables neatly organized place them into the cable management system that is built into the stand Place the cables in the hooks firmly and evenly Figure C 2 and Figure...

Page 11: ...ser s Manual for a full description of these OSD controls NOTE When you plan to use a HDMI signal please select HDMI in HDMI DVI SELECT in Advanced Menu Tag9 or on NO SIGNAL OSD warning see page 18 NOTE If you have any problems please refer to the Troubleshooting section of this User s Manual Figure E 1 Power Button Raise and Lower Monitor Screen The monitor may be raised or lowered in Landscape m...

Page 12: ... on each side of the monitor screen and turn clockwise from Landscape to Portrait or counter clockwise from Portrait to Landscape Figure R 1 To rotate OSD menu between landscape and portrait refer to Controls section Figure R 1 Tilt Grasp top and bottom sides of the monitor screen with your hands and adjust the tilt as desired Figure TS 1 Figure TS 1 NOTE Handle with care when tilting the monitor ...

Page 13: ...cated by the arrows Figure S 1 5 Lift up the stand to unhook it from the monitor Figure S 1 The monitor can now be mounted using an alternate method Reverse process to reattach stand NOTE Handle with care when removing monitor stand Mount Flexible arm This LCD monitor is designed for use with a flexible arm 1 Follow the instructions on how Remove Monitor Stand for Mounting to remove the stand 2 Us...

Page 14: ... G 2 4 Pull out the DisplayPort interface unit using the thumbscrews Figure G 3 Figure G 3 NOTE When you use option board accessories please contact your supplier for detailed information Refer to the option board s manual for further information Use the 2 screws removed from the monitor to attach the option board to the monitor When you use option board please set OPTION in INPUT OPTION in Advanc...

Page 15: ...f the monitor 5 MENU EXIT Access OSD menu Exits the OSD sub menu Exits OSD Control menu 6 LEFT RIGHT Navigates to the left or right through the OSD Control menu You can adjust the volume directly while the OSD menu is off 1 7 UP DOWN Navigates up or down through the OSD Control menu Show PICTURE MODE menu when not in the OSD Control menu 1 2 8 RESET PIP Resets the OSD back to factory settings in t...

Page 16: ...compensate by turning down uniformity compensation in order to achieve the desired brightness The OSD indicator will change to magenta and this may result in decreased uniformity ECO MODE Decreases the amount of power consumed by reducing the brightness level OFF No function MODE1 Reduces the maximum possible brightness to about 200 cd m2 MODE2 Reduces the maximum possible brightness to about 100 ...

Page 17: ...ite point can be adjusted To adjust the R G B levels CUSTOM must be showing as the TEMPERATURE selection 1 RED YELLOW GREEN CYAN BLUE and MAGENTA ADVANCED SETTING Shows the ADVANCED MENU See page 20 for detailed information Set PICTURE MODE in detail in Advanced manual Tag1 Tools VOLUME Controls the volume of the speakers or headphones when set to other than OFF in MULTI PICTURE To mute the sound ...

Page 18: ...deo signal is present in another port then the monitor switches the video source input port to the new found video source automatically NONE The Monitor will not search the other video input port unless the monitor is turned on OFF TIMER Monitor will automatically power down when you have selected a pre determined amount of time Before powering off a message will appear on the screen asking if you...

Page 19: ...D LOCK OUT with BRIGHTNESS and VOLUME control To activate the OSD Lock Out function press SELECT then DOWN and LEFT buttons and hold down simultaneously To deactivate the OSD Lock Out press SELECT then DOWN and LEFT buttons and hold down simultaneously while in the OSD menu BRIGHTNESS and VOLUME can be adjusted while in this lock out mode CUSTOM Refer to the Advanced OSD Menu OSD TRANSPARENCY Adju...

Page 20: ...s Germany of OECD 2007 Edition Please check receipt of French s electricity prices or OECD data for French French of OECD 2007 Edition was 0 12 5 Adjust CURRENCY CONVERT SETTING item using the LEFT or RIGHT button Information Provides information about the current resolution display Main picture current USB input setting and technical data including the preset timing being used and the horizontal ...

Page 21: ...s professional digital still cameras and imaging eciRGB_v2 Provides a color space profile recommended by ECI The European Color Initiative DCI Color setting for digital cinema REC Bt709 Color setting for High definition television HIGH BRIGHT Highest brightness setting FULL Native display color gamut Suitable for use with color managed applications DICOM Medical settings for X ray imaging view Set...

Page 22: ...To exit the advanced menu Turn off and restart the monitor To make an adjustment ensure that the tag is highlighted then press SELECT To move to another tag press EXIT then press LEFT or RIGHT to highlight another tag Tag1 PICTURE MODE Selects PICTURE MODE one of 1 to 5 PRESET Sets PICTURE MODE PRESET from the type of PRESET see page 19 BRIGHTNESS 1 2 Adjusts the overall image and screen backgroun...

Page 23: ... too low to be displayed the indicator on the OSD will turn magenta RED GREEN BLUE Adjusts color gamut When the selected settings are outside of the LCD gamut the indicator on the OSD will turn magenta COLOR VISION EMU Previews various typical human vision deficiencies and is useful for evaluating how people who have such deficiencies will perceive colors This preview is available in four modes Ty...

Page 24: ...side by side with a standard gamut display monitor This feature compensates for the way the human eye perceives colors slightly differently compared to the scientific instrument used to adjust the display during calibration This function should be disabled in color critical applications AMBIENT LIGHT COMP Luminance setting depends on ambient light compensation This setting mostly affects black rep...

Page 25: ... The monitor will not look for other video signals while the current video source is present LAST When the monitor is displaying a signal from the current source and a new secondary source is supplied to the monitor then the monitor will automatically switch to the new video source When current video input signal is not present then the monitor searches for a video signal from the other video inpu...

Page 26: ...e the OSD Lock Out function press RESET and EXIT to bring up the LOCK OUT warning Press SELECT SELECT EXIT OSD TRANSPARENCY Adjusts the transparency of the OSD MENU OSD COLOR 1 Tag window frame color Item select color Adjust Window frame color can be changed BOOT LOGO 1 The NEC logo is briefly displayed after the monitor is powered on This feature can be turned on or off in the OSD Note If the EXI...

Page 27: ...ill not search the other video input port unless the monitor is turned on regardless of VIDEO DETECT setting DISPLAY PORT When DisplayPort signals from DISPLAYPORT1 connector do not optimize on the native resolution selects DISPLAY PORT 1 1a NOTE For 3840 x 2160 signal you cannot select refresh rate to 60 Hz when you select 1 1a BLANK SIGNAL SKIP Skip no signal inputs when you change input signal ...

Page 28: ... OFF TagB CARBON SAVINGS Displays the estimated carbon savings information in kg CARBON USAGE Displays the estimated carbon usages information in kg This is the arithmetic estimation not actual measurement value This estimation is based without any options COST SAVINGS Displays the electricity cost savings in balance CARBON CONVERT SETTING Adjusts the carbon footprint factor in the carbon saving c...

Page 29: ... 1080 1 at 30 Hz to 120 Hz 1080i 1920 x 1080 at 50 Hz to 120 Hz Active Display Area Landscape Horiz Vert Portrait Horiz Vert 697 9 mm 27 5 inches 392 6 mm 15 5 inches 392 6 mm 15 5 inches 697 9 mm 27 5 inches USB Hub I F Port Load Current USB Specification Revision 3 0 Upstream 2 Downstream 3 Maximum 0 9 A per port Headphone Output STEREO Mini Jack Headphone Impedance 32 Ohm Power Supply AC 100 24...

Page 30: ... simple to use on screen menus ErgoDesign Features Enhanced human ergonomics to improve the working environment protect the health of the user and save money Examples include OSD controls for quick and easy image adjustments tilt base for preferred angle of vision small footprint and compliance with MPRII and TCO guidelines for lower emissions Plug and Play The Microsoft solution with the Windows ...

Page 31: ...r one hour to erase the image NOTE As with all personal display devices NEC DISPLAY SOLUTIONS recommends using a moving screen saver at regular intervals whenever the screen is idle or turning off the monitor when not in use Picture is discolored Make sure COLOR VISION EMU is OFF Make sure PICTURE MODE setting is the same as ICC profile on PC Set SELF COLOR CORRECTION First use the front POWER but...

Page 32: ...ain Make certain the computer is not in a power saving mode touch the keyboard or mouse Some video cards do not output video signal when monitor is turned OFF ON or disconnect connect from the AC power cord under low resolution with DisplayPort Brightness variations over time Change AUTO BRIGHTNESS to OFF and adjust brightness NOTE When AUTO BRIGHTNESS is set to ON the monitor automatically adjust...

Page 33: ...vel Figure 2 2 Set the DARK level This is the level of brightness that the monitor will go down to when the ambient light level is low Make sure the room is at its darkest when setting this level Then use the front buttons to move the cursor up to the BRIGHTNESS setting Choose the desired brightness level Figure 3 Figure 1 Figure 2 Figure 3 When the AUTO BRIGHTNESS function is enabled the Brightne...

Page 34: ...GNAL menu press LEFT then RIGHT button and hold down simultaneously All White Pattern Image will be displayed After this Plug in the USB color sensor to the side or bottom when Portrait orientation USB downstream port You can start Self Calibration from step number 4 USB downstream USB color sensor USB icon is on the other side Figure S 1 Figure A KEY MAP UP DOWN Changes from setting to setting LE...

Page 35: ... the display panel Figure S 1 NOTE Place the USB color sensor flat against the LCD to avoid external light contamination DO NOT press the calibrator against the display panel Press SELECT to start the calibration Stand alone calibration may take several minutes depending on user settings Figure S 3 7 After the CALIBRATION SUCCEEDED message appears Figure S 4 press SELECT 8 To end the calibration m...

Page 36: ...ure C 2 1 Set the target white color on Display A For example change the wallpaper to a plain white background or use an application to display a white screen such as the editing screen of a word processor 2 Using LEFT or RIGHT of Display B select COPY in the MODE selection Figure C 3 3 Select the PICTURE MODE of Display B 4 The procedure will ask for the USB color sensor to be placed on the cente...

Page 37: ...URE MODE that you want to measure and press SELECT NOTE This function is effective only if GAMMA Advanced menu Tag1 is DICOM or PROGRAMMABLE 3 The procedure will ask for the USB color sensor to be placed on the center of the display panel Figure S 2 Tilt the display panel approximately 5 backward and place the USB color sensor in the center of the display panel Figure S 1 NOTE Place the USB color ...

Page 38: ...tandard signal is sent to the monitor the Energy Saving mode is activated The monitor enters a single Energy Saving mode Mode Power consumption LED colour Normal Operation with option Approx 130 W Green or blue Energy Saving Mode OFF MODE STANDARD Less than 5 W Amber Off Mode Less than 0 2 W Unlit WEEE Mark European Directive 2012 19 EU Within the European Union EU wide legislation as implemented ...

Reviews: