Motorola RP Series, Installation And User Manual
Get the ultimate installation guide for your Huawei RP Series with our free manual download. Unlock the full potential of your device with detailed instructions, troubleshooting tips, and step-by-step procedures. Experience hassle-free installation by visiting our manualshive.com and accessing our comprehensive manual library.
Share
Download


Reviews:
No comments
Related manuals for RP Series

COVR-P2500
Brand: D-Link Pages: 15

DAP-1365
Brand: D-Link Pages: 4

Powerline AV 500
Brand: D-Link Pages: 100
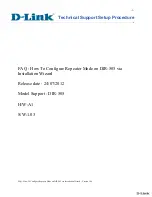
DIR-505
Brand: D-Link Pages: 13

SR600
Brand: Salus Pages: 2
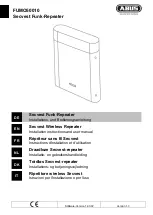
FUMO50010
Brand: Abus Pages: 108

RFM-RPT-3
Brand: B meters Pages: 2

232OPDR
Brand: B&B Electronics Pages: 2

EP3011
Brand: Bai cells Pages: 10

IRM
Brand: Cabletron Systems Pages: 30
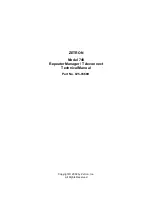
748
Brand: ZETRON Pages: 259

CAT
Brand: G&D Pages: 40
901 Series
Brand: pathway Pages: 2

IC-FR4000 Series
Brand: Icom Pages: 20

iC-FR5000
Brand: Icom Pages: 16

IC-FR6100
Brand: Icom Pages: 16

IC-RP1520
Brand: Icom Pages: 56

iC-FR5000
Brand: Icom Pages: 181


