Motorola HDT100, User Manual
Looking for a free user manual for your Motorola HDT100? Look no further! Get detailed instructions on how to operate your device, troubleshoot issues, and maximize its features at manualshive.com. Download the manual now and harness the full potential of your Motorola HDT100.
Share
Download


Reviews:
No comments
Related manuals for HDT100
CT20
Brand: Samson Pages: 2
LU20
Brand: Ibanez Pages: 2

WJND400 - NETWORK DISK RECORDER
Brand: Panasonic Pages: 2
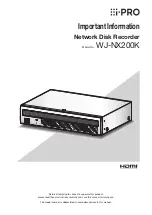
WJ-NX200K
Brand: i-PRO Pages: 22
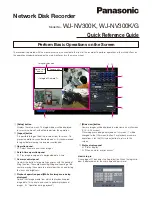
WJ-NV300K
Brand: Panasonic Pages: 4

WJ-NX400K
Brand: Panasonic Pages: 30
TS-108
Brand: B&K Pages: 5
Odyssey
Brand: SABINE Pages: 2
M4 Series
Brand: DaySequerra Pages: 16
T-103
Brand: Accuphase Pages: 13
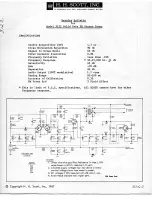
312C
Brand: H.H. Scott Pages: 8
340B
Brand: H.H. Scott Pages: 23
62789
Brand: Hama Pages: 40

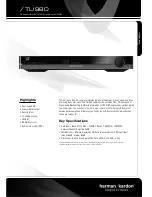
T-403
Brand: Harman Kardon Pages: 5
TU 980
Brand: Harman Kardon Pages: 2
PT2500
Brand: Harman Kardon Pages: 16
CITATION 23
Brand: Harman Kardon Pages: 12
TU915
Brand: Harman Kardon Pages: 9


